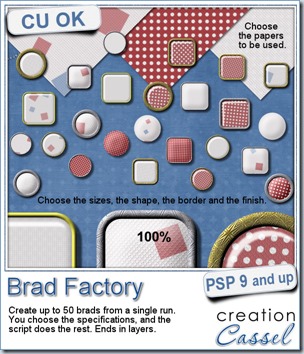
This is the fastest and easiest way to create a lot of perfectly matching brads.
The script will use any paper you want (you can use 1, 2, 3 or more) and pick a random section of it to create the brad. You will always get a different result (especially if you have some kind of design in the paper) because of the random feature integrated.
But you don’t choose only the papers. You can choose the size, the shape, the finish, the border, the thickness of the border, and its finish.
You can even choose to add your own texture later using another program or plugin (like Eye Candy, or Super Blade Pro for example).
At the end, everything is left in unmerged layers so you can either tweak the settings a bit yourself, use the layers in other projects, or insert decorative elements (think of a little flower!) inside the acrylic.
And you can create 50 brads in a single run of the script. How much easier can it get?
Grab this time saving script in my store: Creation Cassel
Now is your chance to win this fun script. Add your name to this thread in the DST forum, and one winner will be announced on Monday night. Do you prefer round or square brads?
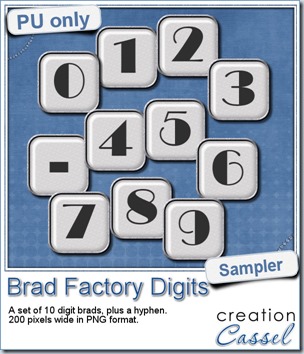 One great advantage of this script is how it leaves all the layers intact, allowing you to tweak or use them in different ways. That is what i did with this sample. I ran the script on several papers i had (see the preview) and chose a simple, neutral one, with acrylic finish and i turned it into a set of digits but just adding the characters below the acrylic layer. It was soooooo easy.
Being white with silver border, they should be quite versatile and you could use them in many projects.
You need to be logged in to download this sample. You can either login, or register on the top of this page.
If you want the matching alpha, it will be available to all the newsletter subscribers, so if you have not yet subscribed, there is still time as the newsletter goes out on Sunday morning (my time, Atlantic time). Just enter your name and email on the left column here and it will be done! But hurry!
Quick news from the Campus
There will be a live presentation on Sunday, July 7th.
The topic: Many Shades of Grey
You can still register HERE.
Remember, it is free!

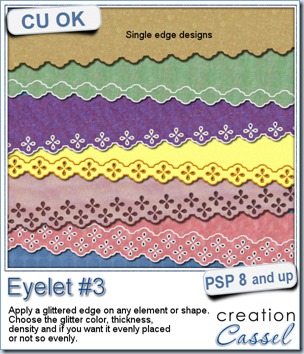
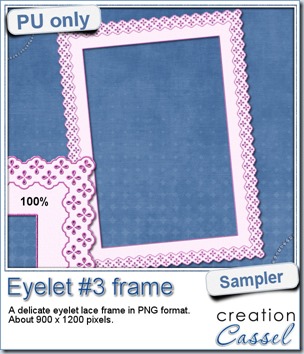 How about a little sample of what this script can do? I ran the script on a long piece of textured solid color to create a ribbon. I did the same thing twice, to get a top and a bottom edge with proper bevelling (NEVER flip or mirror an element that has been shadowed or bevelled). Then, using a copy of the ribbons, i applied a different bevel angle before merging and rotating the copies to make the vertical edges of the frame. Then, it was just a matter of applying a mitered corner technique to align and cut the corners correctly. What do you think of it?
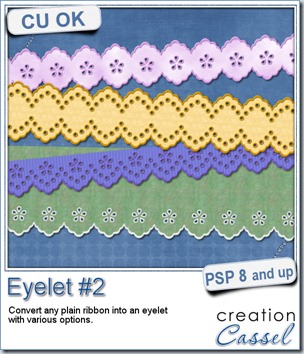
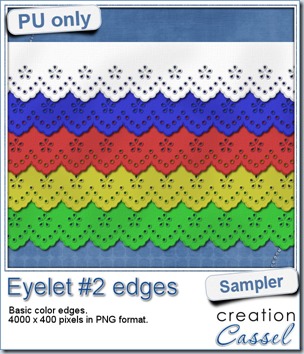 I know it is a bit American holiday coming up (I see that in the numerous 4th of July), but I also know that not everybody is American, so I figured I could create some basic eyelet edges for everyone, in basic colors. This sampler will give you 5 different eyelets in 4000 pixels each.

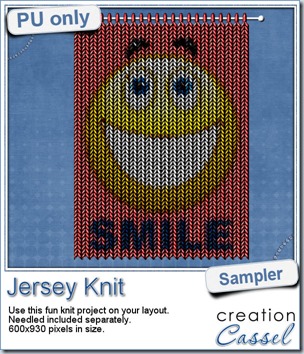 Since this script is used to add something to photos, i am sure giving you a sample made with one of my photos would not have meant much to you! But i figured it might be fun to have a generic design to make you smile so i used a smiley.
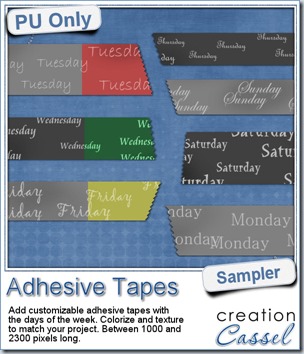 To give you an idea of what this script can do, i created a set of solid grey tapes, and just added some brushwork on them. See, instead of using actual papers, you can simply use solid colors and then generate plain tapes that you can also use as templates for painting on, adding text, etc.
 For a sample of how this font can be used, i created a little flowery branch that you can use on your layouts. It is about 2000 pixels high and in PNG format so you can use it no matter what program you are using.