 With Easter coming, you might want to create some holiday invitations or maybe you will want to embellish the photos you will take with the kids running around, looking for eggs.
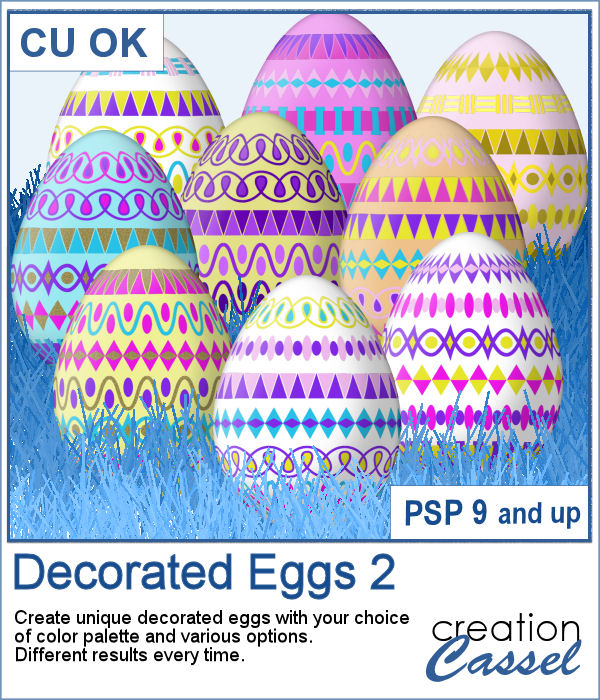
Creating and decorating eggs, even digitally, can be tedious (at least it is not messy), but with this script, it will take only a few seconds. You can choose various options, whether you want monochrome eggs or rainbow colors. And with the random function integrated into the script, you will have different eggs every time.
Use solid colors or even gradients or patterns for unique results.
This is a second script to create decorated eggs and the designs are different than for the first script.
Get this script in the store: Decorated Eggs 2
In order to win this script, add a comment on this Facebook post telling us what if you ever decorate eggs, and if so, how did you do it (remember, add a comment, not just a Like!) The winner will be announced in the newsletter, next week. Not a subscriber yet? Not a problem. You can register here and it is free (and you only get one email per week).
 To help you out, I created a dozen eggs that you can use to build some clusters or to line them up at the bottom of your next frame. Using bold colors, those eggs should go well with just about any Easter projects.
You need to be logged in to download this sample. You can either login, or register on the top of this page.