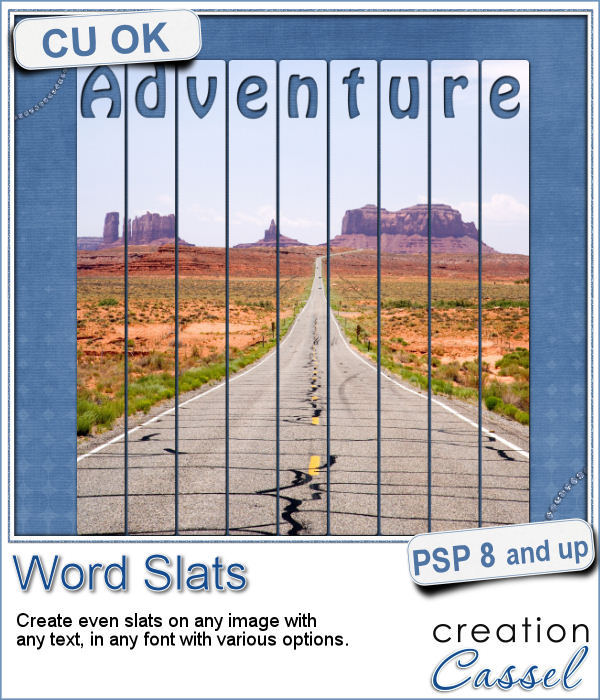
Slats are a fun way to display images as if we had multiple frames, but if you want to add a word or phrase, it makes for an even more custom display.
You can do that with this script, and you can use any text you want, in any font. The script even has additional options for even more unique ways to display your favorite photos.
Get this script in the store : Word Slats
In order to win this script, add a comment on this Facebook post (remember, add a comment, not just a Like!) The winner will be announced in the newsletter, next week. Not a subscriber yet? Not a problem. You can register here and it is free (and you only get one email per week).
As a free sample, i converted the slats used in the preview into a template. You can use it for your own photo. Make it sideways if you prefer. Cut the slats if you have a wider image that is not as high. Be creative!
You need to be logged in to download this sample. You can either login, or register on the top of this page.

Do you like the look of a nice "official" seal to put on your project but can't find one in the color you want? Or would you like to find one that has the name of your child, or the name of the city you visited, or the specific date of your last vacation?
Since February is coming, and so is Valentine Day, I decided to create a few seals that you could use either on scrapbook pages about your loved one or on custom card or design you might create for him/her.
If you have used the Word Cutout script, you know that it would only use the edge of the photo. However, sometimes, the edge holds some meaningful parts of the image and you would like to cut the words out of another location.
Using a black image, 4000x3000 pixels, i ran the script 3 times to add the individual words of "Live", "Love" and "Laugh". To make them even, i used guides before running the script, so my selections were always the same height. Neat trick!
Although it might be easy to create a simple puzzle with 20 or 30 pieces, it is a whole different story when you want to have hundreds of pieces.
Since this script is to be applied to your own photo, i thought i could create a little something using last week's script, the Painted Cardboard.
What do you like about incorporating ripped pieces of papers in a digital project? The rustic look? Maybe. But how do you go around getting those for your layout other than scanning them?
As a sample, i created 3 frames using this script. All three were made starting with a different gradient instead of a solid color. They are about 6 inches in the longest side so you should be able to get a photo in them.
Now, you can use your Paintshop Pro to add a fun line of puffy paint around an edge of a shape or a letter.
As a sampler of what you can get with this script, I created a set of digits in "white". You can easily fill them in with the color of your choice for a different look.
Adding holiday decorations is always fun, and even better when you do it digitally.
This week, for a sampler, I used several products from the store to create a decorated wooden window. I used the Wooden Window script, the Christmas lights and the Christmas strings.
You can now create a fun title or text using individual stamps that will display letters, digits, abbreviations or words.
How about a way to date all the photos and pages you will be doing in December?
As a child, you likely have played with playdough (or plasticine). You must have created textures, poked your finger in it, rolled it to make snakes and used cookie cutters to create various shapes.
For a sampler, I created a "hand drawn" alphabet for you. I used three fall colors.
If you are creating kits, you will want to use this script to create a variety of labels in just a few seconds. Keep the ones that you like, and discard the others.
As a sampler, I ran the script using 5 papers from the kit Enchanted Autumn from Marisa Lerin. This set includes 15 different labels, ranging in size between 600 and 1000 pixels. Some are round, some are oval, some are square and some are rectangular.