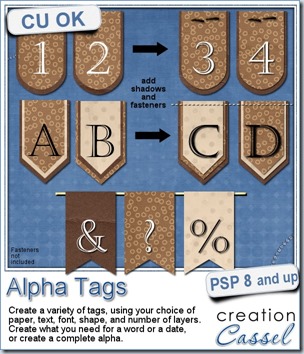
I saw little tags with digits to create a date on a layout and i thought it was cute. I also thought that it must be tedious to do if you need more than just a few. How about if you want to write a word, a title, or a phrase?
Of course, scripts are made to save time and once coded correctly, that is exactly what they do. So i proceeded to code this script for Paintshop Pro users. This is not a template where you get the script to stop at each layer, ask you what you want to fill it with and go on to the next layer. Once you have chosen the font, the color, the text, the papers and a few other options, you can just go make yourself a coffee and the script will do everything by itself, whether it is a 5 letter word, a 26 letter alphabet or a 50 letter phrase. It is all automatic.
In addition to doing all the work for you, the script will add a touch of randomness that would be visible if you were to use a pair of scissors and cut the papers yourself: you would not get the same patterns or stripes or creases at the same place for each tag. That is the beauty of the random feature coded into this script: you will NEVER get the exact same tags twice. After all, if you wanted the exact same tag, with the same papers cut in the same place, it would be just simpler to create ONE tag and change the letters, but you want something more unique than a carbon copy of a tag for a whole alpha, right?
Then, it is up to you to fasten these tags the way you want, whether you use a staple, a button, a stitching, a pin, or just tuck it under a photo.
You can get this script in the store here: Creation Cassel.
You have a chance to win this script and create your own tags for your kits or layouts. Add your name tothis thread and tell me what you can think of using these tags for. I’ll pick a winner on Monday night.
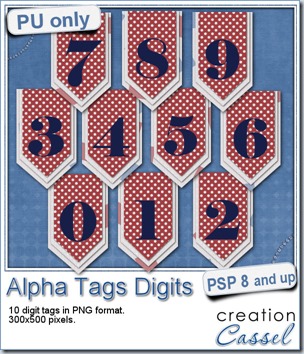 As a sample, i made this set of digits based on papers from an old kit of mine. The basic blue, white and red should make these tags very versatile. The shadows are added to the inside layers but not the outside ones. That will allow you to add a fancy shadow, making the tags lift off the papers.
You need to be logged in to download this sample. You can either login, or register on the top of this page.
Initially, i thought of giving you only the 0, 1, 2, and 3 so you could write 2013, but then, i figured you might want to use those tags for something else. What else could you use digits for?
Do you like to see layouts made using my products (freebies or purchased)? I am sure you do, and so does everyone else. That means that if you are using ANY of my products, you are allowed to share them with us. I can post your project on this blog, or in the newsletter. You can even post it in the Facebook page if you want. That is allowed! And if you don’t have a Facebook page and would be ok in sharing your layout, i can post it myself with credits to you. How is that?
Dont hesitate. Here is the store FB page: https://www.facebook.com/CreationCassel

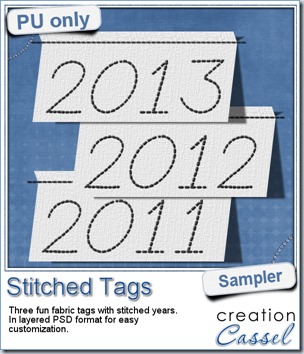 As a sample, this week, i created a set of simple fabric tags with the years. They are in layered PSD format so the tag, the stitching on top and the shadow are on different layers. This should allow you to colorize the tags and the stitching without affecting the shadow and you can also add your own shadow if you need to rotate the tags.
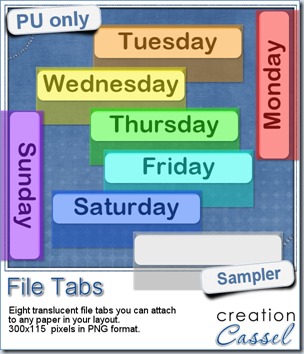 Since you probably don’t need another alpha from me, and since this is a tool script, it is a bit harder to make a sample from it. So i thought of an older script of mine that might help you if you are doing a Project 365, or if you just like to add a fun way to date your layouts. These are file tabs, like you would see in a binder to divide sections. Each tab has a day of the week on it and it also includes a blank white tab, in case you want to add something else to your layout, than a day (maybe a date? maybe a week number?)
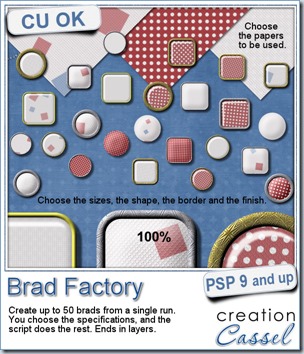
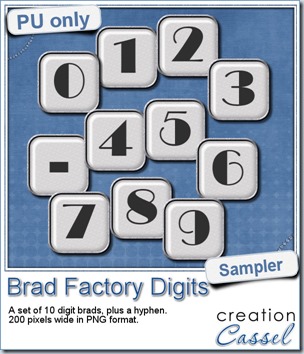 One great advantage of this script is how it leaves all the layers intact, allowing you to tweak or use them in different ways. That is what i did with this sample. I ran the script on several papers i had (see the preview) and chose a simple, neutral one, with acrylic finish and i turned it into a set of digits but just adding the characters below the acrylic layer. It was soooooo easy.
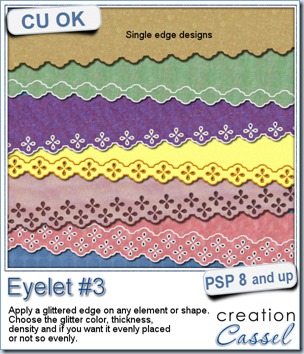
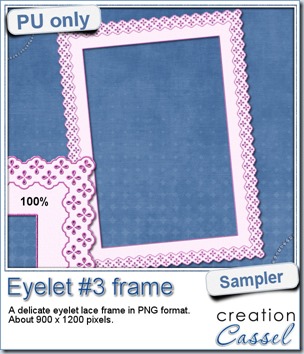 How about a little sample of what this script can do? I ran the script on a long piece of textured solid color to create a ribbon. I did the same thing twice, to get a top and a bottom edge with proper bevelling (NEVER flip or mirror an element that has been shadowed or bevelled). Then, using a copy of the ribbons, i applied a different bevel angle before merging and rotating the copies to make the vertical edges of the frame. Then, it was just a matter of applying a mitered corner technique to align and cut the corners correctly. What do you think of it?
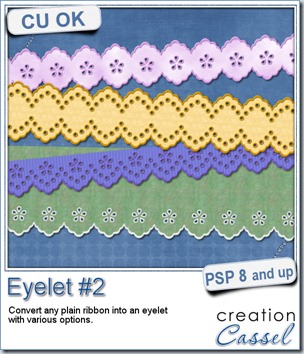
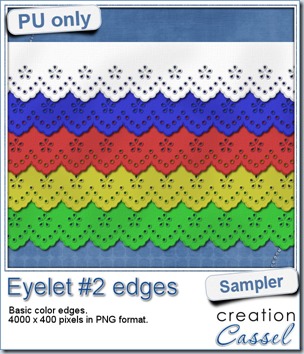 I know it is a bit American holiday coming up (I see that in the numerous 4th of July), but I also know that not everybody is American, so I figured I could create some basic eyelet edges for everyone, in basic colors. This sampler will give you 5 different eyelets in 4000 pixels each.