Web
Analytics

New script – Alpha Tags

cass-AlphaTags

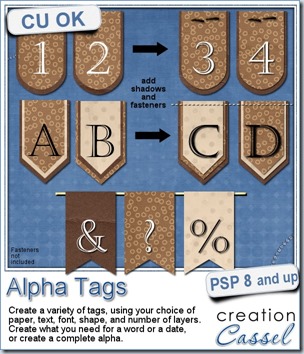
I saw little tags with digits to create a date on a layout and i thought it was cute. I also thought that it must be tedious to do if you need more than just a few. How about if you want to write a word, a title, or a phrase?

Of course, scripts are made to save time and once coded correctly, that is exactly what they do. So i proceeded to code this script for Paintshop Pro users. This is not a template where you get the script to stop at each layer, ask you what you want to fill it with and go on to the next layer. Once you have chosen the font, the color, the text, the papers and a few other options, you can just go make yourself a coffee and the script will do everything by itself, whether it is a 5 letter word, a 26 letter alphabet or a 50 letter phrase. It is all automatic.

In addition to doing all the work for you, the script will add a touch of randomness that would be visible if you were to use a pair of scissors and cut the papers yourself: you would not get the same patterns or stripes or creases at the same place for each tag. That is the beauty of the random feature coded into this script: you will NEVER get the exact same tags twice. After all, if you wanted the exact same tag, with the same papers cut in the same place, it would be just simpler to create ONE tag and change the letters, but you want something more unique than a carbon copy of a tag for a whole alpha, right?

Then, it is up to you to fasten these tags the way you want, whether you use a staple, a button, a stitching, a pin, or just tuck it under a photo.

You can get this script in the store here: Creation Cassel.

You have a chance to win this script and create your own tags for your kits or layouts. Add your name tothis thread and tell me what you can think of using these tags for. I’ll pick a winner on Monday night.
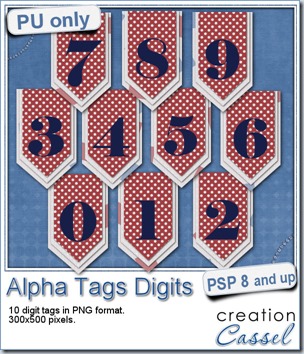
cass-AlphaTags-sampleAs a sample, i made this set of digits based on papers from an old kit of mine. The basic blue, white and red should make these tags very versatile. The shadows are added to the inside layers but not the outside ones. That will allow you to add a fancy shadow, making the tags lift off the papers.

You need to be logged in to download this sample. You can either login, or register on the top of this page.

Initially, i thought of giving you only the 0, 1, 2, and 3 so you could write 2013, but then, i figured you might want to use those tags for something else. What else could you use digits for?


Do you like to see layouts made using my products (freebies or purchased)? I am sure you do, and so does everyone else. That means that if you are using ANY of my products, you are allowed to share them with us. I can post your project on this blog, or in the newsletter. You can even post it in the Facebook page if you want. That is allowed! And if you don’t have a Facebook page and would be ok in sharing your layout, i can post it myself with credits to you. How is that?

Dont hesitate. Here is the store FB page: https://www.facebook.com/CreationCassel

Font and bundle

cass-SewingMachineFont

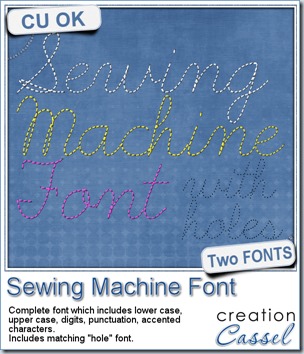
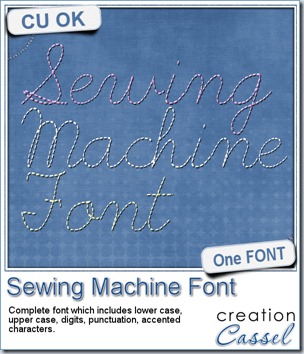
Last week, i released a sewing machine font and i got a request to have a matching “hole” font. I didn’t think, initially, that anyone would want the holes too but i was obviously wrong. So, thanks to Wendy’s request, i am now offering the matching “hole” font with the “stitching” font. You get two fonts in one zip.

You can use the “hole” font on its own if you want, or add it to the “stitching”. They are perfectly matching. Use black or grey holes, or use a blending mode to make them fade in the background. Do whatever you need to make it as realistic as possible.

You can get this Sewing Machine Font in the store.

(if you already purchased the Sewing Machine Font, go back and download the newer zip file which will contain the “hole” font).

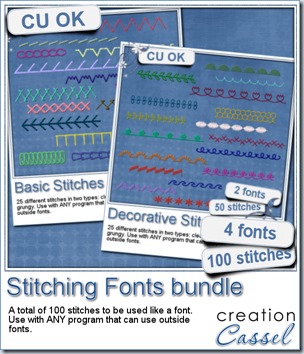
cass-StitchingFonts-bundleWhile we are in a stitching mood, i bundled up the most popular fonts of my store: the Stitching fonts. Those are the first font i created and they were (and still are) extremely popular especially since they can be used by most graphic programs. There is the basic stitches font and the decorative stitches font. You can use them in so many different ways, i cannot name them all. Use them on a straight line to stitch something, or use them on a path to simulate various types of decorative stitching.

Since they are fonts, you have the opportunity to combine 2 or more characters/stitches to make fun combinations. You can choose the colors, size, kerning, and more, depending on your program.

Although you can get them separately (the Basic and the Decorative), i have bundled them together for you for a discounted price AND it is also on special this weekend. Go grab this Stitching Fonts bundle as soon as you can.

This week, you have the chance to win this bundle of 100 stitches by adding your name to this thread in the DST forum.

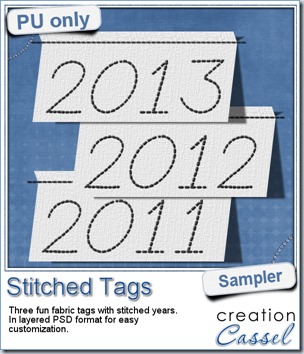
cass-SewingFont-sample-tagsAs a sample, this week, i created a set of simple fabric tags with the years. They are in layered PSD format so the tag, the stitching on top and the shadow are on different layers. This should allow you to colorize the tags and the stitching without affecting the shadow and you can also add your own shadow if you need to rotate the tags.
What would you do with those tags? They would be great to add a fun date to your layouts.

To create those tags, i obviously used the Sewing Machine font, but also the Clothes Tag script. Those two are a fantastic combo!

You need to be logged in to download this sample. You can either login, or register on the top of this page.

Enjoy.

New Font – Sewing Machine Font

cass-SewingMachineFont

It is always fun to have some stitched text but sewing it, scanning it and extracting it is too much work for most (including me), so i created this font somewhat from my own handwriting.

Being a script font, it is a bit more work to get the letters to attach together properly but i think this one will become one of your favorite. If some letters don’t perfectly attach, you can just blame it on the machine!

The font includes lower case, upper case, digits, punctuation and several accented characters too.

Since this is a font, it is useable with Paintshop Pro, Photoshop, Photoshop Element and probably other programs, as long as they can use outside fonts.

You can grab this font in the store, at Creation Cassel.

You have a chance to win this font by just adding your name to this thread in the forum and tell me what program you are using. Remember that it can be used with probably all graphic programs. I will be back on Monday with the name of a winner (send your friends over too!).

cass-SewingMachineFont-sample


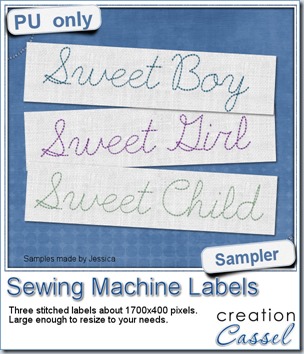
This week, i sent the font to my CT members and Jessica created those fun stitched labels. They are huge in size so you can size them down to just about anything you need.

With such a font, you can surely think of other types of labels you could create or text to write.

You need to be logged in to download this sample. You can either login, or register on the top of this page.

This font will work particularly well with the other Stitches fonts like the Basic Stitches or the Decorative Stitches if you have a craft or a sewing theme layout. Or, how about combining text with this font and the Clothes Label script? This is a combo made in heaven!

New script – Alpha Separator

cass-AlphaSeparator

A couple of weeks ago, Lynn emailed me asking for a script to help her quickly create “cards” with letters as she needed individual letters to write words and phrases on cakes (yes, she does that, and it is pretty!). Nothing was available to meet her needs, even in the store, so i proceeded to code this script.

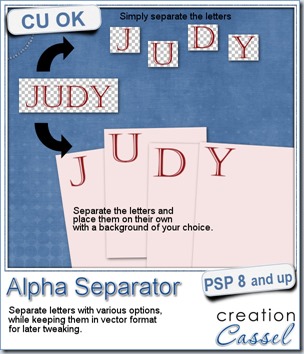
This is clearly a tool script that will split all the letters in a word (or a phrase), into separate images. It will create all the images the same size (matching the biggest letter of the text) and giving you options to add a background if you want, choose a different size, move the letters off the center (where they would be placed by default), or resize the letters too. One particularity of this script is that it will keep the characters in a vector format, allowing you to start with a small font, and choose a large size image to put them and the letters will be sized up without any distortion. And they are left on unmerged layers so you can tweak them further if you wish.

If you want to make an alpha to match a particular kit, use one paper from the kit to write the text in the first place and it will be separated with that paper. A fast way to create a simple alpha.

You can get this time saving script in the store: Creation Cassel.

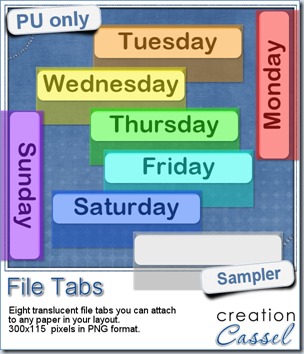
cass-FileTab-sample-DaysSince you probably don’t need another alpha from me, and since this is a tool script, it is a bit harder to make a sample from it. So i thought of an older script of mine that might help you if you are doing a Project 365, or if you just like to add a fun way to date your layouts. These are file tabs, like you would see in a binder to divide sections. Each tab has a day of the week on it and it also includes a blank white tab, in case you want to add something else to your layout, than a day (maybe a date? maybe a week number?)
Each tab is translucent so you can place it on the edge of a paper, or a frame or a photo and the design will show through.

What would you use the blank tab for?

You need to be logged in to download this sample. You can either login, or register on the top of this page.

New script – Brad Factory

cass-BradFactory

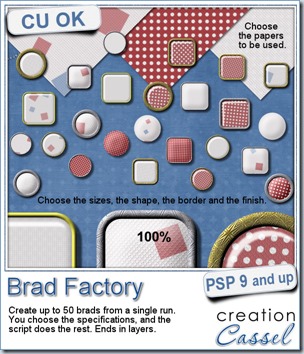
This is the fastest and easiest way to create a lot of perfectly matching brads.

The script will use any paper you want (you can use 1, 2, 3 or more) and pick a random section of it to create the brad. You will always get a different result (especially if you have some kind of design in the paper) because of the random feature integrated.

But you don’t choose only the papers. You can choose the size, the shape, the finish, the border, the thickness of the border, and its finish.

You can even choose to add your own texture later using another program or plugin (like Eye Candy, or Super Blade Pro for example).

At the end, everything is left in unmerged layers so you can either tweak the settings a bit yourself, use the layers in other projects, or insert decorative elements (think of a little flower!) inside the acrylic.

And you can create 50 brads in a single run of the script. How much easier can it get?

Grab this time saving script in my store: Creation Cassel

Now is your chance to win this fun script. Add your name to this thread in the DST forum, and one winner will be announced on Monday night. Do you prefer round or square brads?

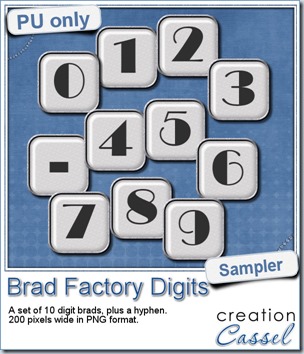
cass-BradFactory-sample-digitsOne great advantage of this script is how it leaves all the layers intact, allowing you to tweak or use them in different ways. That is what i did with this sample. I ran the script on several papers i had (see the preview) and chose a simple, neutral one, with acrylic finish and i turned it into a set of digits but just adding the characters below the acrylic layer. It was soooooo easy.
Being white with silver border, they should be quite versatile and you could use them in many projects.

You need to be logged in to download this sample. You can either login, or register on the top of this page.

If you want the matching alpha, it will be available to all the newsletter subscribers, so if you have not yet subscribed, there is still time as the newsletter goes out on Sunday morning (my time, Atlantic time). Just enter your name and email on the left column here and it will be done! But hurry!


Quick news from the Campus

There will be a live presentation on Sunday, July 7th.

The topic: Many Shades of Grey

You can still register HERE.

Remember, it is free!

New script – Eyelet #3

cass-Eyelet03

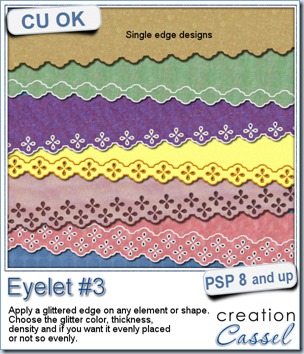
Eyelet laces are so diverse that I thought there would not be any problem in adding another eyelet script, with some different designs and combinations.

This script will use a 4 petal flower (instead of the 5 petal one, from last week), and the edge has a different shape. You can have one or two rows of flowers, which will be alternating if you choose a second row. And you can add another “edge” above the flowers, and it will be aligned perfectly, depending on whether you have a single or double row of flowers. You can even have both “edges” with no flower at all, and add your own gems or designs in the space created with them.

As for the previous eyelet script, you can add designs on the top, the bottom or both edges in the same run.

Use those designs on ribbon (you just choose the color of the embroidery, but you can use an actual ribbon to add the embroidery on it, create your own ribbon, etc.

You can grab this fun script in my store: Creation Cassel

If you want to add your name to the RAK thread in here, go for it. You have a chance to win this script and be on your way to add eyelets to all your projects.

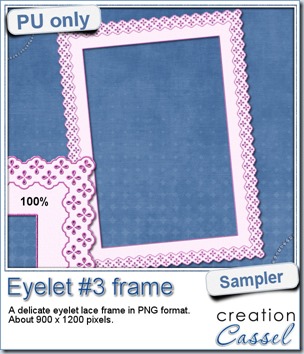
cass-Eyelet3-sample-frameHow about a little sample of what this script can do? I ran the script on a long piece of textured solid color to create a ribbon. I did the same thing twice, to get a top and a bottom edge with proper bevelling (NEVER flip or mirror an element that has been shadowed or bevelled). Then, using a copy of the ribbons, i applied a different bevel angle before merging and rotating the copies to make the vertical edges of the frame. Then, it was just a matter of applying a mitered corner technique to align and cut the corners correctly. What do you think of it?
You need to be logged in to download this sample. You can either login, or register on the top of this page.


New script – Eyelet #2

cass-Eyelet2

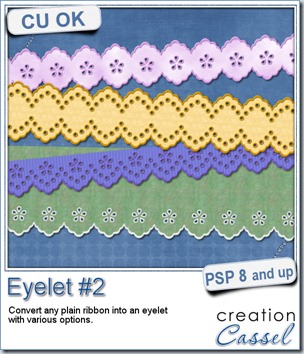
A long time ago, one script was added in the store to create a basic eyelet design using Paintshop Pro. This time, not only you get ribbon, but you can choose many more options and the script is also responsive to offer you choices based on the size of your starting image.

You get 3 embroidered designs: the edge, the eyelets and the flowers. Each will be on a different layer and can be combined. You can have an edge and eyelets, and edge and flower, or an edge and eyelets and flowers. You can have the design on the top, on the bottom or on both edges. If the image/ribbon is thick enough, you can have the row of flowers doubled, if not, it will be single and centered.

You can use any straight and boring ribbon, or you can create your own using a strip of paper or a solid color with a texture.

Once the “ribbon” is done, it is up to you to use it as you wish. Make it into a frame, sew it to another element, ruffle it, tie it or knot it (with another script). Since the embroidered designs are left on separate layers, you can adjust the colors. And if you ran this script on a piece of paper, you can even remove the embroidery and just pretend you punched the paper!

You can grab this fun and creative script in my store at Creation Cassel.

If you want a chance to win this script, you can add your name to this thread in the DST forum and tell me how you could use this script BESIDE making a ribbon. Let’s be creative! I’ll be back on Monday with the name of a winner.

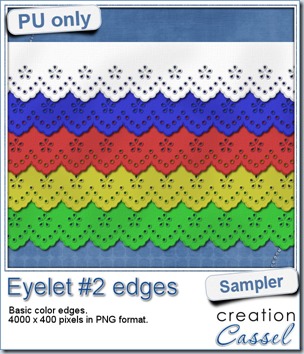
cass-Eyelet2-sampleI know it is a bit American holiday coming up (I see that in the numerous 4th of July), but I also know that not everybody is American, so I figured I could create some basic eyelet edges for everyone, in basic colors. This sampler will give you 5 different eyelets in 4000 pixels each.
Being more than the traditional 3600 pixels in length, you can use them at an angle and still go across a standard scrapbook page. You can also make frames out of them.

Available for FREE when you register to our mailing list HERE.

New Script – Vector Separator

cass-VectorSeparator

Did you attend the live presentation on Texting Again with PSP? We looked at how easy it was to split a word into individual letters to manipulate them separately. Someone asked a great question about adding shadows to those individual letters, and at the time, i didn’t know how to do it easily. I knew there was a way to split them but it was tedious and not convenient.

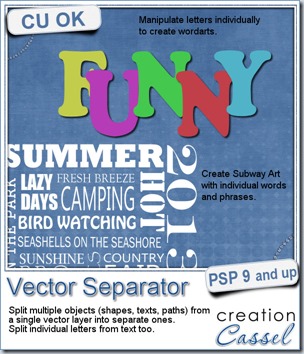
In order to accomplish what was asked, i coded this script. Not only will this script convert each letter into a shape, but it will also split them into individual vector layers that can then be manipulated at will and even converted to raster to add more effects, like shadows, textures, distortion, etc.

And if you have several vector objects (text, shape, path), and want to move them, rotate them, or otherwise manipulate them, the script can also split them into individual vector layers. This is perfect to create wordart.

You can get this time saving tool in my store atCreation Cassel.

There is also a thread HERE, where you can add your name and ANSWER the question to enter into a random draw. I will be back on Monday night with the name of a winner.

cass-SubwayArt-DAD


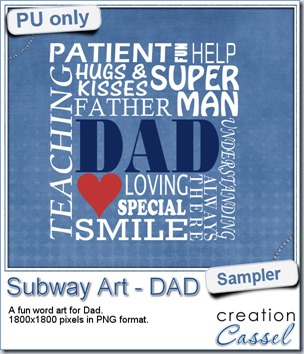
For this week’s freebie, with Father’s Day just around the corner, I thought of making a wordart for DAD. Using the Vector Separator, i was able to add all the words and phrases to one vector layer and then split them for easier manipulation.

You can use this wordart to make a frame, to overlay on a photo, or just print it and frame it.

The whole design is about 1800 x 1800 pixels and in png format so it can be used with just about any graphic program.

You need to be logged in to download this sample. You can either login, or register on the top of this page.

New script – Chalk Texture

cass-ChalkTexture

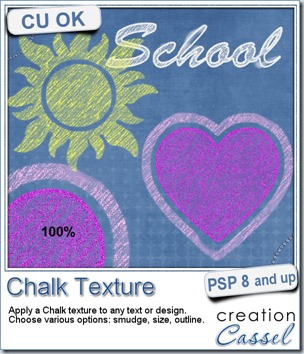
There are various “styles” available for Photoshop users to create a chalk texture, but this script will work for Paintshop Pro users and will turn ANY design, shape or text, in any color, in a chalk project.

You can add various options to your project, including smudges (aren’t those common on a chalkboard?), and outline, and you can even decide on the thickness of the outline, the amount of smudge and the size of the texture. This means you don’t have to rely on a small texture for a large project, or a large texture on a small project.

Despite the options available to the user, the script will still add a little randomness so that each run will be somewhat different than the others. You can take advantage of this feature to run the script on different layers and it will look like it was drawn by hand.

You can get this fun texture script in my store: Creation Cassel.

Do you want this script for free? Of course you do. You can just add your name to this thread in the DST forum and tell me what else than a school theme you could use this script for.

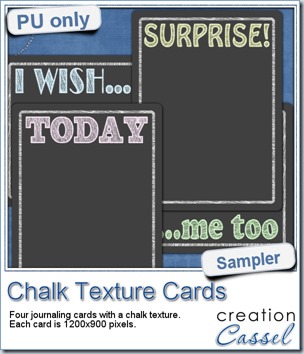
cass-ChalkTexture-sampler


As a sample, this week, I am presenting you with 4 journaling cards that you can use in various ways on your projects. Use them vertically or horizontally.

Each card is dark grey, 1200x900 pixels with rounded corners.

You need to be logged in to download this sample. You can either login, or register on the top of this page.

New script – Textured Papers

cass-TexturedPapers

We all know how adding texture to a plain paper can make the difference between a set of boring papers and a lively realistic result. Although most scrappers and designers know the importance of adding texture, it seems so easy to rely on our few favorite overlays and use them over and over and over again, leading to less creative results.

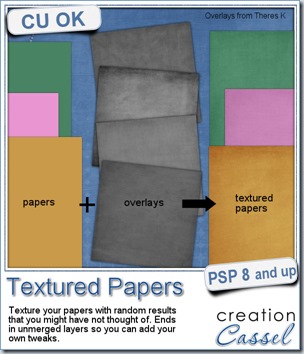
This script will add that variety by randomly picking overlays (between 2 and 4 per paper), rotating them randomly, layering them randomly, adding a random blend mode, and adjusting the opacity, also randomly.

Will it always give a pleasing result? Maybe not, since Paintshop Pro cannot see the result and surely, does not know your own taste, but that is not a problem since everything is left unmerged, so you can tweak all the layers, deleting some if you want, changing the blend mode, varying the opacity or even adding more overlays to the stack. One thing for sure, you will be playing with some different combinations that you might not have thought of.

The script will also rename each overlay layer to the overlay file name so you can easily refer to them if you need to reuse one or credit the source.

You can get this script in my store, at Creation Cassel.

There is a thread in the DST forum (that was added late) where you can win this script simply by telling me how many overlays you tend to use on a paper when you want to texture it. And by Monday night, i will pick a winner.

cass-Card&EnvelopeTemplates


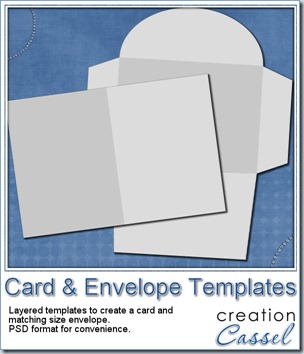
This week, as a sampler, I am offering you a simple layered template for a card and envelope. You can use these templates for our Father’s Day contest.

The template, in PSD format, will create a card, 1200x900 pixels (so 4x3 inches), with an envelope that will match.

Use your favorite kit, designs, or supplies. Add the text you want, in the language you want.

You can use the card template to create a card in either orientation: portrait or landscape.

Sorry, the download link expired. However, you can get this set for free once you join the mailing list to get our weekly newsletter.