 Do you sometimes find some interesting masks, but they are the wrong shape or the wrong orientation?
Do you want to create something unique to showcase your own photos?
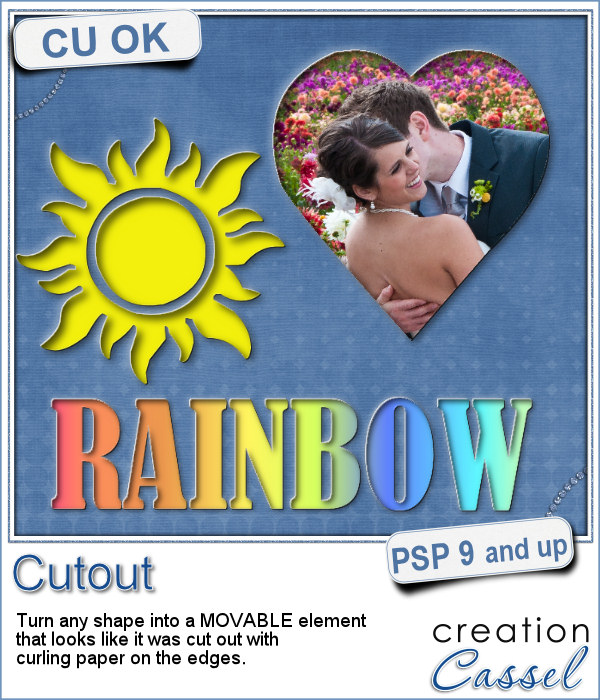
This script will help you create a unique mask in any shape with any design you want. You can be very creative with it.
Once done, the mask can be saved and used over and over again, later.
Get it in the store: Mask Maker
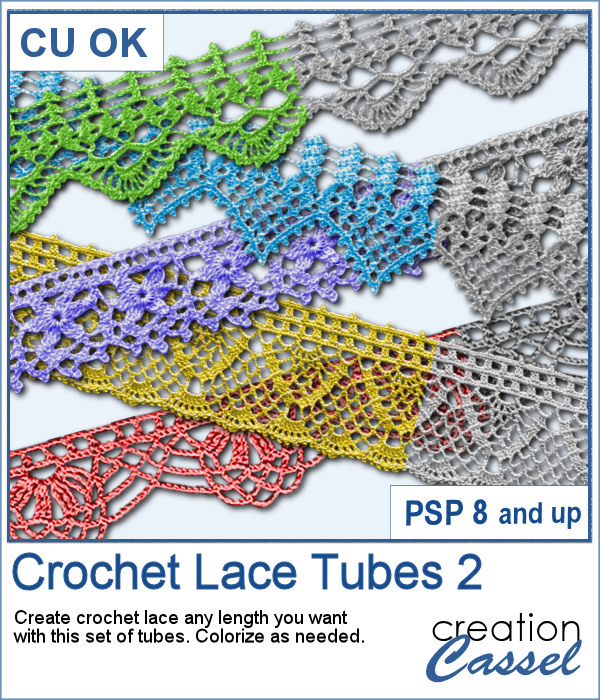
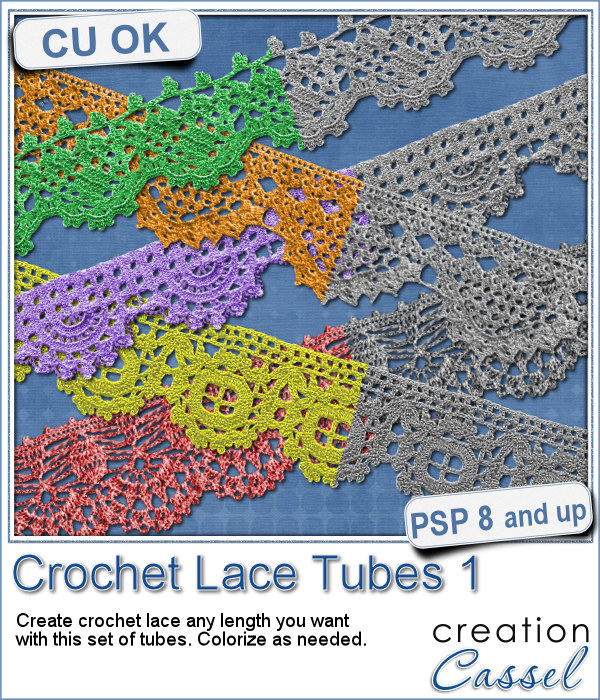
In order to win this script, add a comment on this Facebook post telling us what type of color you would most likely colorize these laces (remember, add a comment, not just a Like!) The winner will be announced in the newsletter, next week. Not a subscriber yet? Not a problem. You can register here and it is free (and you only get one email per week).
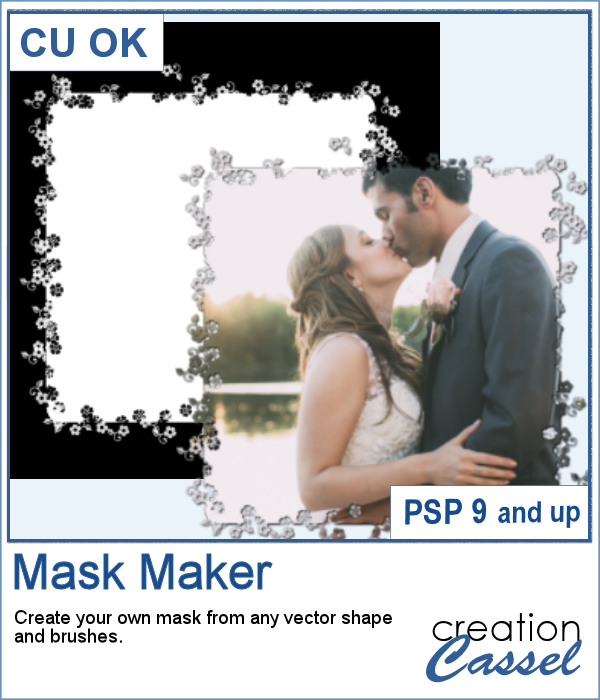
 As a sampler, I am giving you the mask created for the preview. It is square and has some delicate flower designs on the edges, both inside and outside of the basic shape. This should allow you to showcase your photo with little interference from the cutouts.
The basic mask is 2000x2000 pixels but remember that it will adjust to your photo, whatever size it is.
You need to be logged in to download this sample. You can either login or register on the top of this page.