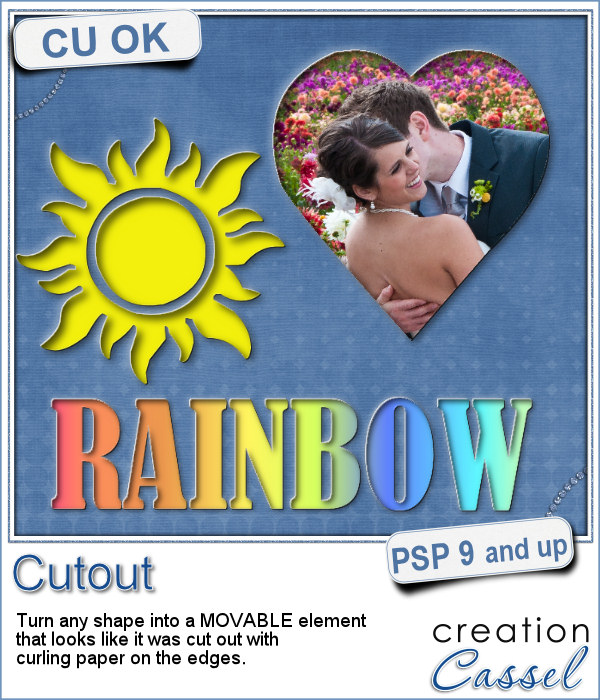
With this script, you can pretend that you cut out the top layer of your project to show something underneath, while in fact, you cheated and what you see underneath is actually on top.
This allows you to move your "cutout" piece anywhere on your project, or on a separate project if you want to. Save it for future use too and the effect will be applied wherever you place the shape.
The edges will look like the paper is slightly curled up, so make sure you place it on a layer that looks like paper (curled up wood would not look too realistic!)
Get this script in the store: Cutout
In order to win this script, add a comment on this Facebook post telling us what shape you can think of using this script with (remember, add a comment, not just a Like!) The winner will be announced in the newsletter, next week. Not a subscriber yet? Not a problem. You can register here and it is free (and you only get one email per week).
To show how these cutout shapes can be portable, I used a stencil font to create a set of white digits. They are png format so you can use them anywhere, on any project and give the impression that your paper is cut, and curled up to show these numbers. You will obviously get better results if you don't use a very dark paper!
You need to be logged in to download this sample. You can either login, or register on the top of this page.

Do you like lace edging? Can you find some that suits your project? Something that is the right color, the right length?
As a sample, this week, I created a long strip of lace and turned it into two frames using the Mitered Corner Frame script. In order to make nice corners, i trimmed the strip exactly between "loops" then measured the length of a loop in order to set a size, in the script, that would use complete loops. I think it turned out great.
These are picture tubes. Each set has 26 different "building" silhouette, and there are 3 sets: one for residential buildings, one for commercial buildings and one for industrial buildings (so you have a total of 78 buildings!)
In order to get a closer look at these tubes, I created 3 "borders", one with each tube set.
You might already be familiar with the script to create neat and regular chevrons, but sometimes, you might want something a little different, a little less regular.
Since I didn't know what were your favorite colors, I created three tiles with chevron patterns in black, white and grey. They would be quite easy to colorize to your liking and match your current project.
Do you like to play with building blocks? Does it bring back memories of your childhood?
As a sample, I created two simple frames made out of blocks.
Now, you can create a series of frames of different sizes using several papers you have on hand. This is perfect if you want to create frames to go along with your kit, but it can also be an interesting tool to give you some frames that you can use on your own layout using the colors of your project.
This week, I am offering you 10 frames I made for the preview. It uses papers from the kit Fine Print from Marisa Lerin. This kit is free to download, so if you want some matching frames, papers and elements, check it out
If you have a project about game night or bingo winners, you might want to add some bingo cards to your layout, but usually, you will find some pretty ordinary cards that won't necessarily match the colors or style you are using.
As a freebie for this week, I created 5 matching cards so you can actually print them out and use them to play. Laminate them so you can keep them for later.
If you like chocolate, here is your chance to get a sweet treat for your next graphic project. Whether you like white chocolate, milk chocolate or dark chocolate, you are in luck!
For a sample of this script, I used a few summer themed elements and ran the script with a milk chocolate flavor.
Although bottle caps might be a little thick for a traditional paper layout, you can layer as many as you can in a digital layout! But you don't have to use a boring, plain or typical bottle caps since you can now create them with a touch of your favorite papers, from any kit.

If you want some precious metal elements, you can create them with this script. It will take just about any shape and outline it in gold, silver or bronze, and then, will fill it with crystal in the color you choose (you can even pick a gradient for a great effect too).
As a sampler, I created this cute flower. The freebie includes the flower with the stem and leaves but also the flower alone.