And you can now have some flat ribbons that are not so flat anymore.
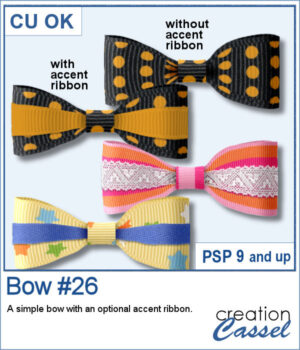
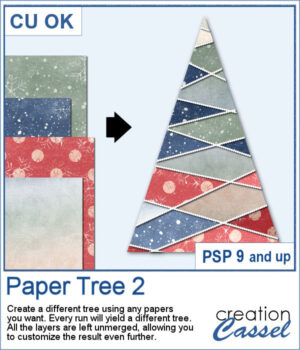
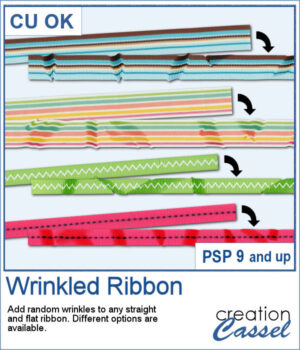
You can add wrinkles to them to make your ribbon different than their flat counterpart. Each run of the script will yield a different set of wrinkles. You can also choose how wrinkled you want it and where you want the wrinkles to go.
Get this in the store: Wrinkled Ribbon
In order to win this script, add a comment on this Facebook post telling how you would use a wrinkled ribbon (remember, add a comment, not just a Like!) The winner will be announced in the newsletter, next week. Not a subscriber yet? Not a problem. You can register here and it is free (and you only get one email per week).
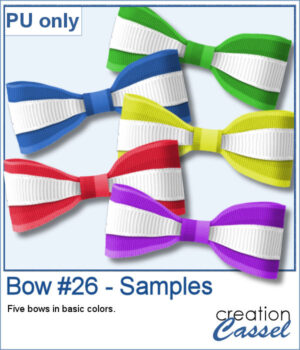
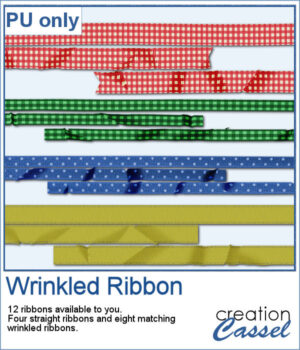
For a sampler, I created some flat ribbons from CU files, and ran the script twice on each so you have three matching ribbon for each of the four starting ribbons.
You need to be logged in to download this sample. You can either login, or register on the top of this page.

Turn a straight ribbon into a simple bow and you can even add an accent ribbon too. You can use a matching ribbon or a contrasting one. You can even use some lace ribbons.
For a sample, I created five bows of basic colors with a white accent ribbon. They are in PNG format so you can use them in most graphic programs.
If you want to create a regular seamless pattern, you can use any open design on your workspace and use it as a fill, but what if you want to arrange the designs at angles, or with mirrored elements?
For a sample, I generated one tile of each of the 13 patterns, using cliparts of paint tubes in different colors. Each tile is in PNG format so you can add whatever background you want to them.
Stylized trees are a perfect addition to your scrapbook pages, cards, and posters, and now you can create them effortlessly with this script! Every run generates a unique tree design, using the papers you’ve opened in your workspace. No two trees will ever be the same!
For a sample, I created one tree using a single paper (notice that there are some variations if lightness in different sections). All the sections are left unmerged so you can tweak them, replace them with other papers, or even with photos.
Wavy edges can add a delicate effect to any element. You can create small or big waves, on one edge, two opposite edges, or even all four edges at once.
For a sampler, I created two simple frames for you to showcase your favorite photos. One is vertical and one is horizontal. The difference is in the slight bevel added to give that 3D effect.
You can create fun layered shapes for tags, decorations, clusters, etc. You choose the shape and the papers to use. You then let the script combine everything to create up to 15 different layered shapes.
For samplers, I created 12 layered tags using the paper kit Merry & Bright from Marisa Lerin. Each shape is left in individual layers so you can tweak them as needed.
When you shop in a store, you can often find sprinkles in different colors. It is the same in the Creation Cassel store, where you can purchase sprinkles in single colors. However, sometimes, you want to have multiple colors combined for a particular theme, or color palette.
For a sample, I created two sets if picture tubes for the holidays. One with Christmas colors and one with Hanukkah colors. Of course, you can use those sprinkles with other projects, even if not related to the holidays at all.
It is quite tedious to create a grid of letters to spell out a word, but this script will create it for you, in just a few seconds. And once your template is done, it is up to you to customize it, and replace the various elements with your favorite colors, papers, photos, etc.
For a sample, I considered the two main holidays coming in December so you can use these templates to either showcase photos, or add to a greeting card (you would have to resize it then). Each template is 3000x3000 pixels in .pspimage format.
Although you can place brush imprints easily along the edge of an image, it is not always easy to make it EVEN on all sides.
For a sample, I created three holiday-related frames of different formats: square 3600x3600 pixels, and rectangular 2100x1500 and 1500x2100 pixels with different holiday brush tips.
You can get the look of stamped letters, digits, and shapes in just a few clicks. You can create a single element or a whole series for a themed project.
For a sample, I created a full alphabet in orange color, perfect for Halloween. Each letter is about 500 pixels in height and in PNG format so it will show the background color of any paper or project.