Although it might be easy to create a simple puzzle with 20 or 30 pieces, it is a whole different story when you want to have hundreds of pieces.
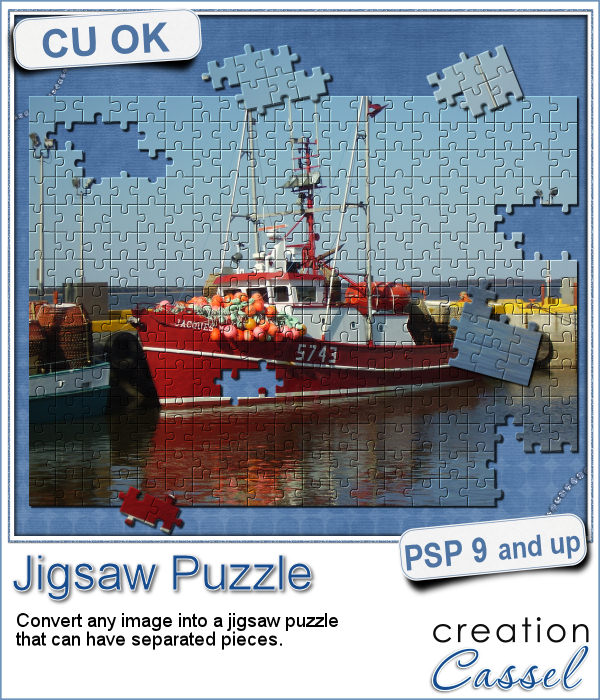
This script will turn any photo into a 300 pieces puzzle, complete with the bevels around each piece.
But that is not all. You also get the option to separate some pieces from the main puzzle. The script will NOT create 300 individual layers (you would get lost) but will separate those pieces YOU select with a single dot. Those pieces will be on separate layers so you can manipulate them to your liking and pretend that you really have 300 separate pieces!
Get this script in the store: Jigsaw Puzzle
For a chance to win this script, i decided to change things around a bit. THIS WEEK, you need to comment on THIS FACEBOOK POST instead of here. The winner will be announced NEXT week in the newsletter. Not a subscriber yet? Not a problem. You can register here and it is free (and you only get one email per week).
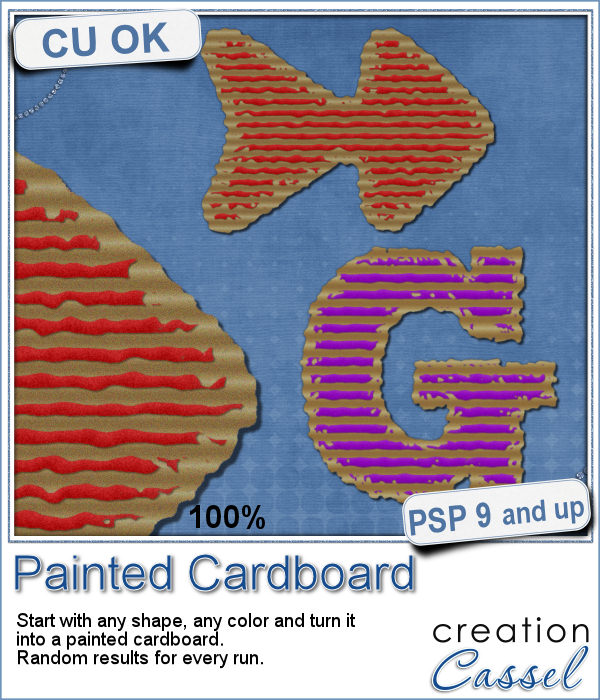
Since this script is to be applied to your own photo, i thought i could create a little something using last week's script, the Painted Cardboard.
In fact, i used the Waving script to create the base shapes, and then, ran the Painted Cardboard script to turn them into cardboard.
You get 5 wavy edges. Use them one at the time or layer more than one to insert elements in-between if you want.
The colors are basic white and black on neutral cardboard.
You need to be logged in to download this sample. You can either login, or register on the top of this page.

What do you like about incorporating ripped pieces of papers in a digital project? The rustic look? Maybe. But how do you go around getting those for your layout other than scanning them?
As a sample, i created 3 frames using this script. All three were made starting with a different gradient instead of a solid color. They are about 6 inches in the longest side so you should be able to get a photo in them.
Now, you can use your Paintshop Pro to add a fun line of puffy paint around an edge of a shape or a letter.
As a sampler of what you can get with this script, I created a set of digits in "white". You can easily fill them in with the color of your choice for a different look.
Sometimes, for the holidays, you need a little delicate touch. These charms are just what you need.
For the sample, this week, I created a double swag with the white snowflakes.
Adding holiday decorations is always fun, and even better when you do it digitally.
This week, for a sampler, I used several products from the store to create a decorated wooden window. I used the Wooden Window script, the Christmas lights and the Christmas strings.
How about adding some Christmas lights to your project?
As a sampler, I created several oval frames using 5 monochrome sets and one multicolored set.
You can now create a fun title or text using individual stamps that will display letters, digits, abbreviations or words.
How about a way to date all the photos and pages you will be doing in December?
As a child, you likely have played with playdough (or plasticine). You must have created textures, poked your finger in it, rolled it to make snakes and used cookie cutters to create various shapes.
For a sampler, I created a "hand drawn" alphabet for you. I used three fall colors.
If you are creating kits, you will want to use this script to create a variety of labels in just a few seconds. Keep the ones that you like, and discard the others.
As a sampler, I ran the script using 5 papers from the kit Enchanted Autumn from Marisa Lerin. This set includes 15 different labels, ranging in size between 600 and 1000 pixels. Some are round, some are oval, some are square and some are rectangular.
Have you ever wished to see your name in big neon letters on a marquis? Now, you can get exactly what you wished for.
As a sampler, this week, I created a few elements on the Halloween theme. I just found some shapes, and chose to create a simple outline.