 How safe are you data? We often hear stories of friends or relatives who have lost a lot of photos or documents due to a computer crash. We always think that it only happens to others, while OUR data is safe. But is it? It seems like computer users fall into two groups: those who experienced computer failure, and those who will.
Systems for backup
You can do regular manual backups of your data, your documents, or your entire drive. If that is your solution, remember to be vigilant: don't postpone those backups. Don't wait until tomorrow because you are busy. Drive failures don't wait!
Automatic backup can be great if you tend to forget. Systems like Acronis can back up your data at regular intervals and you can schedule them to be in the middle of the night, when you are likely not going to be using your computer. You can save the back up to an external drive, or online. AmazonS3 can be a good location for that.
Continuous online backup like Crashplan can help you have the most updated backup possible. Instead of possibly loosing one day or one week of work and documents because of the schedule of backups, systems like Crashplan will update your backup continuously (there are others but I can't tell about them since i never used them)
Crashplan
Although i do NOT have an affiliate link for Crashplan, i still want to tell you how it saved my sanity.
When i realized that after having my Windows reinstalled by the shop, all my data were apparently missing (about 300GB), i felt sick to my stomach. All the files for the store were on a different drive, so those were safe, but everything related to the Campus, for the last 5 years, was missing! EVERYTHING! Since the shop was already closed for the weekend, what could i do?
I remembered that i had Acronis installed, but although i had just recently upgraded to a newer version, i had not set it yet. Yes, i was procrastinating, so restoring from that backup was not an option.
Then, i remembered that i also had Crashplan installed, and it was backing up all the time. Once i opened the application on my computer (yes, i had to reinstall it first), i was able to connect with the service. I just had to go in the settings, see what folders were backed up and select which one i wanted to restore (everything was in a single BIG folder). I chose the option to restore that whole huge folder in its original location (since that folder was completely missing from my drive), and click RESTORE. I knew that 300GB of stuff would take a long time, so i went to bed.
I am very lucky that we currently have a very good internet connection (i think we got an upgrade just a few weeks ago) so the whole download and restore took several hours, but everything was back on my computer, by the time i got up in the morning. EVERYTHING.
So, if you want to prevent a heart attack from a computer failure, check out Crashplan. You can backup 1 computer for $5/month, or the whole family (up to 10 computers) for $12.50/month. Once you live through a crash or get very close to loosing everything, you will see that it is definitely worth it.
****************************************************
On a happier note, how about letting me know what is your favorite script in the store. Tell me in the comment below and i'll pick a winner to be announced in the newsletter next week. Not a subscriber yet? Not a problem. You can register here and it is free (and you only get one email per week).
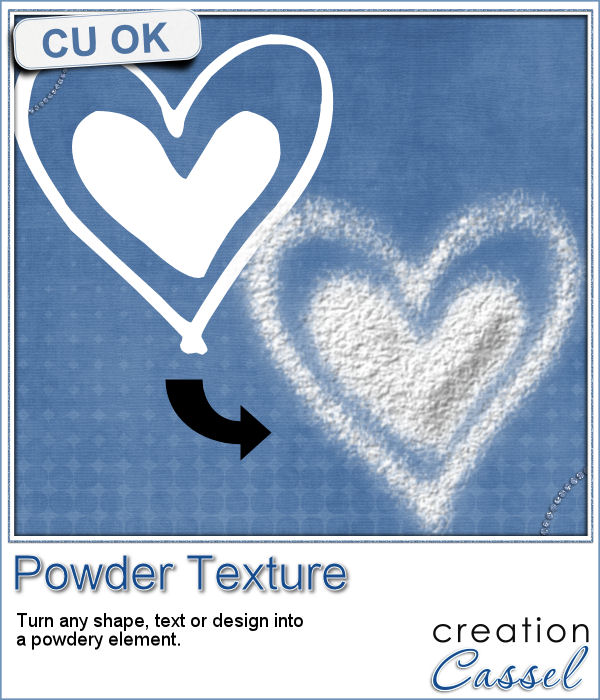 This script will be fun for anyone who has a cooking theme project: now you can write and draw with flour. Well, not real flour but you can turn your design into flower looking elements.
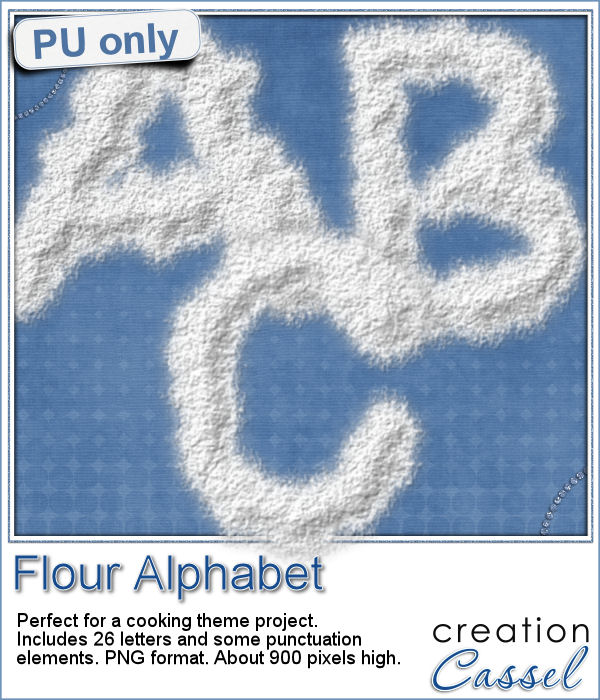 As a sampler, this week, I created a complete alphabet for you. It includes all the 26 letters, and some punctuation elements.
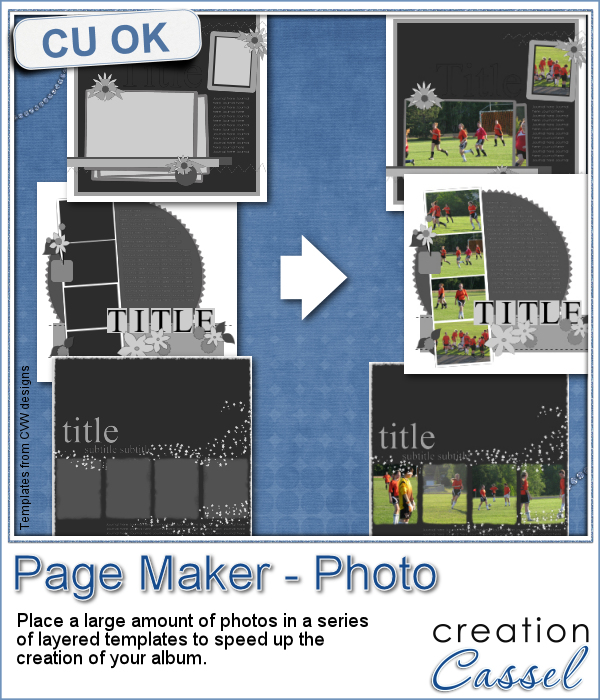 When you have a whole album, how many photos would you need? If you want to use layered templates to complete your project faster, you still might have to add dozens of photos. How long would it take you to open each of those photos, copy them, paste them on the template, in the correct layer, resize them, center them in the correct location, crop or trim them and save the layout when all the images are added? Just listing those steps in here, i am out of breath!
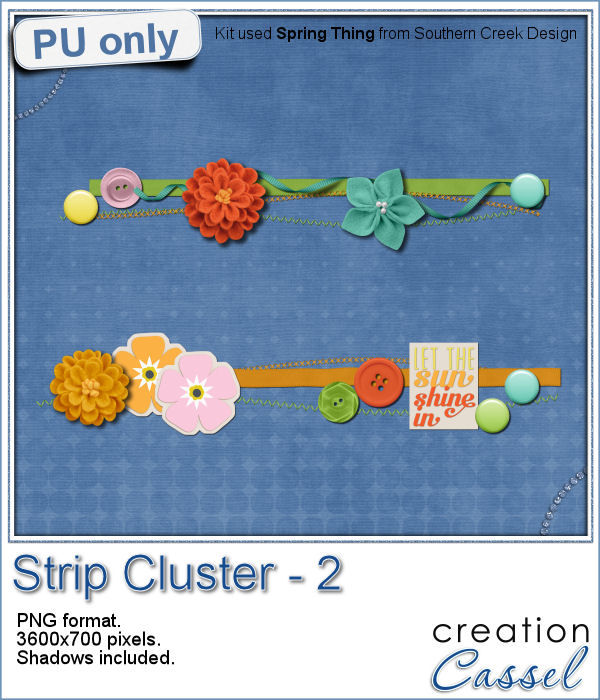 As a little sampler today, I created a couple of strip clusters using the Strip Cluster script. I used Southern Creek Design's kit, Spring Thing for that.
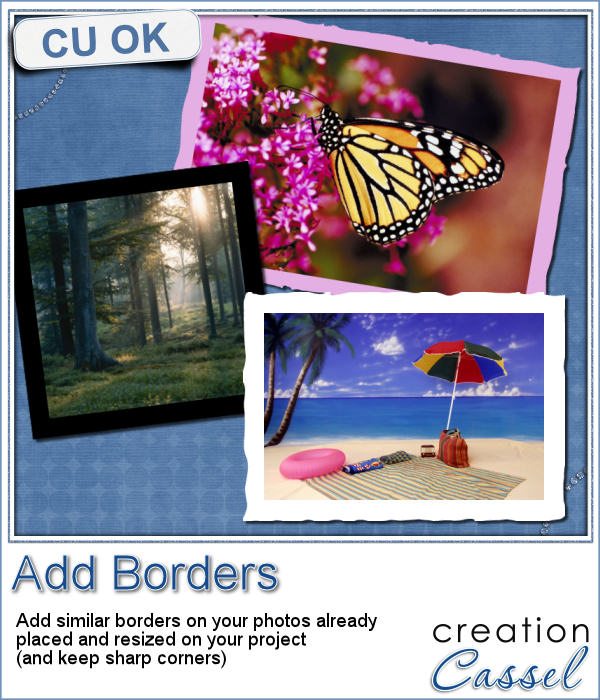 Sometimes, you might want to add identical borders to the photos on your layout, but since you want the photos to be of different sizes. How do you do that? Adding the borders before placing the photos on the montage is not the solution since you will resize the photos, and therefore, the border will also be resized.
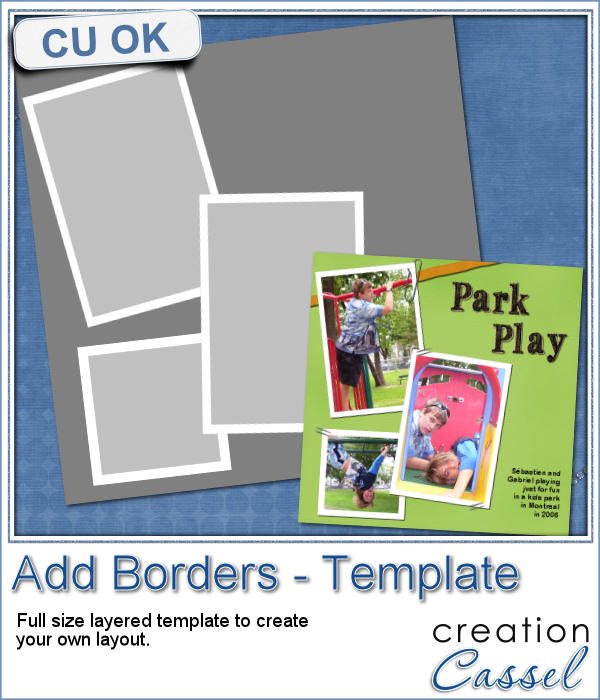 As a way to show you how this script can create identical borders even on photos of different sizes, I created this layered template for you. I had to tweak the end result since the script would merge the edge to the photo.
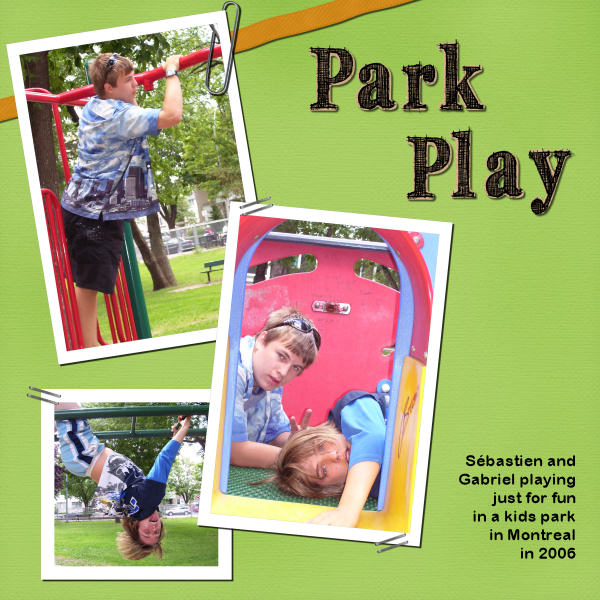
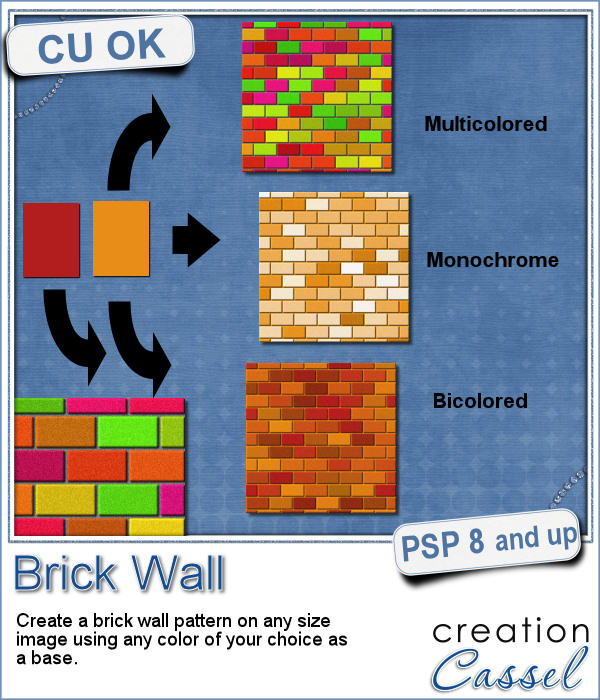 You might be able to use a photo of a brick wall as a paper background for your project, but you might wish to have something that would match more closely your favorite color, or color palette.
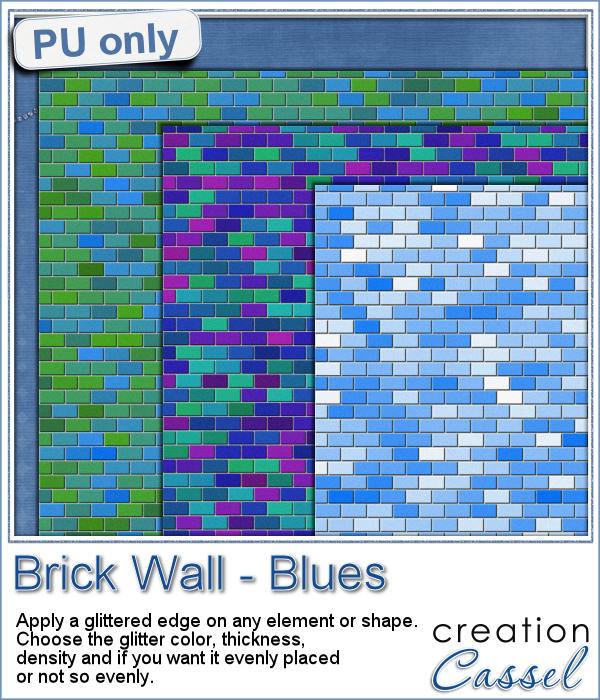 As a sample, I created 3 full size papers (3600x3600) all based around the same blue color. It gives you a good idea of how flexible this script can be.
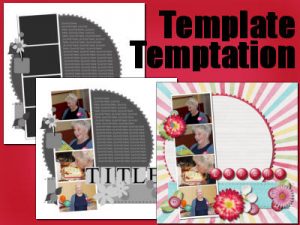 We will have a live presentation on Sunday, August 7, at 5 pm Eastern Time.
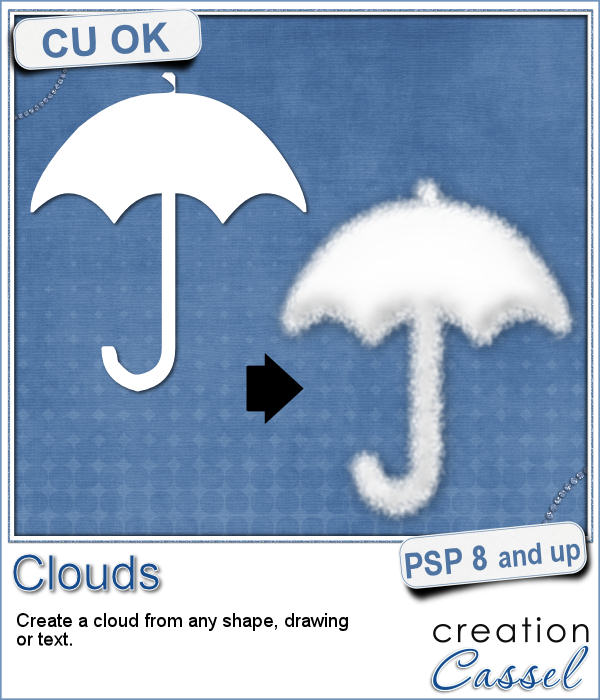 Did you ever see those movies where someone has a plane write "Will you marry me?" in the sky? That is a cool idea but more expensive than most budget allow!
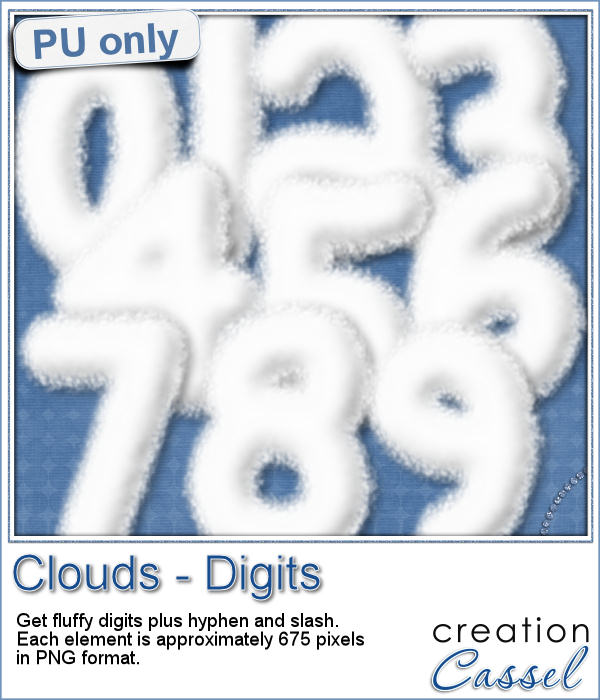 For a sample, I created some hand written digits so you can write a special date in the sky.
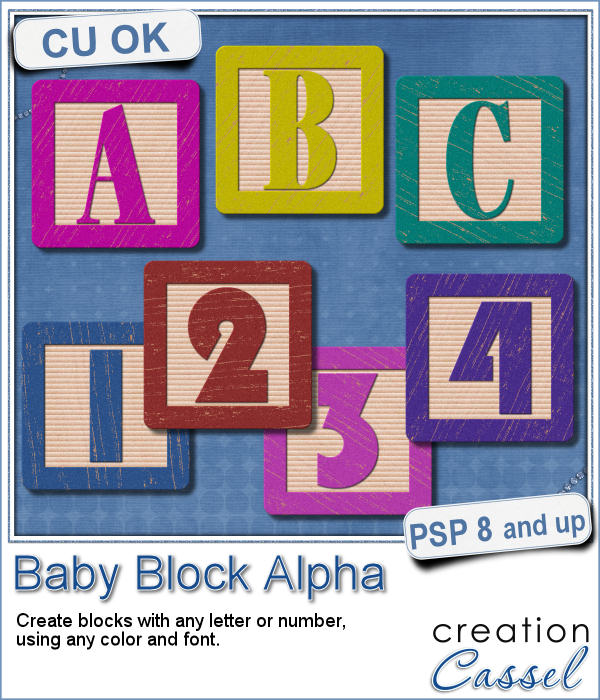 You have certainly seen those wooden blocks young kids have been playing with for decades. You can often see those blocks associated with baby or even pregnancy pictures. Now you can create them yourself to write any name or phrase you want in your baby project.
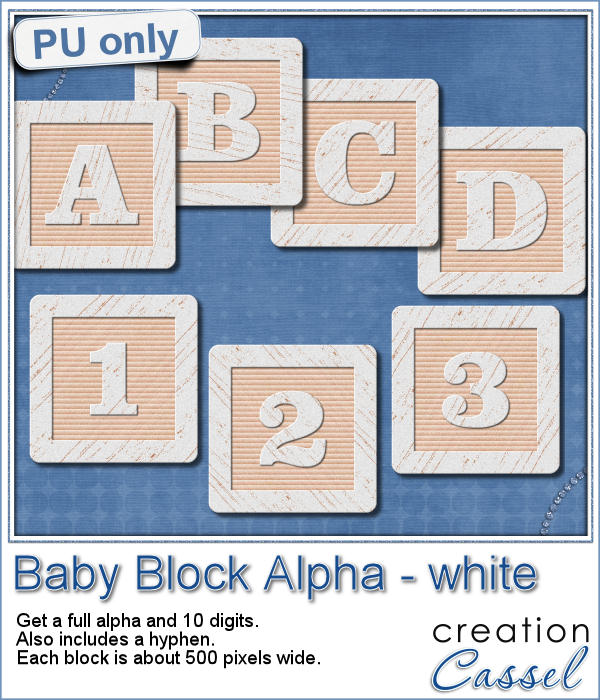 As a sample of what you can do with this script, here is a full alpha that includes letters, digits and a hyphen. I chose white so it is gender neutral.
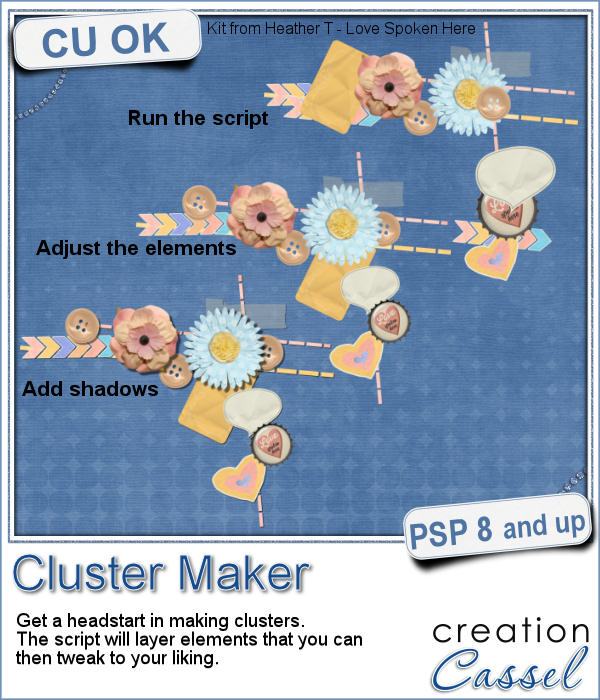 A lot of scrapbookers and designers love to create and use clusters, but the task is often daunting because of numerous repetitive tasks that seem to drain their creativity. So, why not have a script to give them a jumpstart?
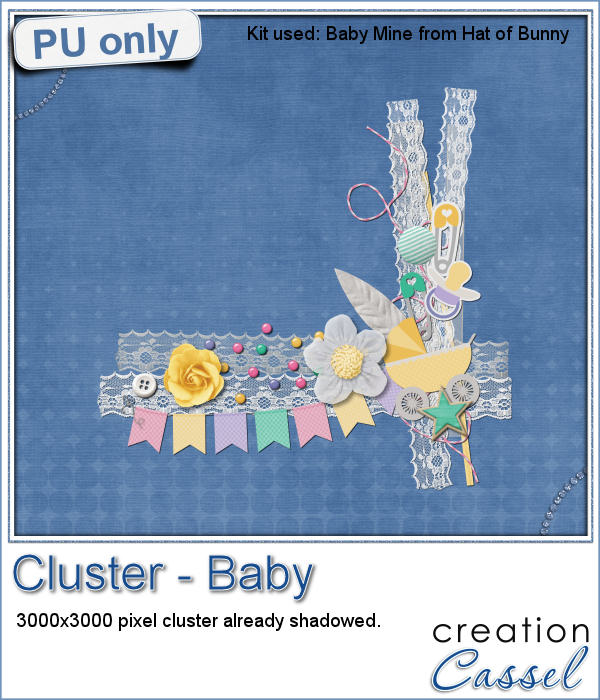 As a samplers, this week, I used a kit from Hat of Bunny, Baby Mine. I ran the script to create a corner cluster for the bottom right corner.
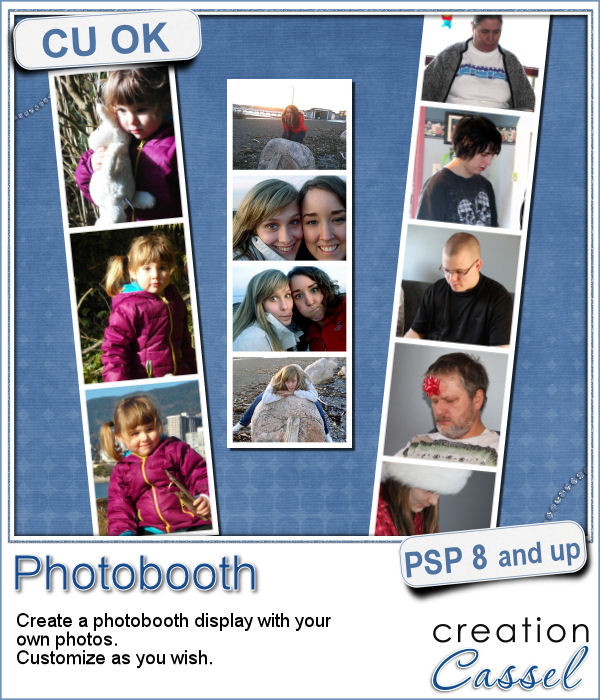 Although they might be getting less and less popular in real life, photobooth are still often associated with fairs, and fun places. Back in the days, you could get a set of 4 black and white photos in those booth. Over time, they became more modern and started offering color photos. Those strips of photos still bring back memories to many people.
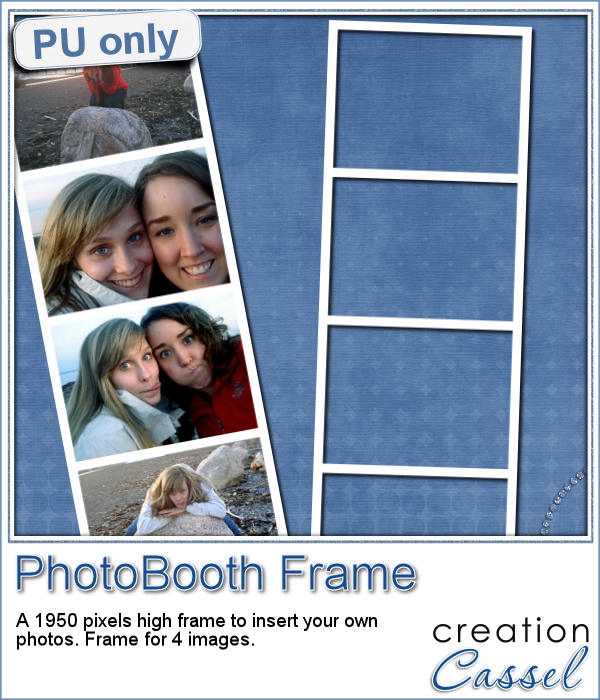 As a free sample, I am offering you the frame that was created when I ran the script for the four pictures of my daughter and her friend. It is 660x1950 pixels, which is about the size of a real photobooth strip of photos. Add your own photos to it and place the result in your next scrapbook project.
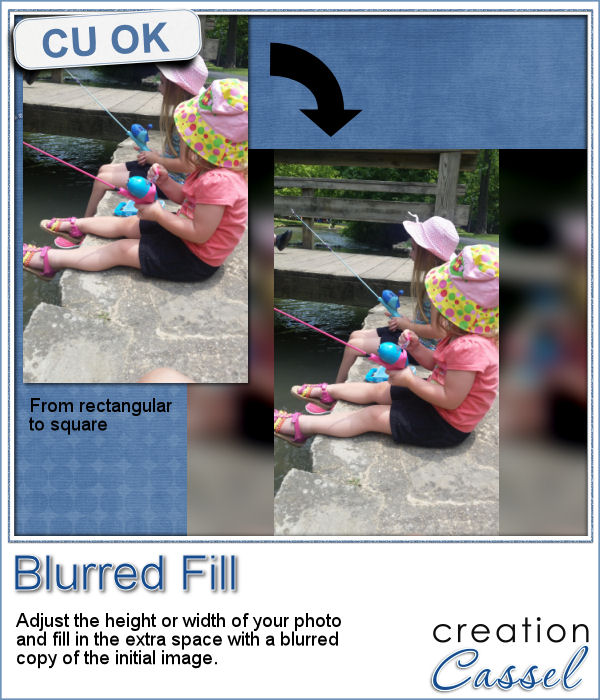 You probably have seen those images where a video has been shot vertically, but it has to fit in a horizontal space, then the extra on each side is a copy of the main image, but blurred and darkened to keep the focus on the main image.
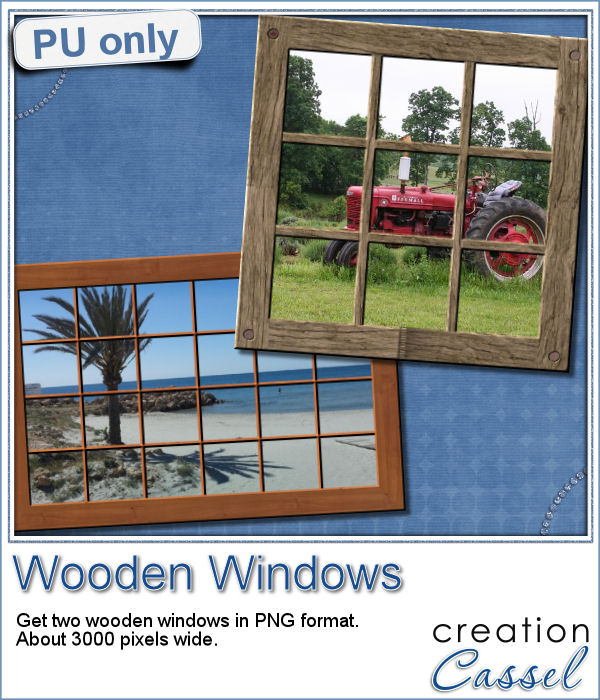 Since this script is about creating a special effect on your own photo, i can't really create a sampler from any photo of mine. Well, I could, but i doubt you would find it very useful, so instead, i created a different sampler based on one that was VERY popular recently: the Wooden Window.
 Join us for our live presentation on Ribbons and Bows, where we will take a look at how to create knots and bows from straight ribbons, using PSP.