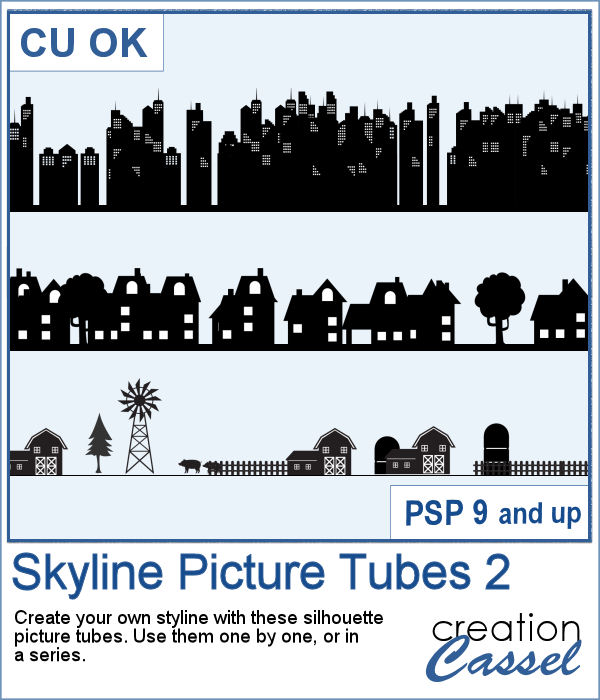
Sometimes, a random skyline is what you need for a background, but how do you make one without using the same one over and over again? This set of picture tubes will randomly place different elements for you and you can colorize them however you want, or leave them black.
You get three sets: one for the country, one for the small town, and one for the big city.
Get them in the store: Skyline Picture tubes 2
In order to win these tubes, add a comment on this Facebook post telling us how or where you could use a skyline in a project (remember, add a comment, not just a Like!) The winner will be announced in the newsletter, next week. Not a subscriber yet? Not a problem. You can register here and it is free (and you only get one email per week).
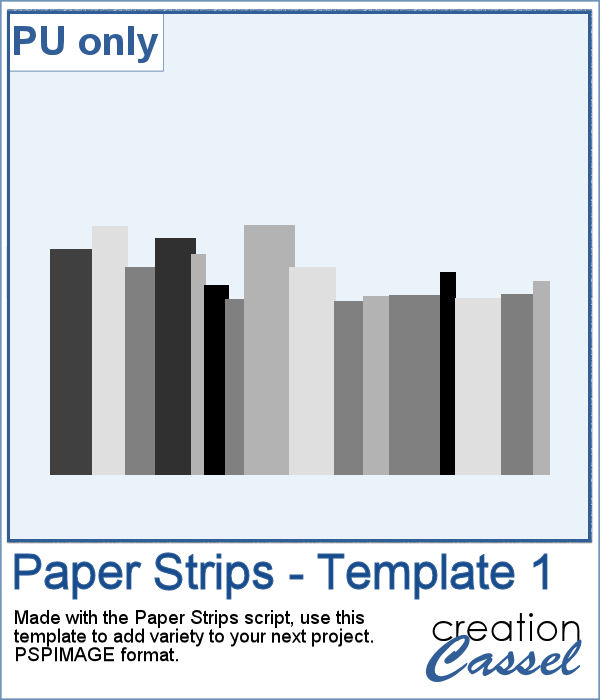
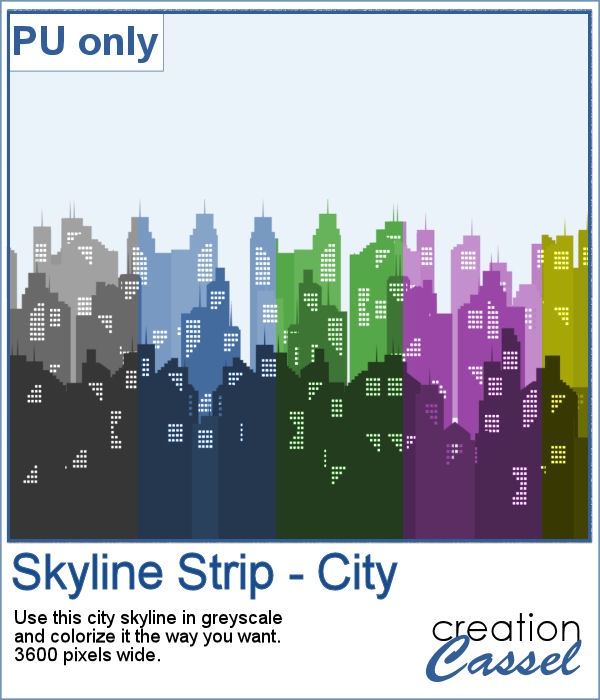
For a sampler, I created a multi-level city skyline in greyscale. You can simply colorize it to suit your project and then, use it in the background. Adjust the opacity if you want it faint and discrete.
You need to be logged in to download this sample. You can either login, or register on the top of this page.

When I was in school, I remember one art class where we had to use straight lines of different thicknesses to replicate a simple image. I was not very good at that, but I would have loved to have this script, which does it in just a few seconds.
As a sampler, this week, I created some simple word frames for Halloween. You can colorize those frames to suit your project or your photo.
Sometimes, you just want to add a simple frame to your photo in order to show it off. This script will help you do that quickly, while still letting you choose the colors for the frame and the mats.
As a sample for this script, I created a set of four frames based on seasonal photos so you get a frame for each of the four seasons. Each frame allows a photo of about 7 inches on the longest side. They are all in PNG format, so they are useful in various graphic programs.
If you like the idea of coordinating various elements in a page or a kit, using a set color palette is an easy way to do it.
As a sampler, I am including a color palette generated from a fall photo. You get to use 10 colors from this photo. The hex code for the colors is included inside the zip file.
Tatting is a long process to create those delicate edges and designs. If you want to create them and then extract the designs for yourself, it will take you a long time.
For a sampler, I created a diamond-shaped frame, in a layered format that you can colorize to suit your project.
You can place elements along a circle or a spiral manually, but it is quite tedious.
For a sampler, I created two large circle frames and one spiral with bats coming at you. Each element is in png format and about 3000 pixels wide, so you can resize them as needed.
In order to create a paper fringe with PaintShop Pro, you will need to cut your element multiple times, and then, warp each piece one by one. But there is a problem: how do you warp one piece of paper without warping the next one? Well, there is a way to do it, but it is tedious, which is why this script will be a time saver.
As a sample, I created this square frame from four strips of paper that were run through the script, one by one, and then put together to make the frame. I added a little contrasting border to add some interest. Now, you can showcase your favorite photo.
Sometimes, it can look interesting to have a series of paper strips of different colors or patterns to serve as a background for a project. However, that can be tedious and time-consuming.
As a sample, I chose to create a series of strips, aligned to the bottom, and turned them into a template so you can use it with your favorite papers. These strips are grouped so you can copy and paste them onto your project in one step (instead of copying them one by one!).
Using bows and knots can be quite versatile as long as you have variety. This is the 19th type of bow in the store (and we have knots too) so using your own straight ribbon, you will have the option to create some matching bows. The script uses a random location on the ribbon so if you run the script multiple times on a patterned ribbon, you will get different results.
As a sampler, I created six little bows using ribbons from Janet Kemp. I layered a grosgrain ribbon with lace and flattened both. Then, I ran the script. I then ran the script on the grosgrain ribbon alone (without the lace), and since the layers were not merged, I copied and pasted the knot part only to replace the one on the "lacy" bow. It is a little more work but it shows how versatile this script can be with unmerged layers.
I released the first set of gold chain picture tubes over 10 years ago and they were VERY popular especially since those were totally new among the PSP tools. Today, I created another series of gold chains picture tubes. Those are mostly double-links chains.
As a sampler, I created a vector shape with wavy edges and ran the VectorTube script to place the gold chains neatly along that edge. For the double frame, I used the same method to create two "matching" shapes and then used the interlacing technique to give the frame that twisted appearance.