![]() It might not be hard to draw chevrons by hand, but it is tedious... very tedious.
It might not be hard to draw chevrons by hand, but it is tedious... very tedious.
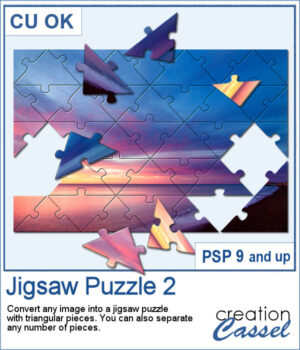
This script will use some of 40 different hand drawn patterns to create that effect for you. You can also choose a color palette with up to 8 colors for a unique result that will suit your project or your photo.
It will generate a large seamless tile that you can then use as a fill pattern for any image.
Get this in the store: Hand Drawn Chevron
To win this product, add a comment on this Facebook post telling us if you have ever hand drawn chevrons in PSP (remember, add a comment, not just a Like!) The winner will be announced in the newsletter, next week. Not a subscriber yet? Not a problem. You can register here and it is free (and you only get one email per week).
![]()
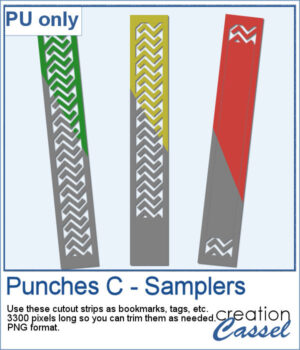
![]() For a sample, I created two seamless tiles with Halloween colors. Each tile is in PNG format so you can add whatever background color you want on it.
For a sample, I created two seamless tiles with Halloween colors. Each tile is in PNG format so you can add whatever background color you want on it.
You need to be logged in to download this sample. You can either login, or register on the top of this page.