Notice: Function _load_textdomain_just_in_time was called incorrectly. Translation loading for the lepopup domain was triggered too early. This is usually an indicator for some code in the plugin or theme running too early. Translations should be loaded at the init action or later. Please see Debugging in WordPress for more information. (This message was added in version 6.7.0.) in /home/creat419/public_html/creationcassel.com/blog/wp-includes/functions.php on line 6114

Notice: Function _load_textdomain_just_in_time was called incorrectly. Translation loading for the broken-link-checker domain was triggered too early. This is usually an indicator for some code in the plugin or theme running too early. Translations should be loaded at the init action or later. Please see Debugging in WordPress for more information. (This message was added in version 6.7.0.) in /home/creat419/public_html/creationcassel.com/blog/wp-includes/functions.php on line 6114
RAK | Creation Cassel - Part 16

new Script – Kit Previews Maker

cass-KitPreviewsMaker

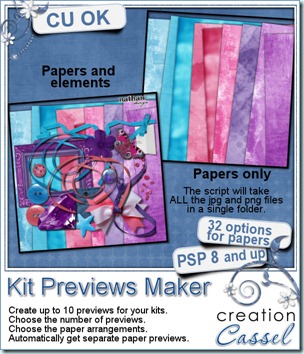
If you are a designer, you have to make previews. Whether your kits are small or large. If you are a store owner, you might organize some collab kits that end you containing a lot of papers and elements. For each preview that you make you have to open the paper files, resize them, copy them, close them, paste them into your preview, play around to distribute them more or less evenly depending on how many papers you have for that preview, rotate them if you wish, and add a shadow. And that is for ONLY the papers in the preview! Now, onto the elements, and of course, you have even more elements to place on your preview. So, the same routine, or opening, resizing, copying, pasting, closing, moving. Are you out of breath already? How long does it take you to make a preview for your kit? Twenty minutes? thirty? And that is if you have a regular size kit. Now, if you have a mega kit to organize, and you have too much stuff to put in a single preview, then you have to repeat the process twice, three times, four times, five times. OK, now that you know how long you take to make your previews the “old fashion way”, let’s see what this script can do for you.

Hum… everything that i listed above, the script will do. Yes. It will check in your folder (yes it will go look in the folder so you don’t have to open tons of files), separate all the papers and the other stuff (normally they would be elements, right?), count your papers and elements. Why is it counting? Simply to check with you how many previews you need if it finds more than 20 papers for example. Of course you can still want everything in one preview. You have that option, but you can also have more than one. Then, the script will split the papers into how many previews you want, place the papers in the first preview, rotate them randomly (yet with the setting you want so if you don’t want any rotation, the papers will be straight), spread them more or less evenly depending on how many papers will be in that preview. It can also add some basic shadows if you want. At this point, the script will let you have one previews with only the papers and will start another one to add all the elements it found in the folder and repeat the process of opening, resizing, copying and pasting the elements on top of the papers.

Now, if you wanted more than one preview, the same thing will be repeated. The fun thing with this script is that, once you answered the few questions at the start, you can go, have yourself a coffee, go check your emails, and when you come back, all the previews are done. You simply have to rearrange the elements where you want them (yeah, the script does not have very fancy taste as far as disposing elements in a preview!).cass-KitPreviewsMaker_01
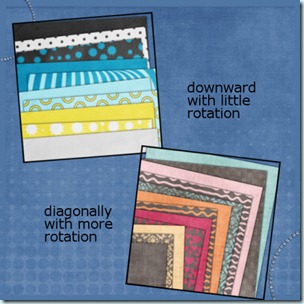
Do you find that left to right placement of the papers is boring? The script gives you other options, like right to left, upward, downward and diagonally (from any of the 4 corners). This should help you get very dynamic and not-so-boring previews from one project to the next. See other ways that papers can be placed.

This script is available at Creation Cassel and Do It Digi.

As usual, you have a chance to win this script. This time, check out this thread in the DST forum and you have to guess how long this script took to place everything in a kit of 54 papers and 174 elements into 3 previews on my computer. The closest guess will win the script.

Thanks to Nathan’s Designs for allowing me to use his products to illustrate the result of this script.

New Script – Chipboard

cass-Chipboard

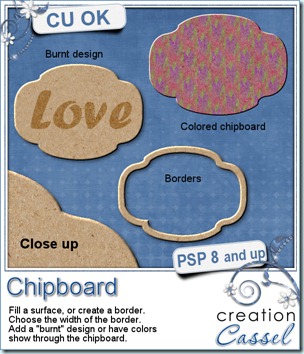
Convert any shape into a chipboard element. You can create only a border, or a full surface of chipboard. You can have some colors show through, as if your wood was stained, or even add some “burnt” designs as a signature, if you want.

What can you do with this script? Frames, tags, alpha, date elements, and many more.

If you want a chance to win this script, go over DST in the Happy Place section, here, and add your name. Remember to post also an idea of something that you could do with this script. After all, if you win it, you will use it, won’t you?

This script is available at Creation Cassel, and Do It Digi.


cass-Chipboard-sample

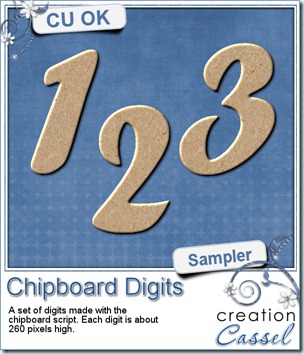
Want to see that chipboard up close? You can download this set of digits made just with this script.

You need to be logged in to download this sample. You can either login, or register on the top of this page.

If you like what you download, leave me a note. If you use it in a layout, show it to me. I love to see how my products are used.

New script – Mitered Corner Frame

cass-MiteredCornerFrame

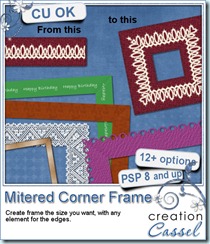
With this script, you will be able to make an infinite number of rectangular (or square) frames using just about any long image. You can use any ribbon, lace, paper edge, wood piece, decorative doodles, etc. I am sure you can think of many other elements you can use to make the side of the frames.

The script can create the frames three different ways: (1) it can create a symmetrical frame with ribbons, laces, doodles (2) it can create a frame with a directional element, meaning it will take all the length (or almost) of the ribbon/lace or (3) it can create a frame from elements that are neither symmetrical, not directional, like you would get with a piece of wood.

You can get this script in any of my stores: Creation Cassel, Do It Digi, Scrapping Whispers, and Divine Digital. Remember that my scripts are always 25% off the first weekend they are released so you can get a good deal until Sunday night.

Do you want a chance to WIN this script? Check the Happy Place thread here and add your name to it.

Limequilla suggested that i code this script, a little while ago. I was not sure how I would write it with so many possible scenarios of what would be used for the edges, but i really think this will work well for any of your layout, or kit. Thanks Limequilla for suggesting it. Remember that if you want to suggest a script, and i make it, you will get it free (before everyone else too!)

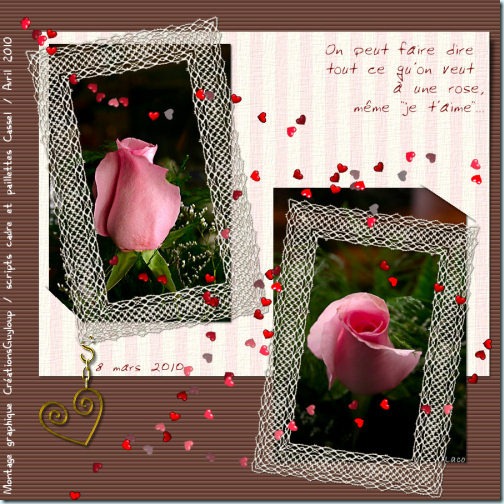
Guyloup played with my scripts and here is a layout she made (using the Mitered Corner Frame, and the Custom Confetti scripts)

cass-miteredCornerFrame-01

new script – Custom Confetti

cass-CustomConfetti

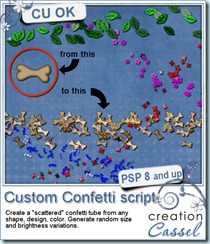
Create your own scattered confetti, with the shape, the color, the design you want. Generate a tube with size variations, brightness variation. Since there is a random feature integrated into the script, you can generate a tube twice from the same starting image, yet get something different every time.

After that, scatter your tubes onto your layout, or create an overlay with them.

Available in all my stores:

Creation Cassel, Do It Digi, Scrapping Whispers, Divine, Digital

And if you want a chance to win this script, check out this thread  in DST.


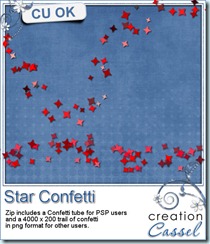
cass-StarConfetti

And how about a little freebie? If you are a PSP user, the zip includes a tube file that you can simply add to your Picture tubes folder. If you are not a PSP user, there is a 4000 x 200 png trail of red stars.

You need to be logged in to download this sample. You can either login, or register on the top of this page.


new script – Notebook

cass-Notebook

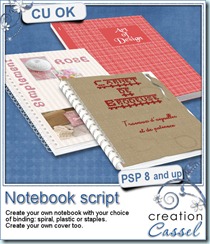
Whether you are making a school themed kit, or advertising a course, tutorial or an e-book, this script can help you create a neat notebook. You get to choose between 3 types of binding, with it color but you can also create the cover page as you wish, with images, text, windows, textures, even some tears and stains if you want.

This script is available in my stores: Creation Cassel, Do It Digi, Scrapping Whispers.

And if you want a chance to get this script for free, check out the Happy Place thread here, at DST. One winner will be drawn on Monday night.

Mirror Mirror – new script

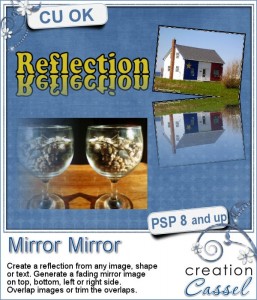
cass-mirrormirrorCreate some faded mirror images from any photo, element, shape or text. Add this effect to simulate a reflection in the water, or on a polished surface. You have the option to create that reflection on top, on the bottom, on the left or the right. You can get some overlapped images, or let the script delete that overlap.

Use an image slightly rotated for a very interesting effect. The script will work on any raster, vector or background image. If your document holds several layers, only the active layer will be used.

Availalbe in my stores: Creation Cassel, Do It Digi, Divine Digital

And go add your name to this thread in the Happy Place of DST if you want a chance to win this script.

New script – Journal Bits

cass-journalbits

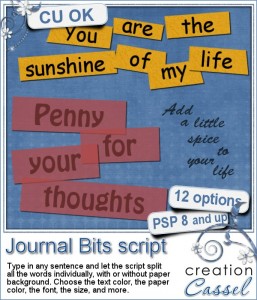
Did you ever see those paper scrap pages where a long phrase is cut up in individual words? Did you ever try to do that in digi? Most of the time, it is a pretty tedious task, but no more. This script will just do that for you, and you are not limited at all. In fact, you can pretty much decide everything. Of course, you can have the text you want. Then, you choose the font you want too, and the color for the text and the color for the paper. You can have opaque paper, or translucent. If you choose translucent paper, you also decide on the opacity; maybe you want to pretend you wrote on a piece of scotch tape, which is very translucent, or on tissue paper which is more opaque. It is your call. You can then decide to have all the papers cut straight and evenly, or go crazy with irregular shape and size. But wait, that is not all. You can also ask the script to separate all the words without any paper. If you are working on a layout, the script can, if you choose so, to place all those word bits on your layout for you (no need to copy and paste dozens of bits) and it will even rename each layer according to the word on it. Neat huh? I am telling you: it probably will take you longer to decide on all those options than it will take the script to execute it.

challenge10-c

This script is available in all my stores: Creation Cassel, Do It Digi, Scrapping Whispers, Divine Digital

You have also a chance to win this script by adding your name to this thread in the Happy Place at DST.

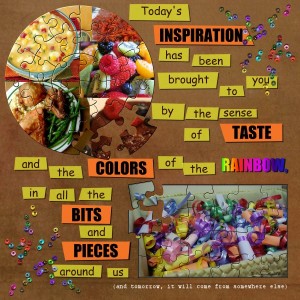
Want to see this script in action? Here is a layout we did for the ADSR5, challenge #10.

New script – Word frame

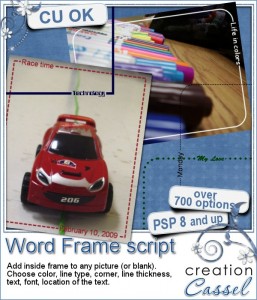
cass-wordframeWith this script you can create custom line frame with text. You have so many options to choose from: 4 line thickness, 4 line style, 2 corner types, neat or grungy style. Then, you can place the text on any of the four sides, centered, aligned left or right, and you can also add text on more than one side too. But that is not all: you can enter the text you want, choose the font you want, and the color you want. Talk about options!!!

You can get this script in any of my stores.

And if you want a chance to win it, simply add your name to the thread at DST forum, here.

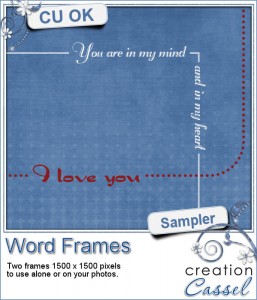
cass-wordframesAnd here is a little sampler of what can be done with this script.
You get two frames with a Valentine Day flavor.

You need to be logged in to download this sample. You can either login, or register on the top of this page.

Slip it in – new script

cass-slipitin

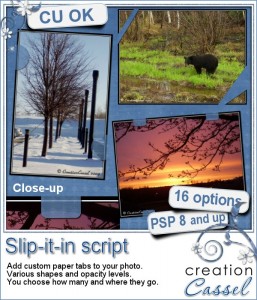
Do you like to have your photos held in place in an original way? This script will help you do that. It will modify your picture (or i should say, a copy of it) in such a way that it will LOOK like there are some paper tabs, or slits holding it. However, it is ONLY an illusion and you can then place your photo on ANY paper to get that great look. You can even place your photo over the edge of two overlapping papers and it will automatically look like you have tabs in each of them. Neat huh?

Sixteen options are available, but one is actually a freehand option so you can make the most original tab shape you want. The possibilities are endless!

Find this neat script in all my stores: Creation Cassel, Do It Digi, Scrapping Whispers and Divine Digital

And if you want a chance to win this script, check out the Happy Place thread at DST, here and add your name to it.

tie the knot – new psp script

cass-knot4

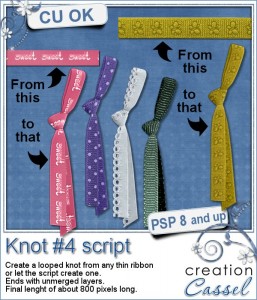
This script will create a knot from just about any ribbon you provide. As long as the ribbon is about 75 x 500 pixels, it will work. To make the knot look even more realistic, make the ribbon 2000 pixels long. That way, the script will be able to use the whole lenght and the pieces will be places as if they were one single ribbon. That will allow you to use a ribbon with a directional pattern, a wide gradient, etc. Since all the pieces are actually placed as if they came from the ribbon, you can also use a translucent or cutout ribbon and you will see through it, as you would normally.

And if you want to attach this knot to something else, like a tag, or around the stems of flowers, you can also do it since the layers are left unmerged (but grouped so they wont get disaligned if you move them).

You can get this at my stores: Creation Cassel, Do It Digi, Scrapping Whispers.

And if you want a chance to get this script for free, just check out this thread at DST and add your name before Monday night.