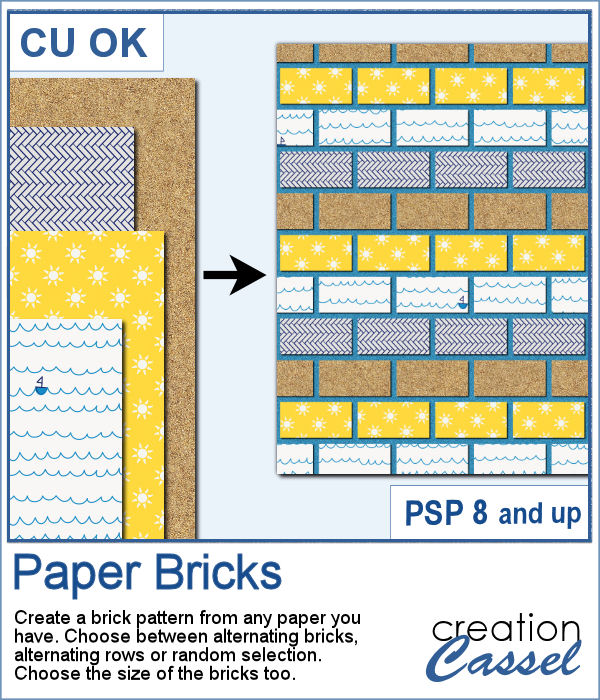
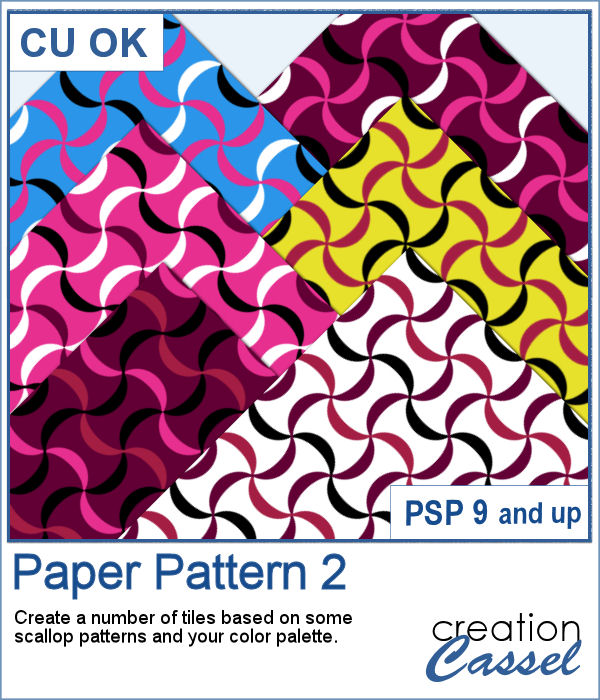
![]() These chevron patterns can be that additional effect you want in a paper. You can choose to use any color palette, whether it is bright, contrasting, pastel or monochrome.
These chevron patterns can be that additional effect you want in a paper. You can choose to use any color palette, whether it is bright, contrasting, pastel or monochrome.
The script will cover any active image with a layer and the pattern. You can then add a solid background layer in the color you want to enhance the design.
Get this in the store: Chevrons 3
In order to win this script, add a comment on this Facebook post telling us how you would create a chevron pattern (remember, add a comment, not just a Like!) The winner will be announced in the newsletter, next week. Not a subscriber yet? Not a problem. You can register here and it is free (and you only get one email per week).
![]()
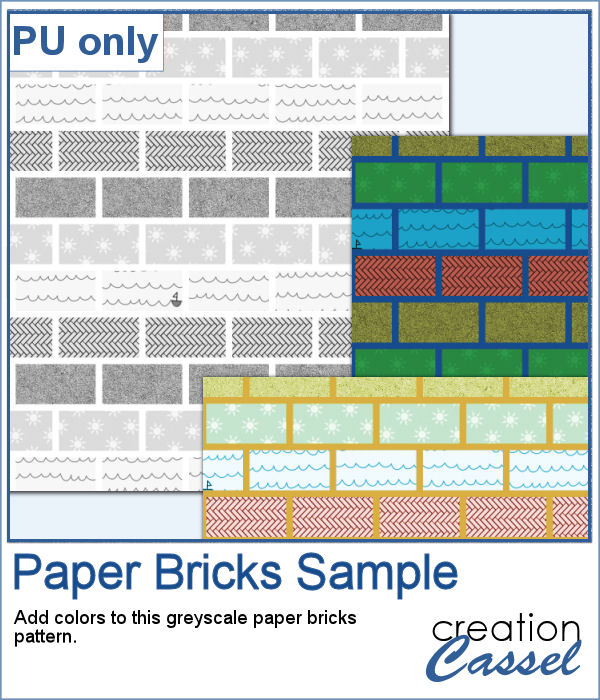
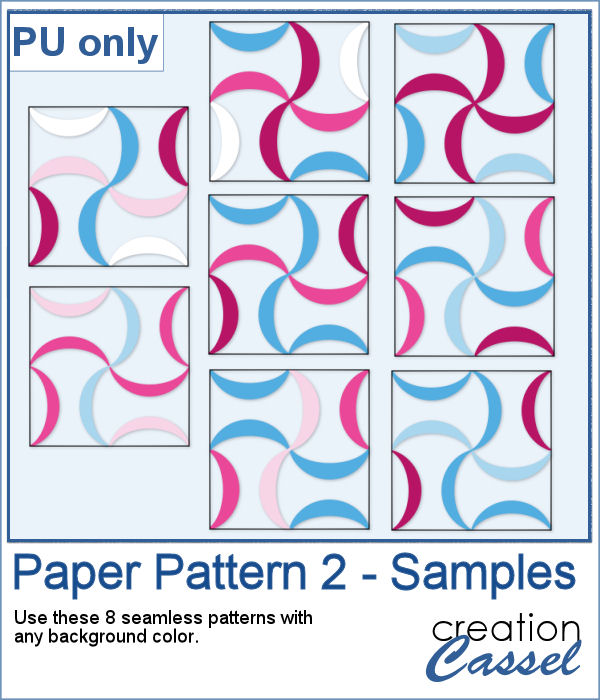
![]() As a sampler, I ran the script on a full-size paper (3600x3600 px) and chose option 3 for the chevron pattern. I picked the color palette from the July Blog Train at DigitalScrapbook. You get one paper with a white outline and one with a black outline.
As a sampler, I ran the script on a full-size paper (3600x3600 px) and chose option 3 for the chevron pattern. I picked the color palette from the July Blog Train at DigitalScrapbook. You get one paper with a white outline and one with a black outline.
You need to be logged in to download this sample. You can either login, or register on the top of this page.
You can get various kits and resources from this blog train HERE.