Web
Analytics

New script – Counting cards 1

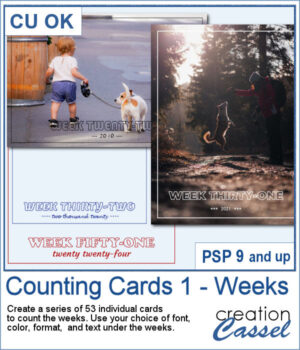
Whether you are doing a "Project 52" or just want to showcase your photos, sometimes, it can be fun to have an overlay to show the week and year of that particular photo.

This script will create a complete set of 53 cards (yes, there is a 53th week in the year, for the few days left). You can choose the fonts, the color, the size, and the format.

All the cards/overlays will be combined into a single file with 53 individual layers, clearly labelled so you can just pick the one you need at the time.

Get it in the store: Counting Cards 1

To win this product, add a comment on this Facebook post telling us if you have ever used "counting overlays" to showcase photos or if you ever considered it (remember, add a comment, not just a Like!) The winner will be announced in the newsletter, next week. Not a subscriber yet? Not a problem. You can register here and it is free (and you only get one email per week).

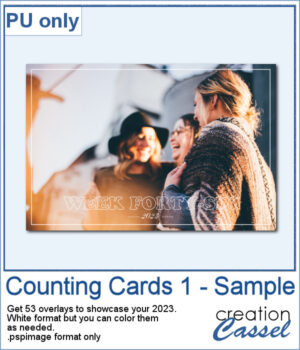
As a sampler, I created a whole set of raster overlays for you to showcase the year 2023. All the layers are in white, but you know that you can change that easily, right? The format is 6x4, which is fairly standard for printing, but also if you are doing pocket scrapbooking.

You need to be logged in to download this sample. You can either login, or register on the top of this page.

New script – Text Overlay

cass-TextOverlayI have seen overlays in stores and on various blogs, but there is so much *I* would like to see on an overlay and i can never find exactly the right thing.

Of course, i can never find an overlay with the name of my kids, or the place where i spent my vacation.

It is easy to create a single little tile with the text and use it as a fill pattern, but that is pretty simplistic and for a pattern, it kind of lacks originality.

This is when Martine said she would like to have a script to create her own overlays using any text she wanted, with any font too.

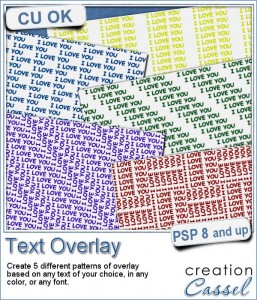
And now, this Paintshop Pro script is exactly what she was looking for. Not only this script will create a simple pattern using the text, but it will also create 4 more seamless tiles using the same text.

Sure, you can do it manually, but i can tell you that some of those tiles are quite tricky to get aligned perfectly, when you do it manually. That is the beauty of scripts!

Grab this script in the store: Text Overlay.

What text would you want to use to create an overlay? Tell me in the comments below and i will randomly pick a winner to get this script for free. Remember that if you purchase the script, you can still enter: if you win, you will get a future new release! Not a subscriber yet? Not a problem. You can register here and it is free (and you only get one email per week).
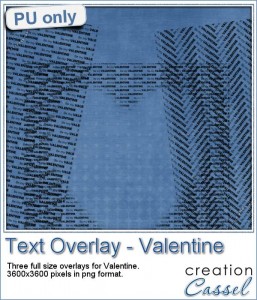
cass-TextOverlay-ValentineFor the month of February just at our doorstep, i created 3 overlays for you with a loving theme: Valentine.

I started with the simple sentence "Be my VALENTINE", and i ran the script twice: once, i used the option 2 (alternating) and once with the option 4 (zigzag).

Once i had the seamless tile from the zigzag option, i used it to fill a full size image, and i chose to change the angle to 45 degrees for a fun effect..

For the option 2, i also used the tile to floodfill a full size image.

Then, on a copy of the last image, i added a heart shape mask to make a fun heart frame.

You get all three overlays in this sampler.You need to be logged in to download this sample. You can either login, or register on the top of this page.

What will you create with these overlays, or with the script itself?

Show us your creative inspiration and post on our pinterest board HERE. And if you haven't been invited to post, just ask for an invite. And while you are there, remember to comment on all the fantastic images pinned there!

New script – Multi-Fold

cass-Multi-Fold

The main way people will add folds to their paper or paper element is by using overlays. This is a fairly simple method, and once the overlay is blended into the paper, it gives a nice result. However, this is limited by the number of good overlays you have.

Creating folds manually can be easy but time consuming. So here is a script for Paintshop Pro that will help you add folds quickly.

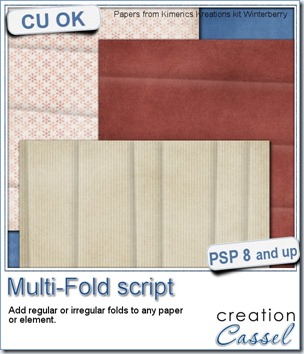
The script can add between 2 and 6 folds, regularly spaced, or irregularly arranged, vertically or horizontally. The folds will be the size of your image but it will be on a separate layer so the image will stay intact.

Run the script repeatedly, and you will always get something at least slightly different even if you are using the same options.

No more recognizable folds on your paper pack!

Get this script in the store: Multi-Fold script.

Do you want a chance to get this script for free? To say goodbye to the same old overlays? Add a comment below about what you think of this script idea. I’ll announce the winner in next week’s newsletter. Register here if you are not already receiving our weekly news.

cass-MultiFold-Overlay01Do you want to see one such overlay? I ran the script on a plain red image, 3600x3600 pixels, choosing 5 folds, irregular and horizontal. I got a single overlay including all 5 folds, and since it was left on a separate layer, i saved that layer as a png file for you to use (especially if you are not a Paintshop Pro user).

Although the script will create the folds over the full surface of the image, you can also use it for elements that are not full size, like frames or tags. In that case, the script will delete all the folds that are not overlapping the element in question. This is also great if you want to add different folds on alphas!

You need to be logged in to download this sample. You can either login, or register on the top of this page.
New script – Smooth Overlay

cass-SmoothOverlay

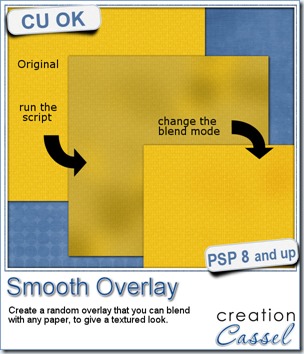
Sometimes, you might want to add a little texture to a paper without making it too bold. In those cases, you might want just something to give a slightly variegated look but you don’t want to use the same overlays over and over again.

This script will actually create a brand new overlay for you, in seconds, and it will always be different, from one run to the other. The script will adjust to the size of your paper, so you can work with a small, tagger-size paper, or a full size 3600x3600 pixels paper.

The overlay will be left on a separate layer so you can adjust the opacity or the blend mode (or both) depending on the color of the paper and its pattern, and the overall effect you want to achieve.

You can grab this script FOR FREE, in the store as Smooth Overlay.

This week, there is obviously no need to do a giveaway since the script is already free anyways. Don’t you think?

cass-SmoothOverlayFor a free sample (and this is mostly for our non-PSP-using friends), i made one overlay in PNG format that can be used the way you want: adjust the blend mode, or the  opacity. Apply it to a paper, or use part of it to add variations on a ribbon, a tag, a frame, etc.

What else could you use it for?


You need to be logged in to download this sample. You can either login, or register on the top of this page.
New script – Worn overlay

cass-WornOverlay

I have looked through my stash of overlays and although i have a pretty good number of them, i always feel like i don’t have the one i want. I have lots of standard size and shape ones, but they are a bit awkward to use on a different shape element, especially if the edges are worn too.

So this script for Paintshop Pro was created. It will use any shape you have, any size. This means that you can have a photo in an odd format, you can have a frame, you can even have individual letters for an alpha and the script will create something exactly for that shape.

And with the random feature, every run will give you something different, even for the same starting element. Isn’t that fun? That means that if the script gives you a particular overlay and you don’t like it, simply undo it, and run it again, and you will get something else. Repeat until you have something you like. It is so fast, that you can run the script 10 times in the time it would take you to create a single overlay, manually.

Grab this script in my store: Worn Overlay script.

See a couple of examples of other results, one with a photo and one with a simple arrow to be use in a project.

cass-WornOverlay2 cass-WornOverlay3

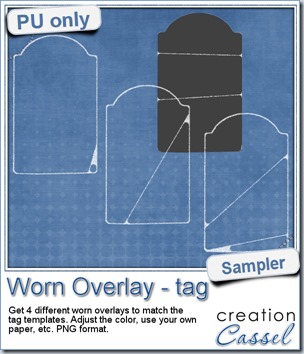
cass-WornOverlay-tagLet’s have a closer look at what this script can create. I started with a simple tag shape, in grey. I left it in vector format as the script knows what to do with it (meaning, if it is a vector, it converts it to a raster to continue). I ran the script 4 times on the same image. Since the image was less than 1000x1000 pixels, it worked on a resized version of the image (because the effect, done on a smaller image is not as good). However, the script is smart enough to resize the overlay once it is created so it will match the starting element.

On 3 runs, i asked to have an obviously worn border, so you can see the white edge. On the last run, i chose not to have an obvious border. It still adds a faint edge in some spots, but it is definitely not as obvious as the other three!

All four overlays AND the base tags are included in the zip file, so you can use the tag shape as a template and just layer the overlay. Then, it is up to you how you want to “merge” them. Depending on the color or pattern of the tag, you can darken the overlays and make them black, or you can use a blend mode. Also, since they all fit on the same shape, you can even layer more than one overlay for an even more tattered look!

You need to be logged in to download this sample. You can either login, or register on the top of this page.

(if the link is not active, just login or register on the top of the page).

The download link will only be available for a limited time.