Web
Analytics

New script – Snap On

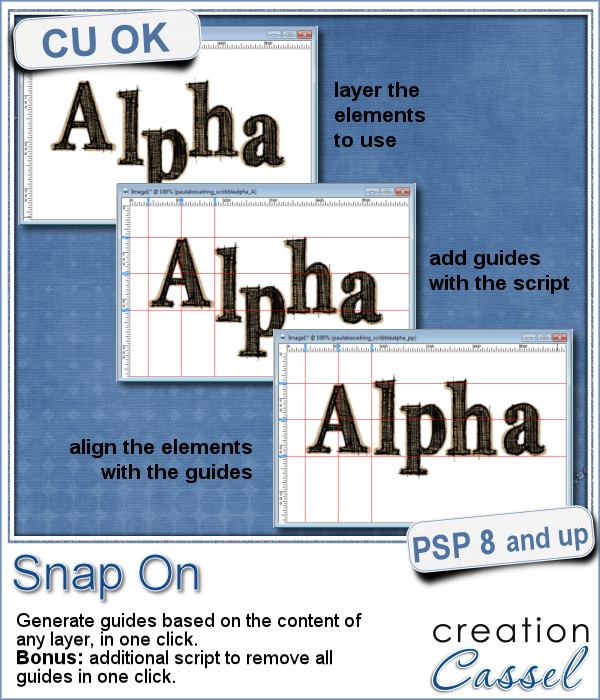
cass-SnapOnYou might be using guides to align elements together, but what if you have a specific element already in place and you want to align everything else with it. How do you place exact guides on the edge or in the center of that element? It is pretty tedious to be exact. That is why I created this quick script.

Activate any layer and run the script. In a single click, the script will place 6 guides around and in the center of the content of the active layer. Then, use those guides to align other elements with it.

Once you are done, you can use the bonus script, also included, called Snap Off, which will delete all the guides from the active image.

Get this convenient script in the store: Snap On

Best of all, it is FREE.
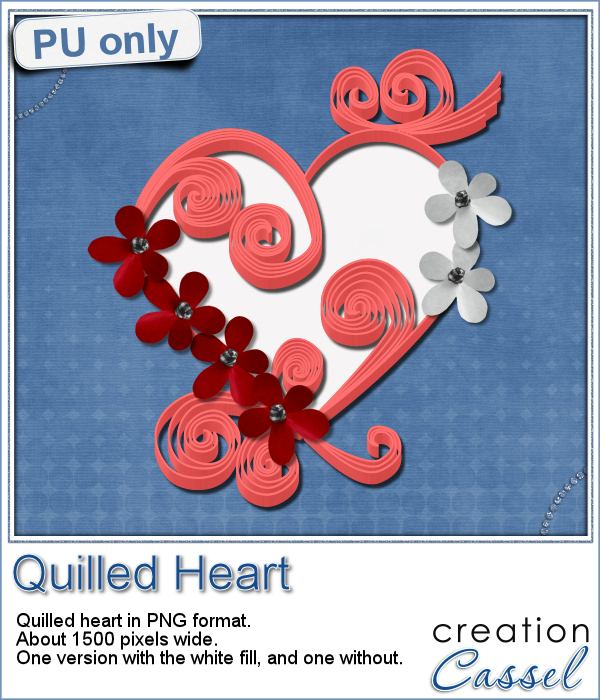
 

cass-Quilling-HeartThis week, since I cannot make a sample out of this script, i decided to create an element using last week's script: the Quilling one.

Using a heart shape as a base, i added various swirls in vector format and converted all those lines into a quilling project.

The heart element is about 1500 pixels wide, so you can size it down if you want. The shadows ARE included.

There are two versions of this heart: one with a white fill in the center, and one without.

They are in png format, so they can be used in most graphic programs.

You need to be logged in to download this sample. You can either login, or register on the top of this page.

New script – Quilling

Quilling script for Paintshop ProMany years ago (at least 35), my mom got me a kit to do some quilling. I had no idea what it was and didn't even have the proper tools to do it, but I improvised and created a few fund designs by rolling those long strips of papers, and shaping them in specific ways. I loved that, and often wished I could find time (and tools) to do it again.
But, in digital scrapbooking, those tiny elements are not as easy to create, until now.

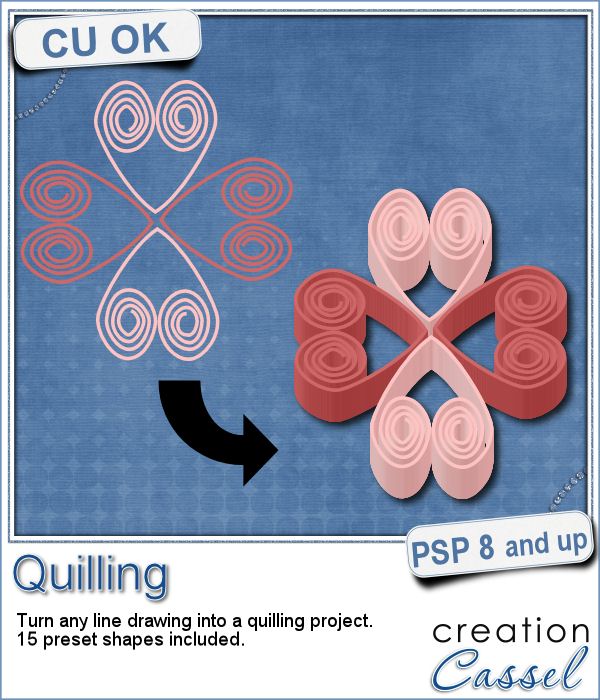
This script will turn any line drawing into strips of papers shaped like that drawing. As long as you can create even lines, using the Pen tool or the Brush tool, you can turn those lines into intricate designs.

In order to help you, the zip file also includes 15 preset shapes that you can use in the color of your choice. Resize them or distort them at will. Since they are vector, they will keep nice edges. Create your design in larger size, so it will be easier to draw, and then once it is converted into quilling, you can size it down. Super easy.

Get this script in the store: Quilling script.

Did you ever do any quilling? Tell me about your experience or what you know about this art in the comments below. I'll pick a winner next week to get this script for free (or another one, if you choose to buy it immediately). Not a subscriber yet? Not a problem. You can register here and it is free (and you only get one email per week).

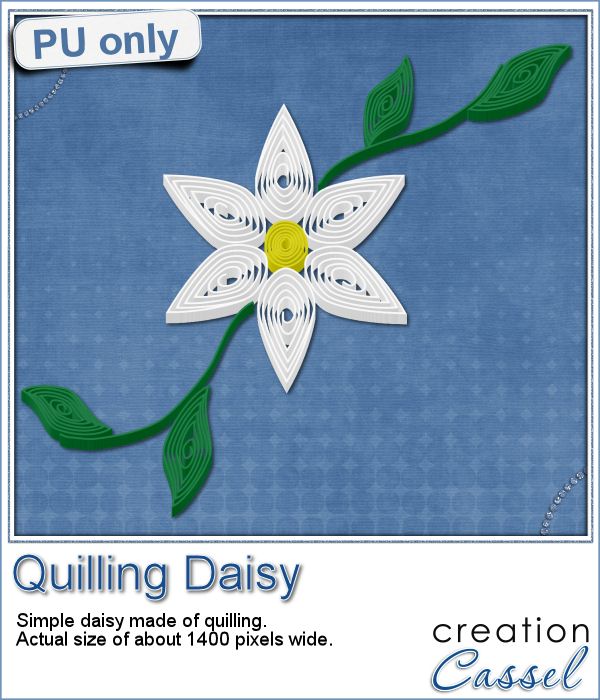
Qulling - Daisy in png formatAs a sampler of what can be done with this script, I made a little daisy. I used one of the preset shapes, in white. I duplicated and rotated that one petal 5 times and arrange those petals around another preset shape drawn in yellow for the center. Then, using the Pen tool, I drew a couple of free form lines. Finally, I used a third preset shape, in green, for the leaves and I placed them along those lines.
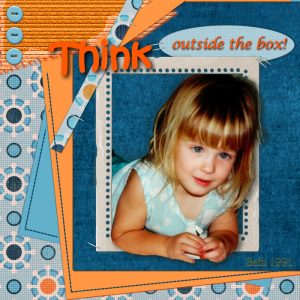

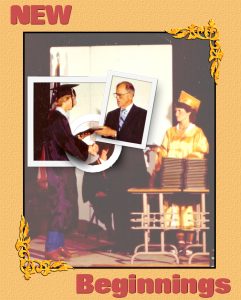
Before running the script, I merged all the layers together, and voilà! A quilled daisy, ready to be used on your projects. It is quite large so you can size it down to suit your needs.

You need to be logged in to download this sample. You can either login, or register on the top of this page.

Can you create more flowers to go with this one?


News from the Campus

Did you have a look at the forum lately? After the live class on the Out of Bound techniques, viewers have posted FANTASTIC projects using that technique. And they are so creative!

Here are just a few examples:


Do you want to see more? Check out the forum HERE.

And if you want to know how they created those masterpieces, check out the edited video. It is free to watch for a couple more weeks; you just have to be logged in. And yes, you will be able to create such projects.

New script – Mosaic Photo

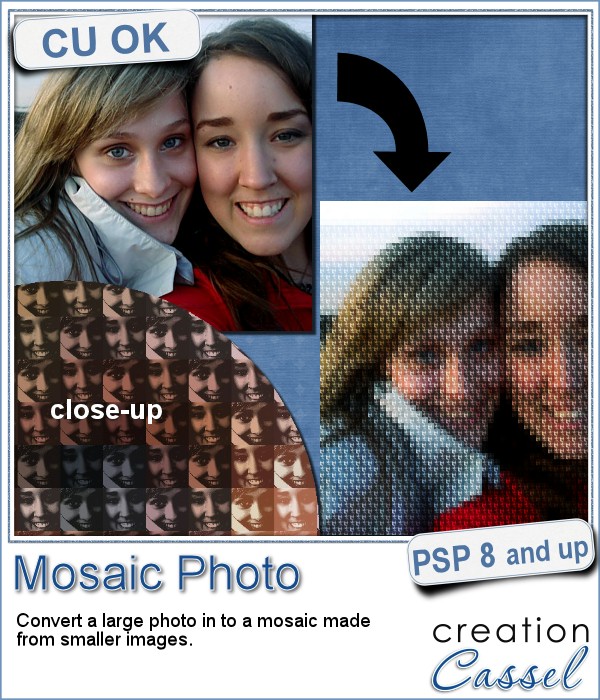
Mosaic Photo script for Paintshop ProYou might have seen tutorials on how to turn a regular large photo into a mosaic using smaller photos. It might not be too hard, but you can create that exact effect in less than a minute with this script for Paintshop Pro.
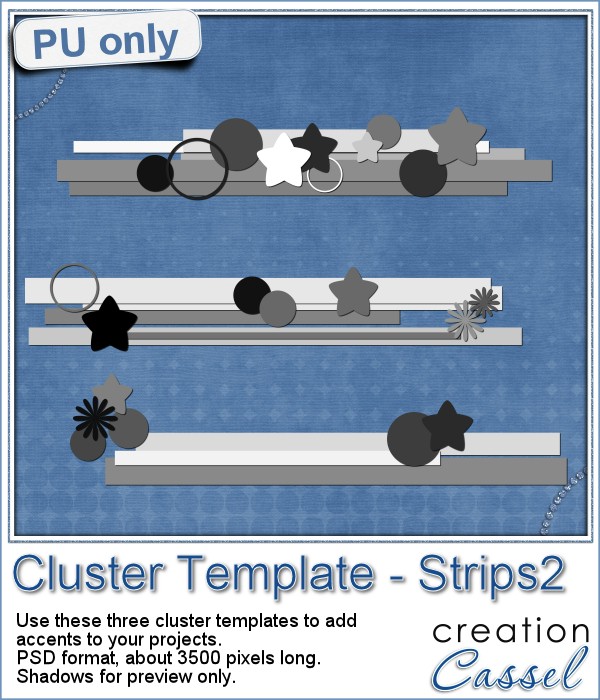
Start with a large image, and run the script. Follow the prompts and you will see your image turned into a mosaic using 1, 2, 3 or 4 different images of your choice.

Make sure you read the README file as you will have to edit the script to match the configuration of your own Paintshop Pro and your own computer (I can't guess that part for you).

Get this script in the store: Mosaic Photo.

For a chance to win this script, tell me if you ever tried to achieve that effect, and if you did, how you did it. Post your answer in the comments below. I'll pick a winner and announce it in the newsletter, next week. Not a subscriber yet? Not a problem. You can register here and it is free (and you only get one email per week).

Cluster Templates in PSD format for scrapbookingSince it is impossible for me to give you a sample using a photo that would be of any interest for you, I decided to see what other sampler you seemed to have liked, and I found out that the Cluster Templates were a big hit, so I created three more for your own use.
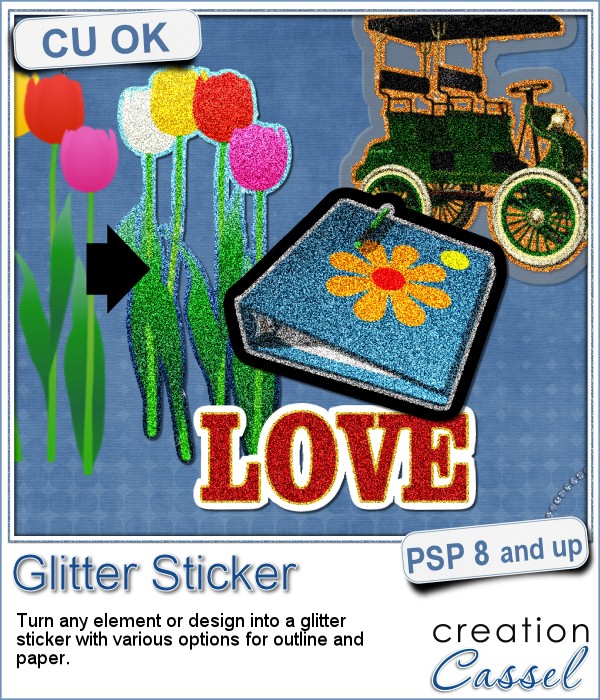
They are in PSD format, so they can be used by non-PSP users.

Each one is about 3500 pixels in width, so they could be used on a full size scrapbook project, or you can size them down to fit your project.

You need to be logged in to download this sample. You can either login, or register on the top of this page.

New script – Glitter Sticker

Glitter Sticker script for Paintshop ProStickers are fun, versatile and can be used in many projects. You can now create your own starting with any element, shape or text, and add some pizzazz by converting an ordinary shape or image, into a glittered one, with a glitter outline and paper.
You can use one of the default gold, silver or bronze outline, or choose your own color. Choose a gradient for a really cool effect. Or you can choose to have no outline.

Then, you can have a white paper, a black paper, a translucent plastic, or any other color or pattern as a paper. This could be a great opportunity to use a solid or patterned paper from a kit you like to customize it and make your sticker really part of the project.

Add those stickers to scrapbook pages, to business pages, to cards, to planners, and more.

Get this script in the store: Glitter Sticker.

For a chance to win this script, tell me what kind of outline you would likely use the most: gold, silver, bronze, or something else? I'll announce a winner in next week's newsletter. Not a subscriber yet? Not a problem. You can register here and it is free (and you only get one email per week).

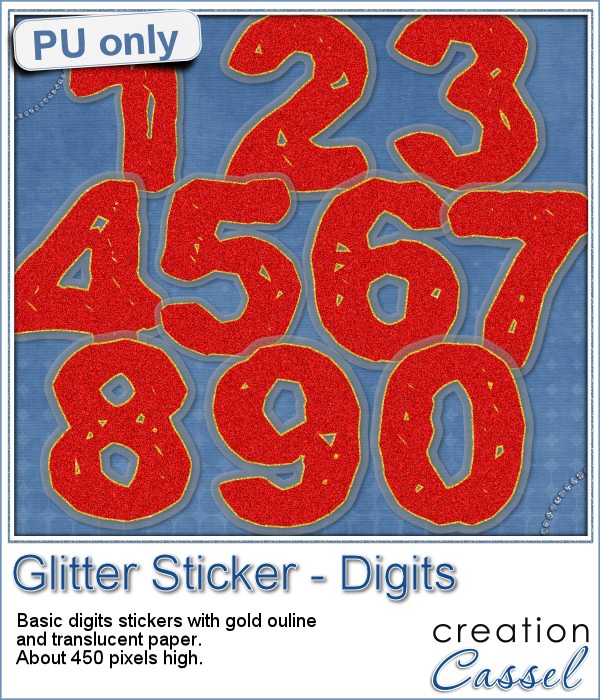
cass-GlitterSticker-DigitsFor this week's sampler, I created a set of digits with gold outline and plastic translucent backing. Each digit is about 450 pixels in height so you can resize it as needed.
Since these digits are in png format, you can use them in most graphic programs.

A full alpha will be available in the newsletter, on Sunday.

This would be perfect to add a date, and with the alpha, you could write glittery titles.

You need to be logged in to download this sample. You can either login, or register on the top of this page.


News from the Campus

BIGshowoff2016-400

Did you enter the draw for our BIG 2016 Show Off?

You still have a few hours to do so, and enter our draw for over $900 in prizes.

What are you waiting for?

Enter ANY project you created using something from the Campus, from the store or from this blog (even the digits you just downloaded above).

Check out the forum to post YOUR project, and look at others that were already posted. You have until Saturday night to enter. You can have as many as 5 entries. Use them all!

New tubes – Sprinkles

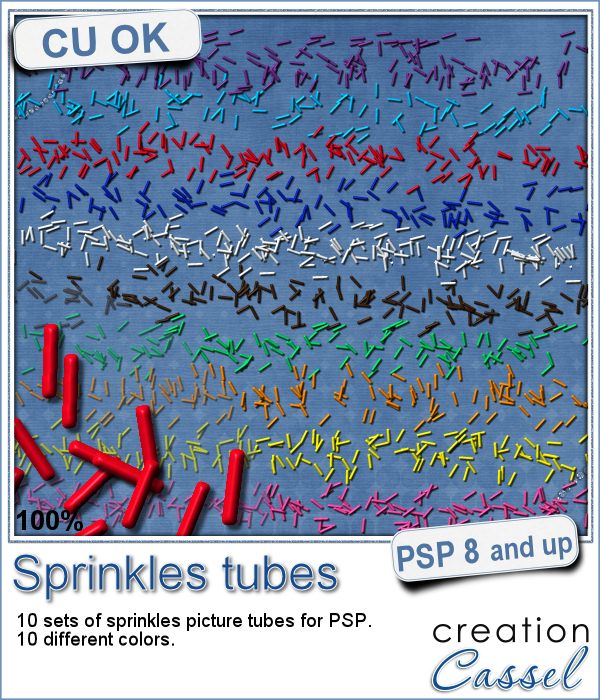
Sprinkles Tubes for Paintshop ProIf you ever had cookies or cakes, you know what a little sprinkles can add to the look!

Since you were able to make cookies last week, with the Cookies script, this week, you can add some sprinkles to them.

This set of picture tubes include 10 different colors of sprinkles. Simply "draw" with them as if you were coloring. The default size is the real size of a sprinkles, but if you are drawing cookies that are smaller than life, you will want to reduce the size. The step is set to allow you to place a light coat of sprinkles, but reduce the size and you will spill more sprinkles in a smaller area.

Use them to decorate cookies, cakes, donuts or cupcakes, but you can also spill some on your layout, to add a delicious effect, or incorporate some in clusters for a final touch.

Grab these (no-cal) sprinkles in the store: Sprinkles tubes.

In order to win this set of tubes, tell me what theme AND colors could you think of having. I can see that green and red would be perfect for Christmas. What other theme, and color combination can you name. I am hoping to get some themed sprinkles next week, so you can help me get your favorite themed sprinkles. I'll announce a winner in next week's newsletter. Not a subscriber yet? Not a problem. You can register here and it is free (and you only get one email per week).

Ranbow Sprinkles paper and element for scrapbookingThis week, i had fun "painting" with those sprinkles (it is addictive).

I created a simple rainbow using 6 of the 10 colors in the set. It is a PNG format, and is about 2000 pixels wide.

In addition, i created a full page (3600x3600 pixels) of sprinkles arranged in a kind of rainbow. This will be a great background for any baking, or sweet theme project. Or maybe a birthday invitation?

Grab those freebies now, and use them today.

You need to be logged in to download this sample. You can either login, or register on the top of this page.

Remember to show us how you are using them.


News from the Campus

InTheNewsDid you join the live presentation, last week?

The whole presentation was recorded and is being edited. It should be up this weekend.

Keep an eye on the Master Class section of the Campus.

Remember that it will be free to watch, as long as you are logged into the Campus.

New tubes – Twisted Strings

Twisted Strings picture tubes for Paintshop ProYou can find various strings in digital scrapbook kits, or sometimes as a set of elements, but are you struggling to find the right color, or the right length, or the right shape?

This set of picture tubes for Paintshop Pro allows you to simply draw the string with your cursor, any length you want, in any shape you want. It is like doodling a string wherever you want.

Adjust the size of the string by changing the scale of the tube: create thicker or thinner strings, depending on your project.

You get 12 different string tubes in different colors. Interestingly, the colors match those of the pipe cleaner tubes, so you can combine both sets of tubes for color coordinated projects.

Get this set of tubes in the store: Twisted String tubes.

What would you do with those tubes? Since you can create strings in any length or shape, you can surely find some creative ways to use the strings. Share your ideas in the comments below. I'll pick a winner and will announce it next week, in the newsletter. Not a subscriber yet? Not a problem. You can register here and it is free (and you only get one email per week).

cass-TwistedStrings-FlowersI created these fun flowers out of the twisted strings. They are fairly large so you can size them down to fit your project. You get two flowers, two leaves and one stem. Combine them as you wish, add them to clusters, make a border out of several flowers, etc.

The shadows were added on those.

You need to be logged in to download this sample. You can either login, or register on the top of this page.


New script – Ribbon Tag Banners

Ribbon Tag Banners script for Paintshop ProSometimes, you might have some interesting straight ribbons, but you would like to use them differently. How about creating some banners with bits and pieces of those ribbons? Does it sound like too much work? Of course, it can be tedious to do by hand, but with this script, you will have it done perfectly, in no time.

You have many options and even if you used the same options with the exact same ribbons, you will always get a slightly different result. Add a rope or a stitching on the top and you get another result.

Use your Paintshop Pro and this script to create a matching decorative element for your project, especially if you are using the straight ribbons elsewhere on the page. Or, if you want to add a decorative banner in your kit.

Have fun with this script. Get it in the store: Ribbon Tag Banners.

For a chance to get this script for free, tell me how you would like to "tie" those ribbon pieces: a string or a stitching or something else? I'll announce the winner in next week's newsletter. Not a subscriber yet? Not a problem. You can register here and it is free (and you only get one email per week).

Ribbon Tag Banner for Halloween for freeFor a sample of what this script can do, I used a single ribbon and colorized it in orange, and darkened the other copy to create a Halloween theme banner. The whole element is 3600 pixels wide, but you can easily resize it down to match the the space you need on your project.

Use this banner across the page, or between two photos, or just under the journaling to add focus on it.

The string on top, was made using the VectorTube script and I applied one Rope tube.

You need to be logged in to download this sample. You can either login, or register on the top of this page.

New script – Ribbon Banner

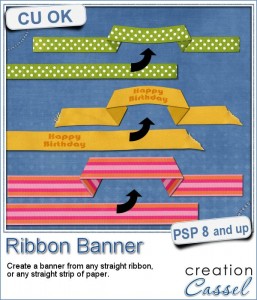
Ribbon Banner script for digital scrapbooking with Paintshop ProYou might have seen those vector banners on various sites, but you wish you could have something using real ribbons, right? Now, you can do that with this script and Paintshop Pro.

Pick any straight ribbon (it could work with a ricrac but it is not as pretty) or a long piece of paper and run the script. Answer the prompts, select the area you want in the center and voilà!

You can use any kind of straight ribbon: lace, translucent, directional, etc. The script is coded to use the whole length of the ribbon so nothing is lost, especially those frayed edges if you have them.

This is even better than using layered templates because it really curves the center piece so you can use patterned designs, text, or stripes and it will follow that curve. In addition, you can have the central part as wide or narrow as you want, and even use a section of the ribbon that is not in the very center.

Grab this fun script in the store: Ribbon Banner.

Banners are often used to announce something and in a layout, it could be a way to label or date it. What would you use it for? Would you add text? If so, what text? Tell me in the comments below and i'll pick someone who will win this script next week. I'll announce it in the newsletter. Not a subscriber yet? Not a problem. You can register here and it is free (and you only get one email per week).

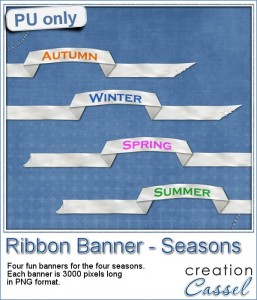
Ribbon banner sampler with the seasonsSince it is harder to add text on a curved ribbon, i figured i might as well create a banner with the text already in for you to use. I could have done a banner for each month of the year, or each day of the week, but i thought it would be interesting to have the four seasons for you to share various photos in a layout.

Each banner is about 3000 pixels wide, so they would nicely fit on top of a layout, almost as a title. Yet, you can size them down, or even trim the ends if you want.

You need to be logged in to download this sample. You can either login, or register on the top of this page.


News in the Campus


WeatherWise-400Have you registered to the live presentation this coming Sunday?

We will play alongside Mother Nature in adding rain and snow to photos.

It is FREE, as usual!

Register now


Corel Paintshop Pro Challenge


Silhouette-300

Do you have a photo with silhouettes? Do you have photos you have edited to create silhouettes? Or do you have other projects (not photos) that use silhouettes, like a card, or a layout?

Submit it to the #CorelChallenge

Let's show the world what we can do with PSP (and not just photography)!

Check out the collage i made for the Create Magic with PSP class. I posted it on that #CorelChallenge thread. Now it is your turn.

And if you want to create your own silhouette, there is a brief tutorial in the Campus HERE.

New tubes – Natural Ropes

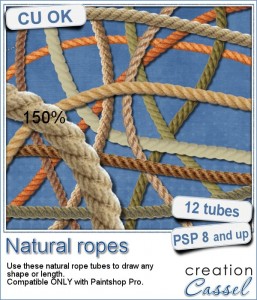
Natural rope tube for Paintshop ProAre you always looking for a rope or string in the size and shape you want but can't find anything ready-made that matches your project? That is when you can REALLY take advantage of these rope tubes for Paintshop Pro.
These are picture tubes, and you can "draw" with them as you would with a brush tool. Make them long, make them short. Make them straight, make them curved, make them twisted. Create "rope doodles" if you want, draw freehand or shape them neatly with a free script (link in the description).

You get 12 different natural rope tubes that you can use to make frames, tie tags, write words, etc.

Grab this set of rope tubes in the store now: Natural Ropes.

Would you like a chance to win this set? Tell me how you would use these picture tubes in a project of yours. Post in the comment below and i'll announce the winner in the newsletter, next week. Not a subscriber yet? Not a problem. You can register here and it is free (and you only get one email per week).

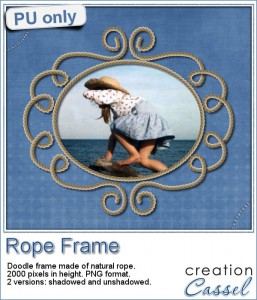
Rope doodle frame in PNGTo show you how versatile these rope tubes can be, i created a doodle frame. First, i drew it with the Pen tool so i could get a vector path. That required some work and tweaking to get the smooth curves. Then, i just ran the VectorTube script to place the rope along the vector path. That was the easy part.

The biggest challenge was to add the shadow ON the rope where the pieces overlap. Since everything was on a single layer, i had to use a few steps:

  • added a shadow on a separate layer
  • selected the area where the shadow should be on top of a rope.
  • promoted that selection and moved it above the rope
  • deleted that duplicated section from the initial shadow layer
  • with the eraser tool, i removed the shadow that appeared on top of the top rope but should NOT be there
  • then, i had to feather the remaining shadow so it would look natural

It was not hard, but it was a bit time consuming. But what do you think of the result? This free download includes a shadowed version and an unshadowed one (in case you need to add your own).

You need to be logged in to download this sample. You can either login, or register on the top of this page.

Will you show me your end result with a photo in the frame? You can also post it on the pinboard HERE. Everyone would LOVE to see your project.

New script – Film Strip

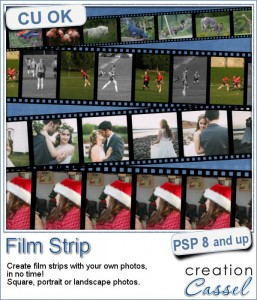
Film Strip script for Paintshop ProFilm strips are common ways to display photos, whether they are a series of photos taken in a rapid sequence, or completely different photos.

It is fairly easy to use a template and insert your photos manually into each slot, but with this Paintshop Pro script, the process will be much faster and you will have more options available than with ready-made film strip templates.

This script will always create a strip that is 3600 pixels long, which will fit traditionally sized scrapbook layouts. It is also big enough for you to size it down to any other size you need.

You can have between 4 and 12 photos on that strip, and the script will adjust each individual slot to still have a 3600 pixels long strip.

In the end, you will still have the option to tweak the exact placement of the photos (in case you don't want to cut Aunt Lucy's face on the edge). You can also apply various effects to the individual photos, like turning them into black and white, adjusting the brightness, adding various effects.

You can get this script in the store: Film Strip

I am sure you would love to use this script and you are already thinking of some photos to use in them. What kind of photos are you thinking of using with this script? Tell me in the comments below and i will announce a winner in the newsletter next week. Not a subscriber yet? Not a problem. You can register here and it is free (and you only get one email per week).

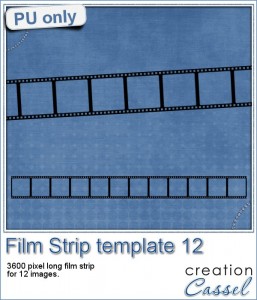
Film Strip template in PNG formatOf course, i cannot give you a sample of this with my own photos (even the wedding photos) since they won't mean anything to you. So, for that reason, i will just give you a sample of a blank template. I used the same strip as the one with the wedding pictures, and just saved the film strip layer in a png format.

As for all those strips, it is 3600 pixels long and this one has 12 square spaces for adding photos.

You need to be logged in to download this sample. You can either login, or register on the top of this page.