You might be using guides to align elements together, but what if you have a specific element already in place and you want to align everything else with it. How do you place exact guides on the edge or in the center of that element? It is pretty tedious to be exact. That is why I created this quick script.
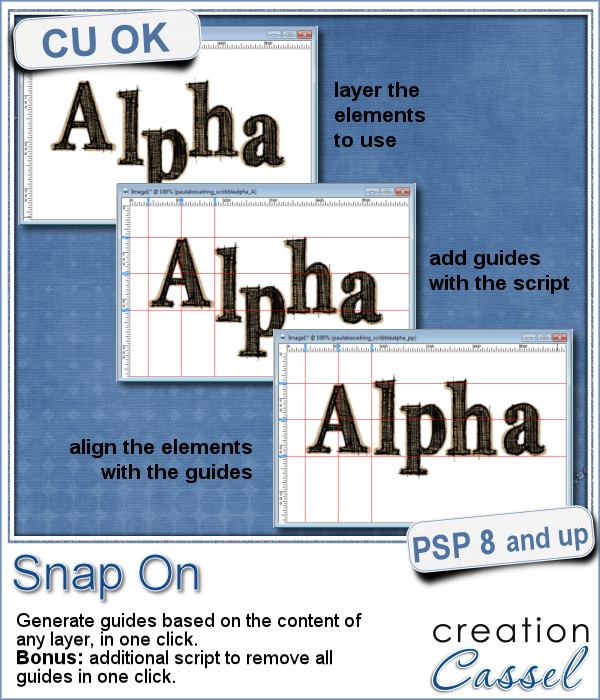
Activate any layer and run the script. In a single click, the script will place 6 guides around and in the center of the content of the active layer. Then, use those guides to align other elements with it.
Once you are done, you can use the bonus script, also included, called Snap Off, which will delete all the guides from the active image.
Get this convenient script in the store: Snap On
Best of all, it is FREE.
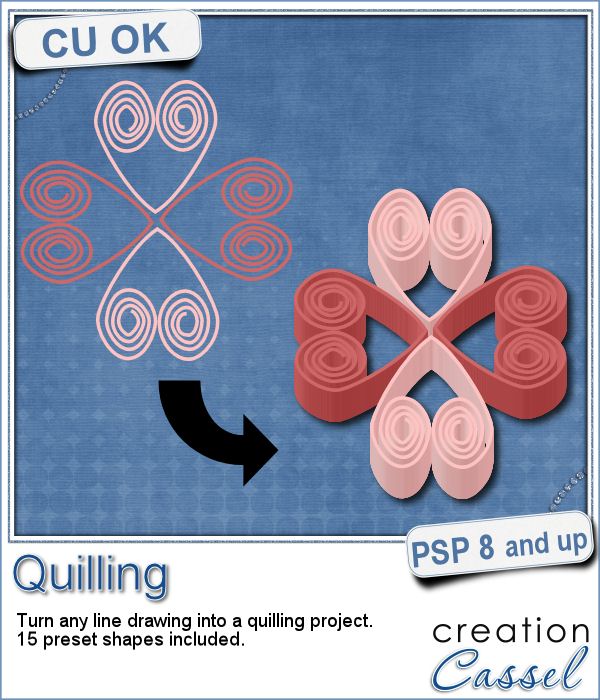
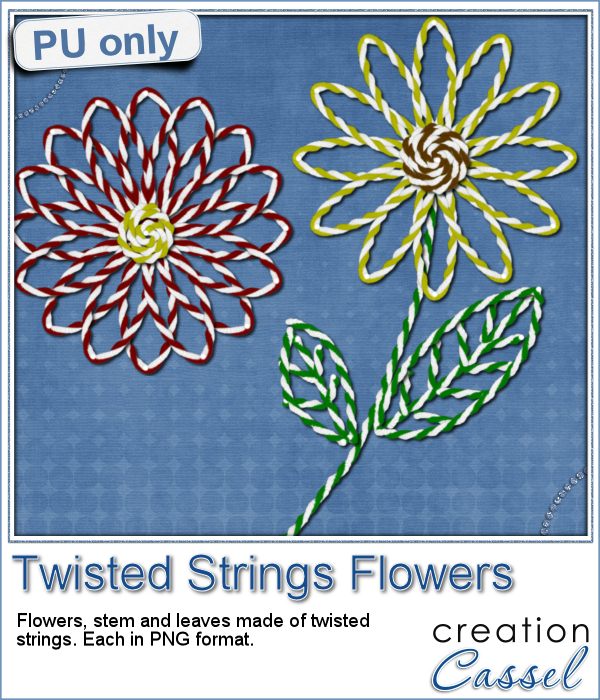
This week, since I cannot make a sample out of this script, i decided to create an element using last week's script: the Quilling one.
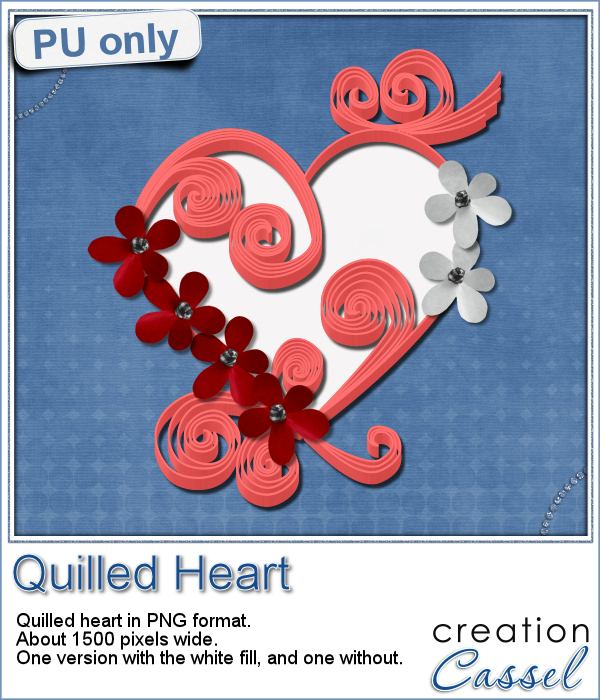
Using a heart shape as a base, i added various swirls in vector format and converted all those lines into a quilling project.
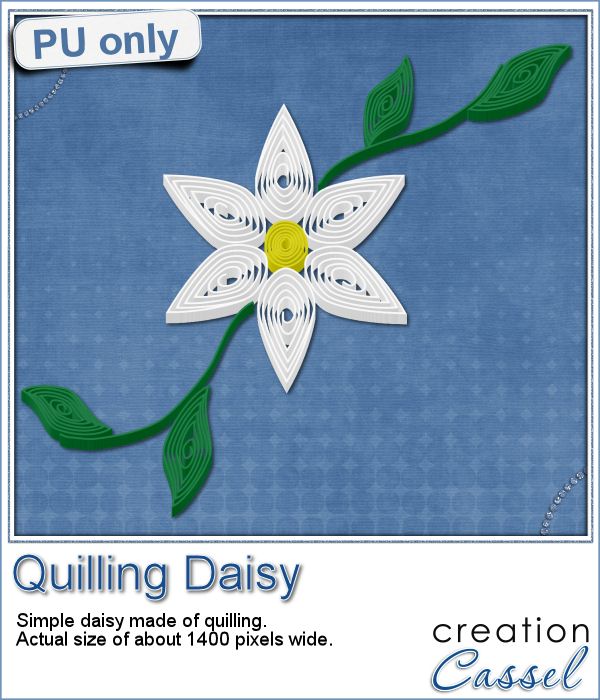
The heart element is about 1500 pixels wide, so you can size it down if you want. The shadows ARE included.
There are two versions of this heart: one with a white fill in the center, and one without.
They are in png format, so they can be used in most graphic programs.
You need to be logged in to download this sample. You can either login, or register on the top of this page.

Many years ago (at least 35), my mom got me a kit to do some quilling. I had no idea what it was and didn't even have the proper tools to do it, but I improvised and created a few fund designs by rolling those long strips of papers, and shaping them in specific ways. I loved that, and often wished I could find time (and tools) to do it again.
As a sampler of what can be done with this script, I made a little daisy. I used one of the preset shapes, in white. I duplicated and rotated that one petal 5 times and arrange those petals around another preset shape drawn in yellow for the center. Then, using the Pen tool, I drew a couple of free form lines. Finally, I used a third preset shape, in green, for the leaves and I placed them along those lines.
 

You might have seen tutorials on how to turn a regular large photo into a mosaic using smaller photos. It might not be too hard, but you can create that exact effect in less than a minute with this script for Paintshop Pro.
Since it is impossible for me to give you a sample using a photo that would be of any interest for you, I decided to see what other sampler you seemed to have liked, and I found out that the Cluster Templates were a big hit, so I created three more for your own use.
Stickers are fun, versatile and can be used in many projects. You can now create your own starting with any element, shape or text, and add some pizzazz by converting an ordinary shape or image, into a glittered one, with a glitter outline and paper.
For this week's sampler, I created a set of digits with gold outline and plastic translucent backing. Each digit is about 450 pixels in height so you can resize it as needed.
If you ever had cookies or cakes, you know what a little sprinkles can add to the look!
This week, i had fun "painting" with those sprinkles (it is addictive).
Did you join the live presentation, last week?
You can find various strings in digital scrapbook kits, or sometimes as a set of elements, but are you struggling to find the right color, or the right length, or the right shape?
I created these fun flowers out of the twisted strings. They are fairly large so you can size them down to fit your project. You get two flowers, two leaves and one stem. Combine them as you wish, add them to clusters, make a border out of several flowers, etc.


Are you always looking for a rope or string in the size and shape you want but can't find anything ready-made that matches your project? That is when you can REALLY take advantage of these rope tubes for Paintshop Pro.

