 Who has too many doilies? In the last few weeks, you got scripts to help you create circular and square doilies, but with a bit of math, I managed to code a script to allow for doilies that have different sizes in height and length. That is really adding another level of flexibility for your projects.
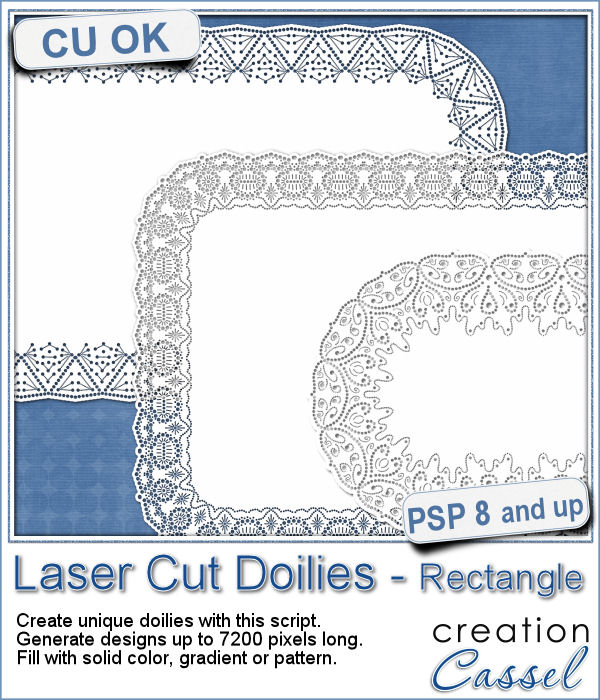
You can create doilies a wide as 7200 pixels, which would span the width of a double page layout.
It works just like the script to create square doilies but will duplicate the segments unevenly to match the size you want.
Get this script: Laser Cut Doilies - Rectangle
Would you want to win this script? Tell me what is the largest size you can think you could use for your doilies (and what you would use them for, in that size). I'll announce a winner in the newsletter, next week. Not a subscriber yet? Not a problem. You can register here and it is free (and you only get one email per week).
 This week, i made three rectangular doilies, and i am offering them to you. They are all in png format so you can use them with other programs than Paintshop Pro. You can also colorize them if you want. The shadows are only for the preview. There is a slight bevel only.
You need to be logged in to download this sample. You can either login, or register on the top of this page.