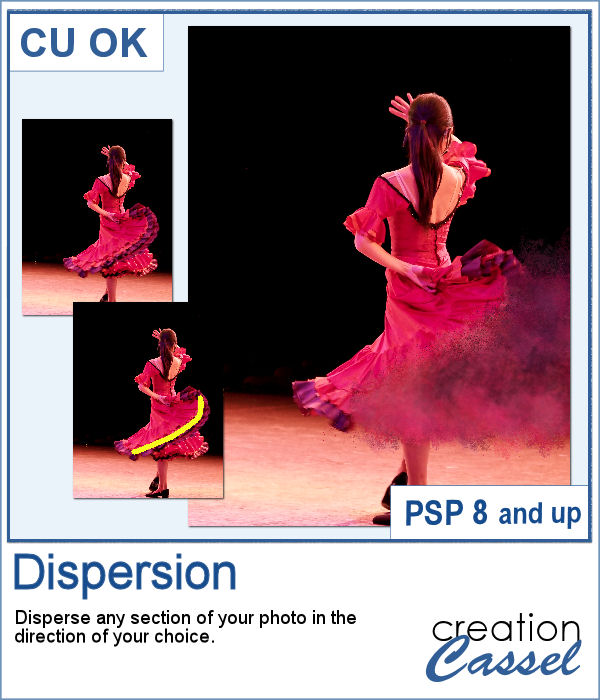
A dispersion effect can be added to any photo to give a unique impression of power or explosion.
This script will allow you to choose what section of the image will be dispersed and in what direction. Furthermore, you can also continue running the script so you can get a dispersion effect in two opposite directions if you want.
Get this script in the store: Dispersion
In order to win this script, add a comment on this Facebook post telling us what type of photo you would apply a dispersion effect to (remember, add a comment, not just a Like!) We will announce the winner in the newsletter, next week. Not a subscriber yet? Not a problem. You can register here and it is free (and you only get one email per week).
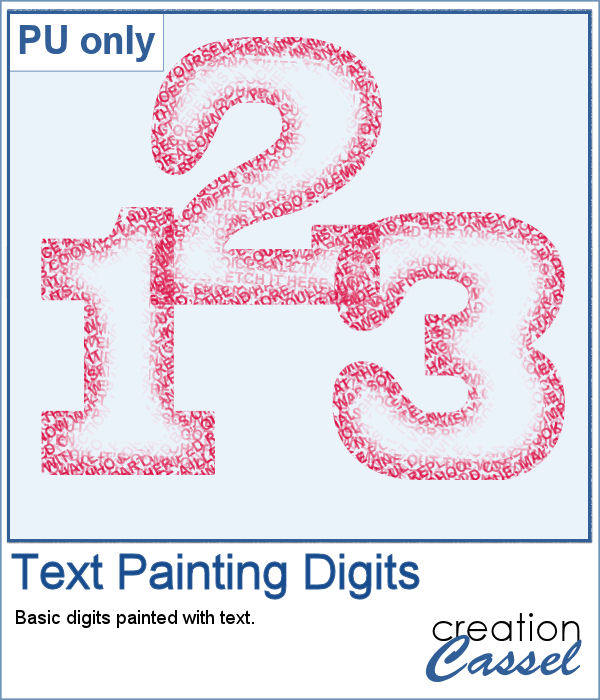
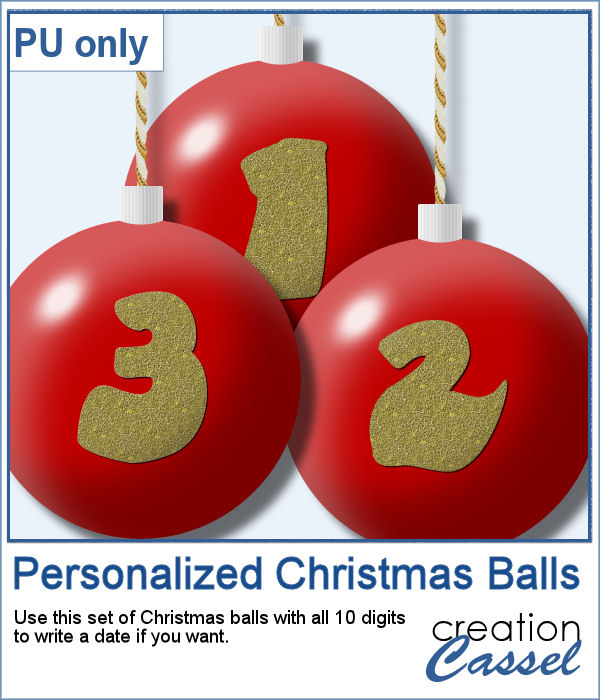
Since this script would likely be applied to your own photo, I simply ran it on greyscale digits. Since they are in greyscale, you can colorize them any way you want to use it in your own project.
You need to be logged in to download this sample. You can either log in or register on the top of this page.

If you want to create new patterned papers, you can draw them yourself or use a readymade template. However, while using this script, you can create many more seamless tiles, using a single color palette of your choice. This will speed up the process.
As a sampler, you can get these 10 seamless designs showcasing soft spring colors.
You can create wet paint drips manually, but it is quite tedious to do. In addition, how can you ensure that your drips will be perfectly straight?
As a sampler, I had fun creating this multicolored alphabet with dripping paint.
You can now have a corkboard to add any note, memo, paper, or even some lost and found objects. And even better, that board can be any shape you want.
For a sampler, I created individual digits using the font Rolipoli, which is a fat font, in order to give enough room to pint elements. Each element is about 1000 pixels in height and in PNG format.
When you want to create background papers, it is easy to create seamless tiles. However, it might be tedious to create your own design every time and you might also end up running out of ideas.
As samplers, I generated a few tiles and saved them for you in .pspimage format so you can use only one of the layers if you want, or even combine them between tiles.
More crochet laces for you to decorate your projects. Create them in any length you need, and colorize them in any color you want to match your project.
For this freebie, I used a long lace and ran the
You can convert a photo into a painting made with text patterns with this script.
As a sampler, I created some gradient digits, from white to red, and ran the Text Painting script on them. I chose to keep the original colors so you have something other than grey. Of course, you can always colorize those digits with a different color if you prefer.
These slats are going to be evenly distributed without the trouble of measuring them all. They will overlap also evenly.
Get this slats frame for your photos. The file is about 4000 pixels wide so you can resize it to suit your photo. Although it has vertical slats, you can rotate it if your photo is vertical. Just add your photo inside the mask layer to showcase your photo through the frame.
If you want to add your own photo, design or text to a Christmas ornament, it could look pretty flat as it would not have the expected curved distortion of a real ornament. This script, however, will do that for you, on any photo, design or text of your choice.
As a sampler, I created a set of red balls with gold digits on them. It will be perfect to add a year, a date or an anniversary. Each ball is about 1800 pixels so you can size it down to the dimensions you need.
You can now create a pretty custom angel for your holiday decorations.
As a sampler, I created five angels with lacy wings. That should give you variety to use them in just about any project.