Wavy edges can add a delicate effect to any element. You can create small or big waves, on one edge, two opposite edges, or even all four edges at once.
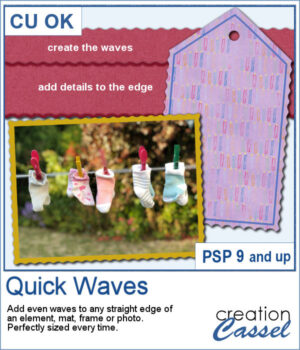
The benefit of this script is that the ends of the wave will always be perfectly aligned with the ends of the element. No more "half-cut" waves on one end.
Will you use it on tags, mats, frames, photos, papers, ribbons, or something else?
Get it in the store: Quick Waves
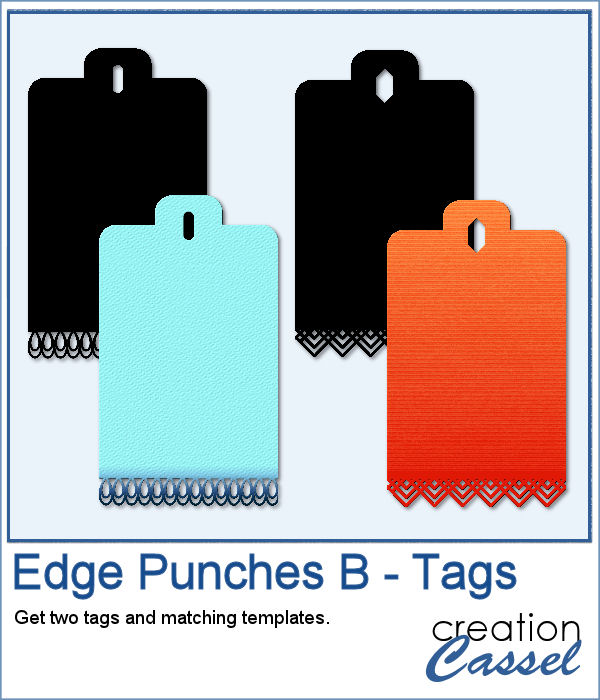
In order to win this script, add a comment on this Facebook post telling us what other shapes you can envision for cutouts on the edges of elements (remember, add a comment, not just a Like!) The winner will be announced in the newsletter, next week. Not a subscriber yet? Not a problem. You can register here and it is free (and you only get one email per week).
For a sampler, I created two simple frames for you to showcase your favorite photos. One is vertical and one is horizontal. The difference is in the slight bevel added to give that 3D effect.
You need to be logged in to download this sample. You can either login, or register on the top of this page.

This set of brushes will allow you to paint or cut intricate designs in the middle of a paper (or a photo). Create cutouts away from the edges and corners.
As a sample, I created a set of greyscale bookmarks with a central cutout and one with cutouts on the ends. One has a heart shape punched out, while the others are blank for you to add anything else you want. The design can even be cut from actual paper/cardstock using a cutting machine. You can colorize these strips any way you want. Each "bookmark" is 600x3000 pixels long and can also be used as an element on your next project.
This set of brushes will allow you to paint or cut intricate designs in the middle of a paper (or a photo). Create cutouts away from the edges and corners.
As a sample, I created a set of greyscale bookmarks with a central cutout. One has the year 2023 cut out of it, while the other is blank for you to add anything else you want. The design can even be cut from actual paper/cardstock using a cutting machine. You can colorize these strips any way you want. Each "bookmark" is 600x3000 pixels long and can also be used as an element on your next project.
This is the third of the series of edge punches. Just like the punches you would get to cut out the edges of traditional paper products, you can use the Eraser tool to cut out of the edge of your digital element.
For a sample, I created a template for a greeting card. It is simply in png format so it can be used in any program. If you have a cutting machine, you can cut this card for a unique effect, once you have customized and printed it.
In order to create a depth effect, you can use several cutouts in decreasing sizes along with large shadows. But doing it by hand can be tedious, which is why I created this script.
For a sampler, I created a template for a folded card, 2100x3000 pixels with a round cutout. You can use it as a folded card by keeping it in full size of you can just use the bottom part to make it into a postcard, or a framed image.
In paper crafting, punches are popular to create a decorative edge on papers, frames, photos, etc. With PaintShop Pro, you can create a similar effect by using the Eraser tool with special brush tips.
As a sampler, I created two tags with different colors but I also include the template for each of them so you can create your own in the color that will suit your project. Then, simply add texture, bevel or decorations to them.
In paper scrapbooking, we often see some fancy outlines, likely made using a cutting machine. The designs can be simple or intricates and with contrasting backing, it gives a great look.
For a sampler, I am including some summer-themed elements all in layers. You can change the colors of the cutout or the background if you want to match them to your own project.