You can easily create an impression of a rubber stamp using a color and a texture, but how about creating the actual rubber stamp, complete with the ink and maybe even the mess too?
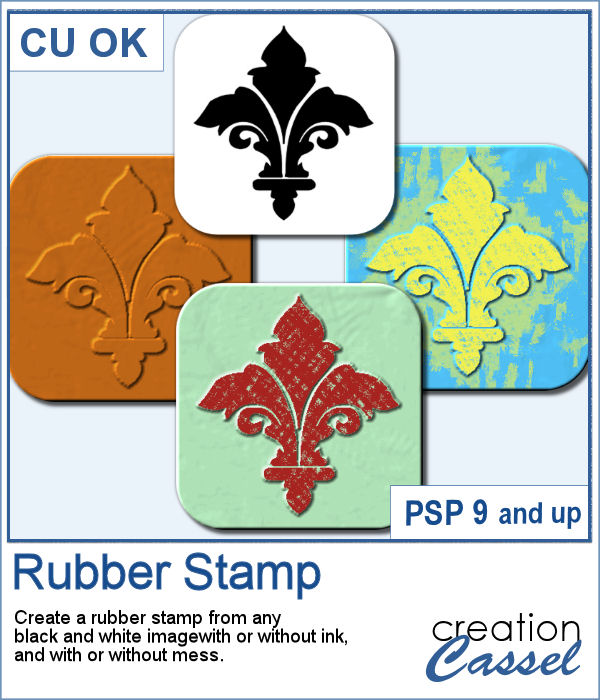
This script will convert any black and white image into a rubber stamp for you. You get to choose the color of the rubber and the ink too.
Get it in the store: Rubber Stamp
In order to win this script, add a comment on this Facebook post telling us what design you would first create with this script (remember, add a comment, not just a Like!) The winner will be announced in the newsletter, next week. Not a subscriber yet? Not a problem. You can register here and it is free (and you only get one email per week).
As a free sample, I created a few elements to celebrate Canada Day (if you don't know yet, I am Canadian). I created those three rubber stamps in addition to a "stamped" version of the design.
Of course, you would have to reverse the designs to be very accurate especially if you want to put the large design printed beside the stamp itself (it would make more sense).
You need to be logged in to download this sample. You can either login, or register on the top of this page.


Those iron fences might be fun to use, but they are probably always the wrong length for your project. This set of tubes allows you to draw them as long as you want and at any angle (like on hills or down stairs).
Since it is graduation time now, for many parts of the world (it is the last day of school here), why not add a great message for anyone reaching graduation?
By popular demand, another set of punches have been made and this time, on the summer theme. You get 12 designs, with corner punches and edge punches. In addition, the individual shapes are also available.
As a free sample, this week, I created two templates for 5x8 and 8x5 photos with some wave edge along the top. Use it to showcase your favorite summer, water, beach or just fun photo.
You might want to create some kind of extrusion around the edges of your element and play with various thickness, height, and colors. Add those edges around shapes or text for a very unique effect.
To play around, I used some text to run the script on. I used gold, silver and bronze patterns for the edge and the inside and outside colors to give the metallic effect of the edges.
Aside from the typical deck of cards we use to play poker, bridge, or others, do you ever play games that involve a different kind of cards, like Magics, ?
This week, I created a simple set of four cards for you. They are in .pspimage format which includes the mask to insert your photo without having to cut it or adjust it in any way. Simply put your photo above the layer named "Photo here", and adjust the placement using the Pick tool (or the Raster Deform tool if you are using an older version of PSP).
What do you want to garnish your burger? This week, I am presenting you a fun addition to your summer projects, parties and barbecues. Now, you can add as many toppings to your burgers as you want without adding any calories, so dig in!
Since I didn't know what you would like to have on your burger, I could not create a burger for your specific taste, but since I expect you will be using these tubes for some summer activities, you surely will have some photos to showcase, so why not use this template?
Everyone likes ribbons, bows and knots. They can be very versatile, especially if they match. Finding the correct match is not always easy, but with this script, you can use any straight ribbon and get a simple knot to add to your project.
To show you what those knots look like, close up, I used three ribbons from a kit,
Every project can use ribbons and creating custom ribbons with the specific colors of a photo or a kit can be tedious. This script, which is an extension of the Ribbon Factory script, will create such ribbons using two colors of your chosen palette with a variety of patterns and other settings.
As a sampler, this week, I used the same color palette as I used last time to create those fun spring confetti and generated a dozen of ribbons, 200 pixels thick.
Adjustment layers are applied to all the layers below them, in the Layers Palette. But what if you want to adjust only one element, on one single layer? You can still do it, if you add that layer into a group that will include that specific layer you want to modify. It takes a few clicks, but with these scripts, a group will automatically be created and the adjustment layer will be inserted. Just fewer clicks than doing it manually.
As a sampler for this week, obviously, I can't give you anything done with that script, since it is a tool, but since the Plush Texture script was quite popular, I decided to create a fun plush teddy bear.
Natively, you cannot view your brushes from Paintshop Pro when you look in Windows Explorer, so if you want to see what you have on hand, you have to go through PSP itself, and pull down the list of brushes from the Brush tool settings.
As a free sample, this week, I made a fun frame using star confetti made with basic colors. The whole frame is 3600x3600 pixels so you can use a single photo on your project. If you want to use it smaller, you can add a solid color border on the edges so you would not see the cut off confetti.