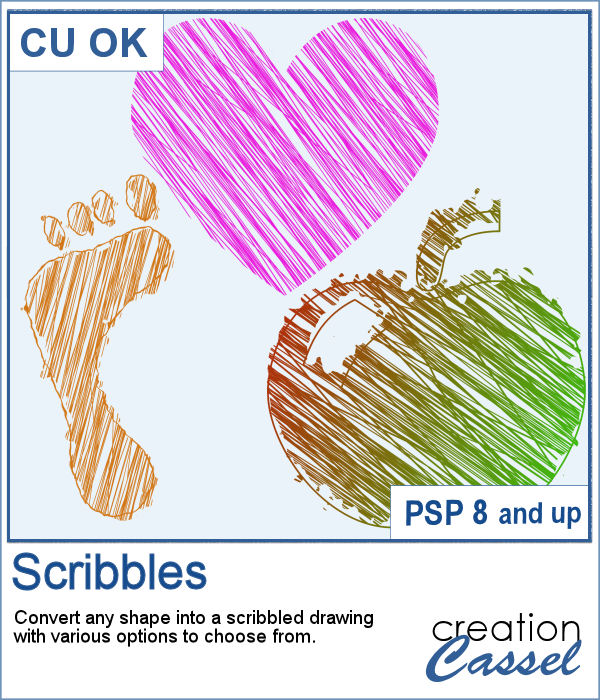
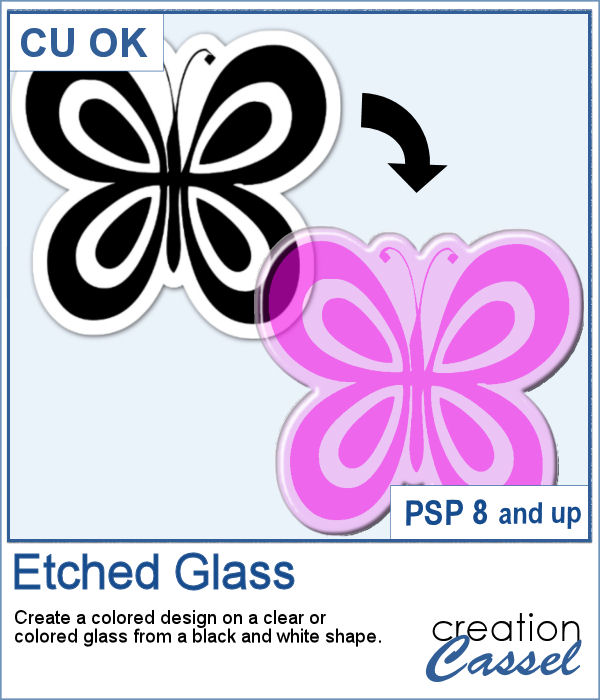
How about creating a fun and unique etched element in the shape and color of your choice. This script will allow you to do just that to create alphabets, titles, shapes even frames starting with a simple black and white image.
Use a larger shape in order to get the best results. You can always resize later as needed.
Get the script in the store: Etched Glass
In order to win this script, add a comment on this Facebook post telling us what you would write on those buttons (remember, add a comment, not just a Like!) The winner will be announced in the newsletter, next week. Not a subscriber yet? Not a problem. You can register here and it is free (and you only get one email per week).
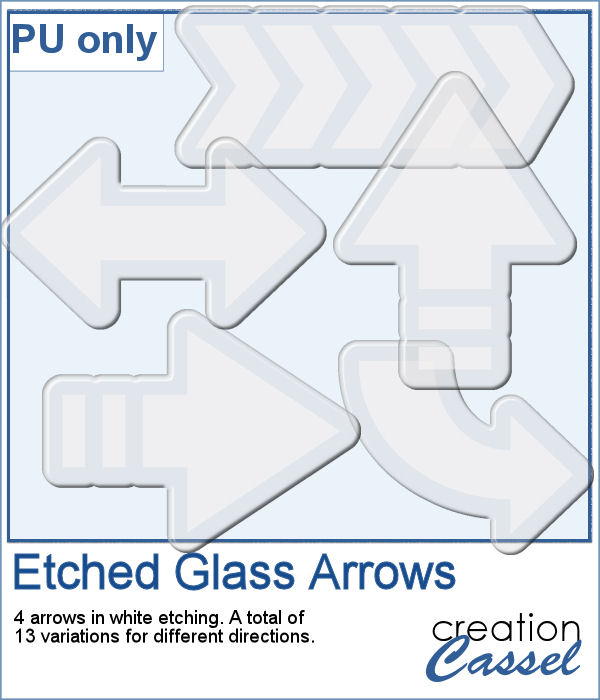
Using the script, I created a set of 13 arrows from 4 different shapes. Because of the 3D effect applied to the elements, it is not possible (or recommended) to rotate them more than just a little without messing up the light and shadows from the elements themselves. That is why, each shape has been run the script in different orientations. These arrows will be a great way to add focus to an element of your project.
You need to be logged in to download this sample. You can either login, or register on the top of this page.

There are various ways to add a date, but did you ever think of writing it on a button? Why not? They are perfect in size to add small text like a date and with this script, you can customize it with the color, gradient, pattern, text, font or even other designs.
For this week, I created a set of 13 buttons that you can use with those school pictures that you just took, or had for years, whether they are yours or your children's or grandchildren's.
If you want to create your own labels, it might not be too difficult, but how about creating it faster than if you did them manually?
As a sampler, I created a set of labels based on a simple diamond shape. The paper is a light yellow and the accents are made of gold patterns.
Whether it is for a kid project, a school-related project or just for the fun of it, you can now create scribbled drawings out of any shape or letter, whether you drew it with a brush, a preset shape or the text tool.
As school is either starting or going to start soon, I created a full alphabet using this script. I picked four basic colors for a really bright effect. Remember that if you want those to be considered scribbles, you should not add shadows. However, if you want to pretend the lines are strings or wires, then you can add some. Don't go crazy with the shadows though; you don't want your element to feel like they are floating.
Whether you want to add a date, a mention of an event or a location as if you were traveling around the world, this triangular datestamp will allow you to add a personal touch to your project.
As a sampler, I created 12 stamps with the months of 2018 and that you can personalize as there is still space to either add a date, a design, or anything else you might want to add (or you can leave it blank too).
How would you like to quickly create a monogram with a single letter and a name or several initials or even numbers to create a date for a particular event or simply to keep track of your pages?
As a sample, I asked on the Facebook page and I quickly got 4 suggestions of single words that I turned into monograms. They are fairly large (900 pixels high) so you can use them in various projects and size them down if needed.
You can now turn any vector shape or text into a sandy texture with some dispersion of the sand. You can choose a real sand color or a totally different color, for a fantasist appearance. You can even try to use a gradient for a fun effect.
For a sample, I ran the script on single digits using the font Blackadder ITC, which is a font where the characters are kind of crooked and uneven, which I felt was a good match with a sand texture. You get all the digits so you can add a year or a date on your project.
Creating a patchwork pattern might be fairly easy with selections, one after the other but some designs would be very tedious to create in a seamless pattern especially if it is not a design that fits inside a square or rectangle. However, with the calculations available in a script, you can actually create that seamless pattern from any design.
As a sample, I thought you might like to have some of the tiles used in the preview. They were done using various wood texture images. One tile is 1000x1000 and the other is 1200x1200 pixels. Since they are both seamless, you can use them on a larger image. You can also rotate the pattern at 45 degrees for an interesting effect.
Yes, you can always check out the images in your Windows Explorer to view all the patterns you have but if you want a printed library, you would need a lot of work to create it. However, this script will create one for you, in just a few seconds. Choosing one pattern, the script will find all the other patterns in the same folder, and display them on a standard 8.5x11 sheet of paper, along with the name of the particular pattern and the name of the folder. This is perfect for you to then print out and keep in a binder.
For a freebie, this week, I created a fun frame made of sand, that you can use on top of your "beachy" photos. If you want more sand, you can always duplicate this image and add an Antique Mosaic effect to it.
You can easily create an impression of a rubber stamp using a color and a texture, but how about creating the actual rubber stamp, complete with the ink and maybe even the mess too?
As a free sample, I created a few elements to celebrate Canada Day (if you don't know yet, I am Canadian). I created those three rubber stamps in addition to a "stamped" version of the design.