In order to create evenly spaced nested frames, you will need a lot of calculations. And if the focus area is not in the very center of your image, it means calculating the spacing separately for four sides. That can be a real challenge.
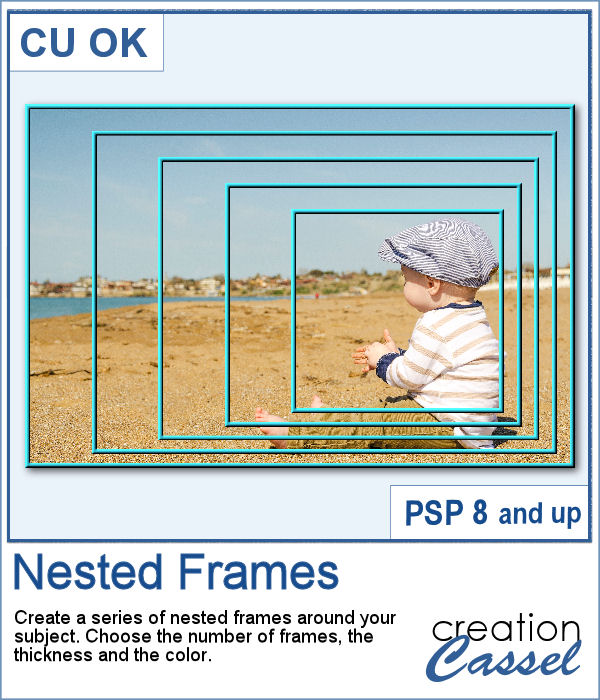
This script will take care of everything for you, while you only have to select the number of frames, their thickness and colors. The rest is handled by the script.
At the end, the frames will be left on their own layer so you can add more effects to them (bevel, shadows, texture, etc.) or use those frames to select parts of the photo and give it more variations (saturation, lightness, colors, etc.)
Get this script in the store: Nested Frames
In order to win this script, add a comment on this Facebook post telling us whether you ever used nested frames in the past (remember, add a comment, not just a Like!) The winner will be announced in the newsletter, next week. Not a subscriber yet? Not a problem. You can register here and it is free (and you only get one email per week).
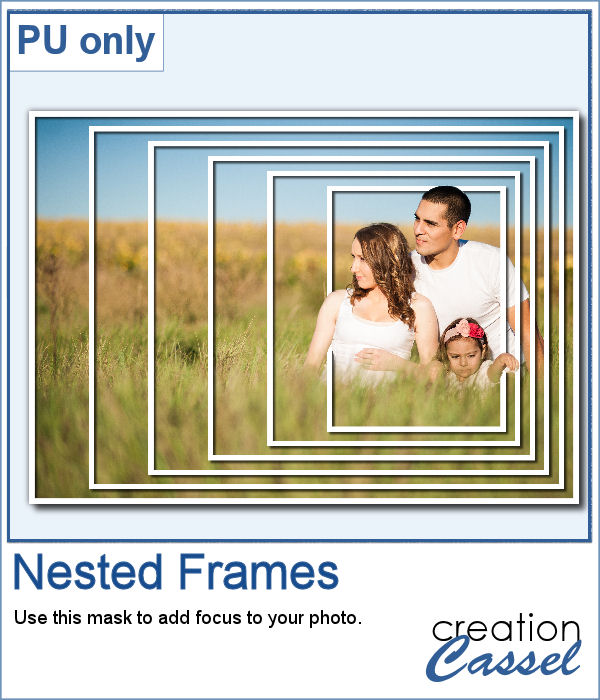
For this week's sample, I created a set of nested frames to fit a 7x5 inch image. Since the frames are white and have no bevel or shadows, you can flip them, mirror them or rotate them to fit your photo. Add whatever effect you want to the frames or use them to apply effects to the photo.
Noticed that I had a little play on the preview: Although it might look like I cut the frames, I actually made some selection from the photo, promoted those selections to their own layer, and move that layer on top of the frames. This allows me to move the frames if needed, as they are still intact.
You need to be logged in to download this sample. You can either log in or register on the top of this page.

Have fun with words and dates by writing them using bingo balls.
As a sampler, I created a set of 11 bingo balls, for the 10 digits and a hyphen. I chose to use black and white so they would be neutral enough to be used in a variety of projects.
You can now create your own beads to perfectly match your project.
As a sample, I created a set of 15 beads using a single color palette (which is included in the zip file).
You can display your photos in regular square or rectangular shapes, but you can also use a starburst shape to make it a little different.
As a sampler, I created a template, just for you, with spots for 8 photos. Replace any of those photo spots by images but you can also replace them by patterned paper. Or you can play around with it as a template is just a starting point anyways.
It can be fun to turn various shapes into foliage or flowery bushes. This can be particularly suitable for garden-themed projects, whether it is a scrapbook page, a poster, or a card to someone with a green thumb.
This week, as a sample, I am offering you a full alphabet using the Hesperis flowers. Each character is about 700 pixels in height so you have plenty of room to resize them to suit your project.
It is always fun to have a variety of ribbons to accompany our project but using ready-made ones, might not always match. Adjusting the color is possible but it is tedious. And if you are talking about multicolored ribbons, then it is a full-blown headache.
For a sample, I am sharing 14 of the ribbons generated using the color palette in the preview. They are nice spring-like colors, so you now will have access to another set of matching ribbons.
A dispersion effect can be added to any photo to give a unique impression of power or explosion.
Since this script would likely be applied to your own photo, I simply ran it on greyscale digits. Since they are in greyscale, you can colorize them any way you want to use it in your own project.
If you want to create new patterned papers, you can draw them yourself or use a readymade template. However, while using this script, you can create many more seamless tiles, using a single color palette of your choice. This will speed up the process.
As a sampler, you can get these 10 seamless designs showcasing soft spring colors.
You can create wet paint drips manually, but it is quite tedious to do. In addition, how can you ensure that your drips will be perfectly straight?
As a sampler, I had fun creating this multicolored alphabet with dripping paint.
You can now have a corkboard to add any note, memo, paper, or even some lost and found objects. And even better, that board can be any shape you want.
For a sampler, I created individual digits using the font Rolipoli, which is a fat font, in order to give enough room to pint elements. Each element is about 1000 pixels in height and in PNG format.