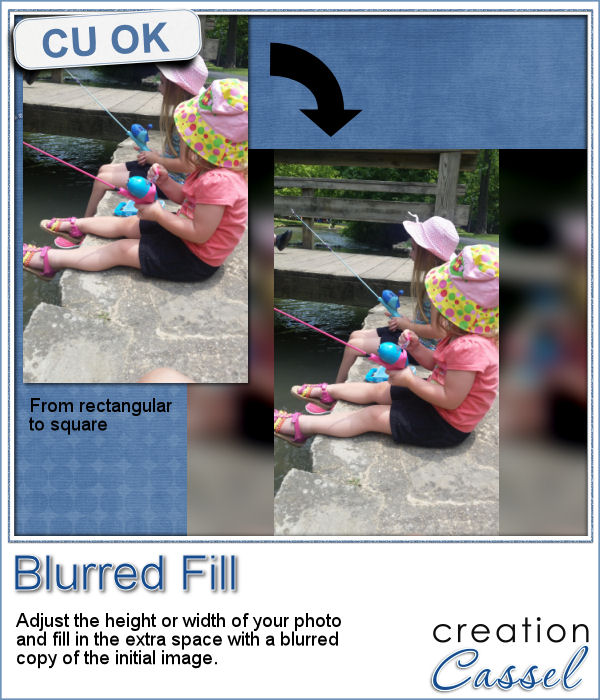
 You probably have seen those images where a video has been shot vertically, but it has to fit in a horizontal space, then the extra on each side is a copy of the main image, but blurred and darkened to keep the focus on the main image.
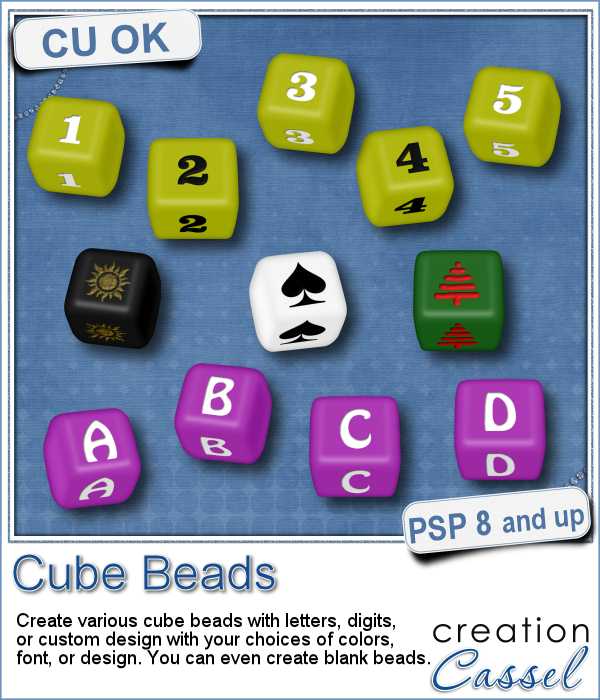
This script will achieve the same effect. You can start with any kind of photo, whether it is square or rectangular, and then, you can "fit it" inside an image that is rectangular or square.
This is a great way to fit your photo into a space that is of different proportions without having to crop the photo.
Use this strategy to fill in a carousel or a slide show. Or use it as a header, or to fill a PowerPoint presentation of some kind. Or just fill part of your scrapbook page.
Get this script in the store: Blurred Fill
What would YOU use this for? Can you see yourself using this in a scrapbook project? what would it be? Tell me in the comments below and i'll pick a winner next week. Not a subscriber yet? Not a problem. You can register here and it is free (and you only get one email per week).
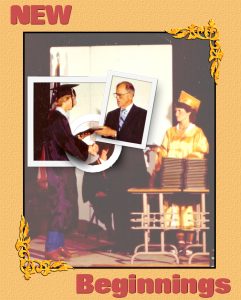
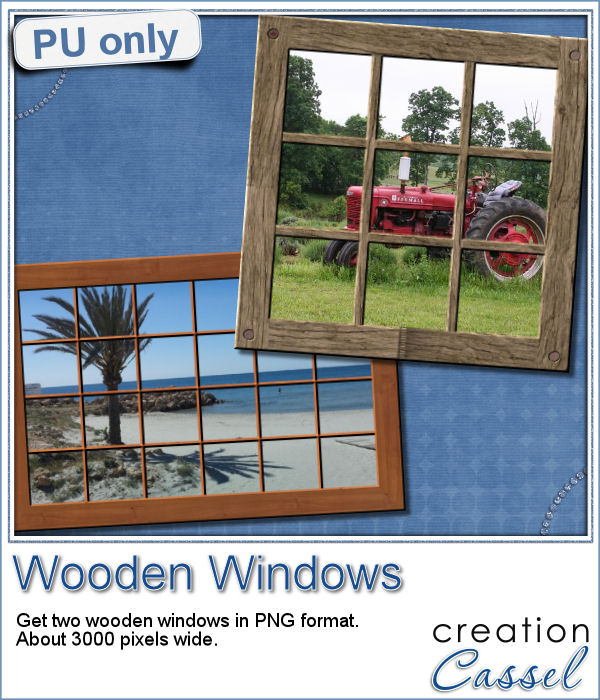 Since this script is about creating a special effect on your own photo, i can't really create a sampler from any photo of mine. Well, I could, but i doubt you would find it very useful, so instead, i created a different sampler based on one that was VERY popular recently: the Wooden Window.
I created two windows in png format: one is using a fine wood while the other is more rustic, with visible nail heads holding the pieces of wood.
Both windows are 3000 pixels wide so you can use them for a scrapbook project, or even size it down too.
Place your favorite photo behind it for a wonderful display.
You need to be logged in to download this sample. You can either login, or register on the top of this page.
News from the Campus
 Join us for our live presentation on Ribbons and Bows, where we will take a look at how to create knots and bows from straight ribbons, using PSP.
It is free, as usual, so join us and tell a friend.
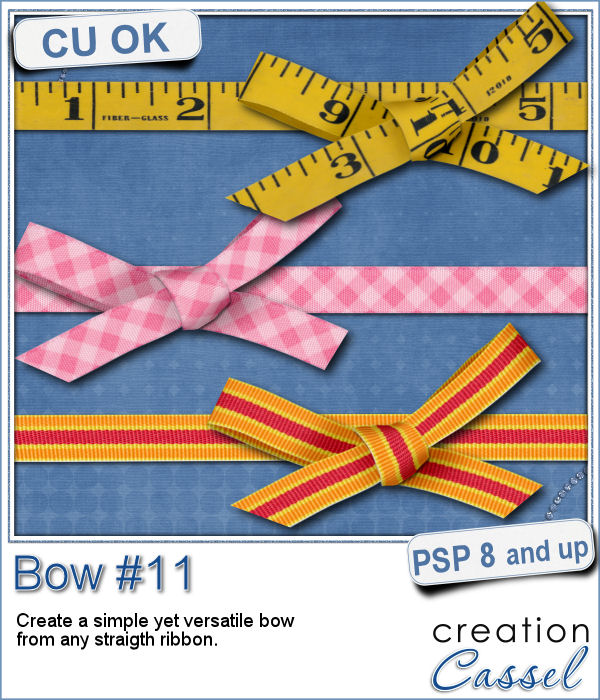 Who can say they have enough bows in their digital stash? Nobody!
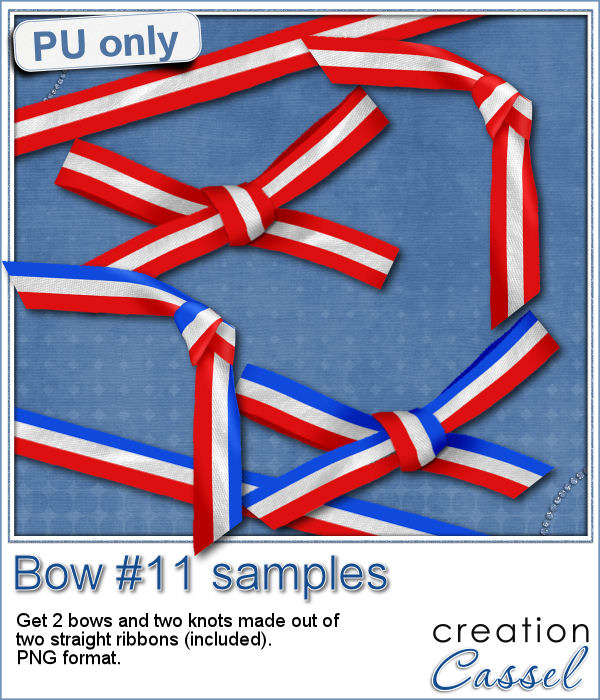 This coming weekend, it will be July 1st (Canada Day) and July 4th (Independance Day) so i created two basic ribbons with the blue white and red colors and one with red and white. Then, i ran the script for each one. I also used the Knot#7 script to create the additional knot.
 Next week, we will have another live presentation in the Campus. Last month, Diana suggested we had a class on making knots and bows with the ribbons, so that is what we will play with. Will you join us?
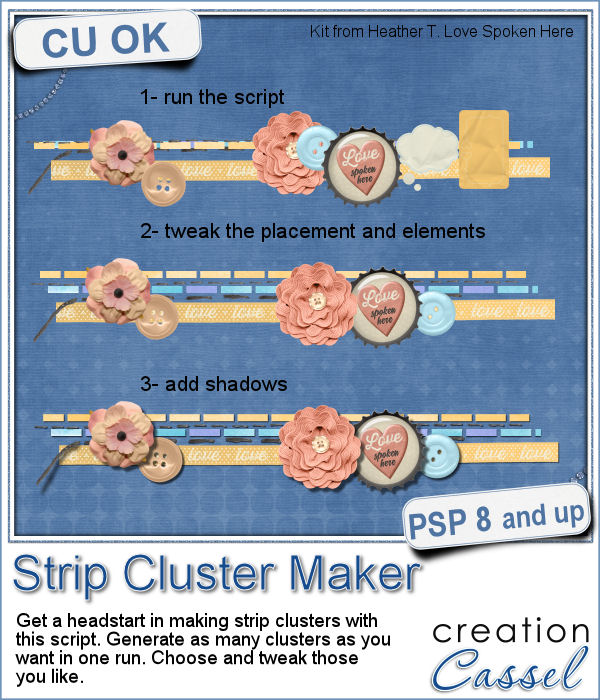 Making clusters can be a great way to expand a kit you want to sell, or a way to use a kit you just purchased.
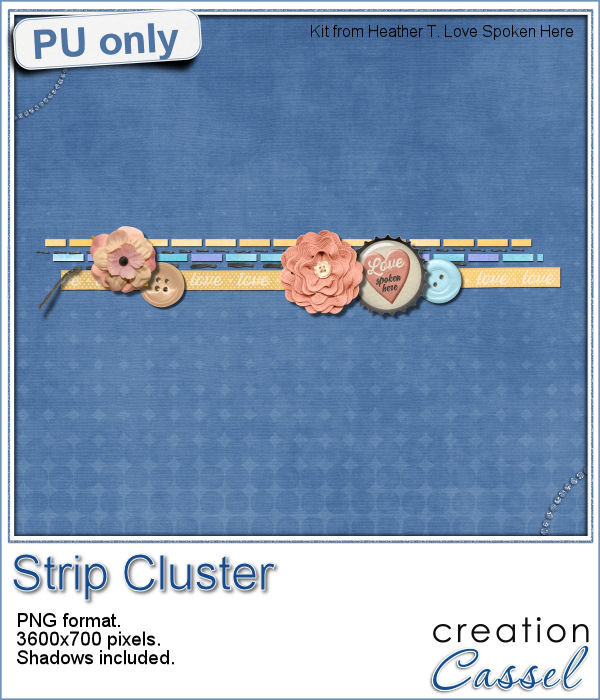 This week, with Heather T's permission, i am giving you the exact strip cluster that I made using this script.
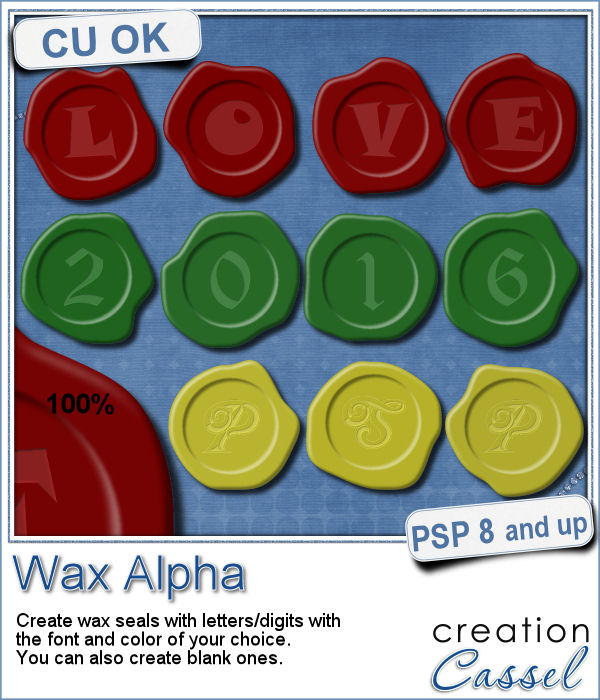 If you want to add a touch of elegance or a formal look to a project, you might be looking for a wax seal. However, what you will find is often a set of ready-made seals that will not have the color you are looking for, or the font you wish it had. Or, you might find seal templates that will give an identical shape to all the seals you would create from them.
 Do you want to add some wax titles to your projects? You can use this complete alphabet made of blue wax.
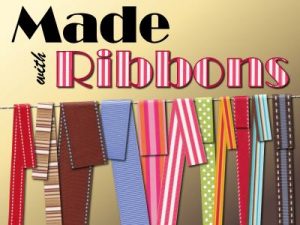 Did you register for our live presentation scheduled for this coming Sunday, June 5th?
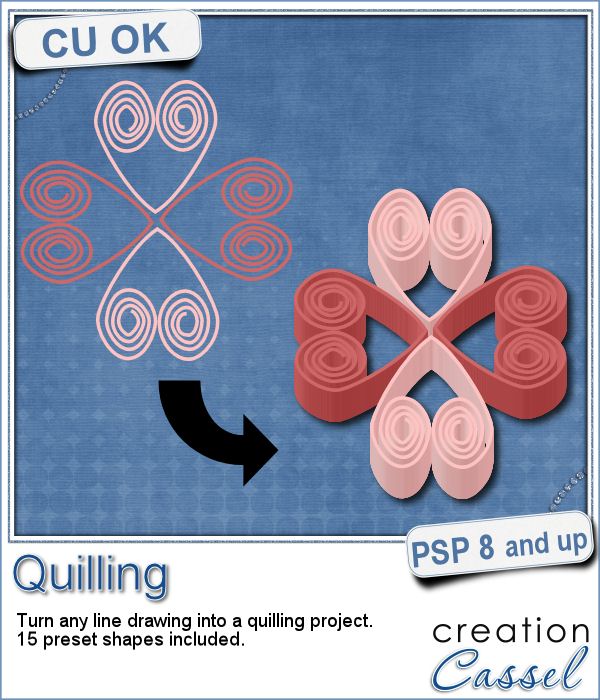 Many years ago (at least 35), my mom got me a kit to do some quilling. I had no idea what it was and didn't even have the proper tools to do it, but I improvised and created a few fund designs by rolling those long strips of papers, and shaping them in specific ways. I loved that, and often wished I could find time (and tools) to do it again.
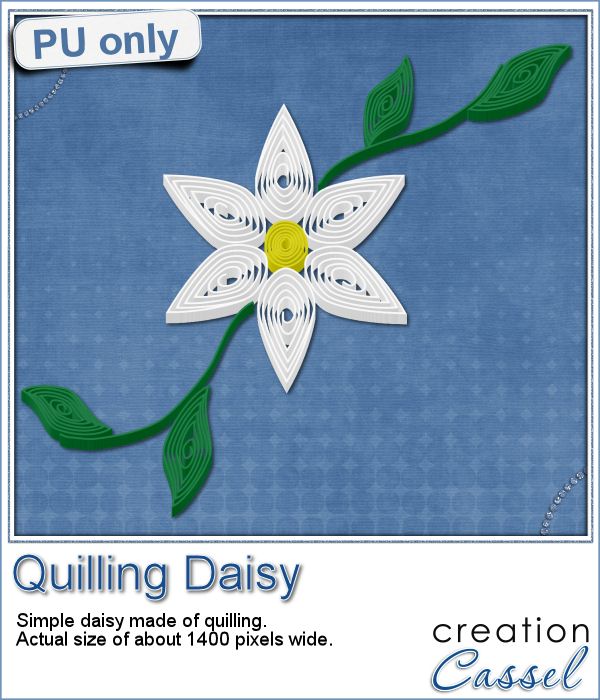 As a sampler of what can be done with this script, I made a little daisy. I used one of the preset shapes, in white. I duplicated and rotated that one petal 5 times and arrange those petals around another preset shape drawn in yellow for the center. Then, using the Pen tool, I drew a couple of free form lines. Finally, I used a third preset shape, in green, for the leaves and I placed them along those lines.
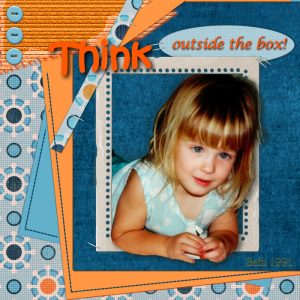
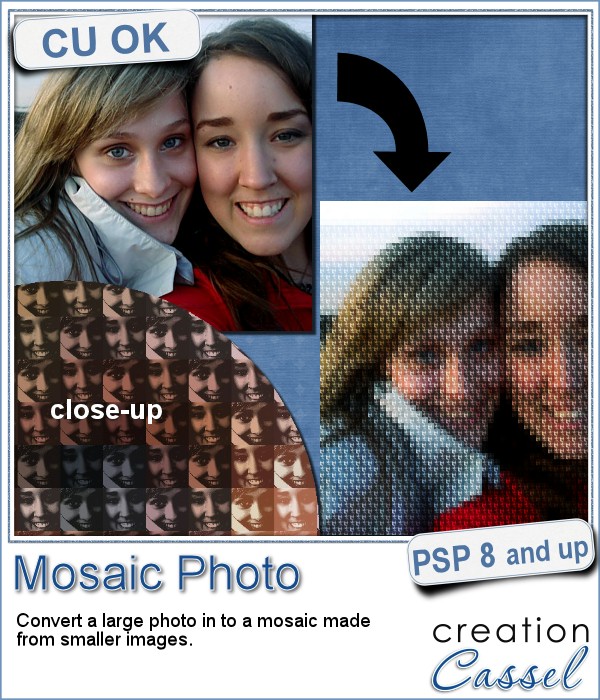 You might have seen tutorials on how to turn a regular large photo into a mosaic using smaller photos. It might not be too hard, but you can create that exact effect in less than a minute with this script for Paintshop Pro.
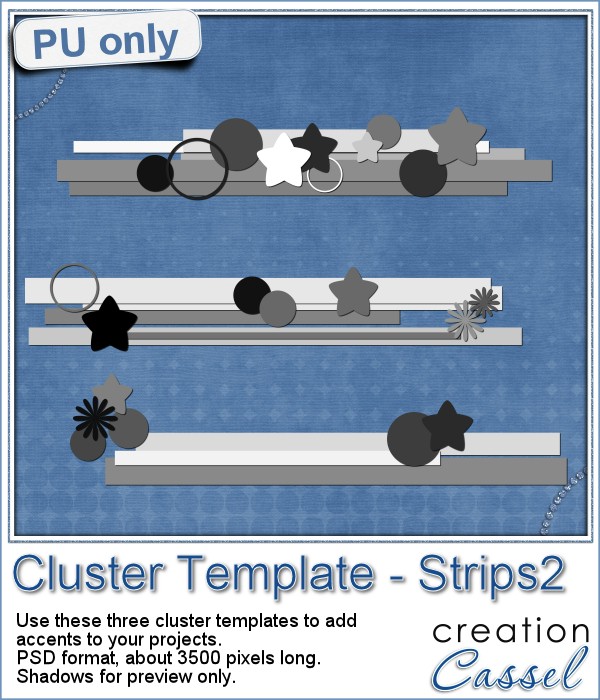 Since it is impossible for me to give you a sample using a photo that would be of any interest for you, I decided to see what other sampler you seemed to have liked, and I found out that the Cluster Templates were a big hit, so I created three more for your own use.
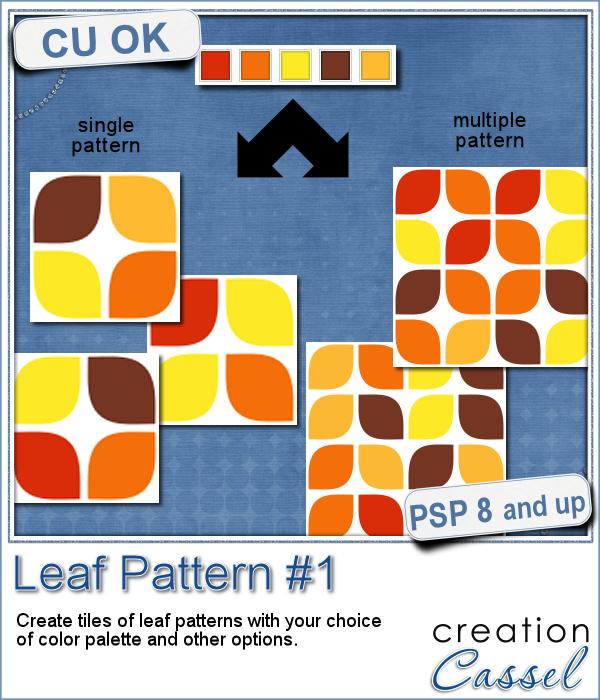 Creating a geometric pattern can be easy if you have only one shape, but it can become tedious if you have multiple similar shapes, using different colors. Until now, you either had to do them by hand, or rely on layered templates, which only offer a limited number of color arrangement.
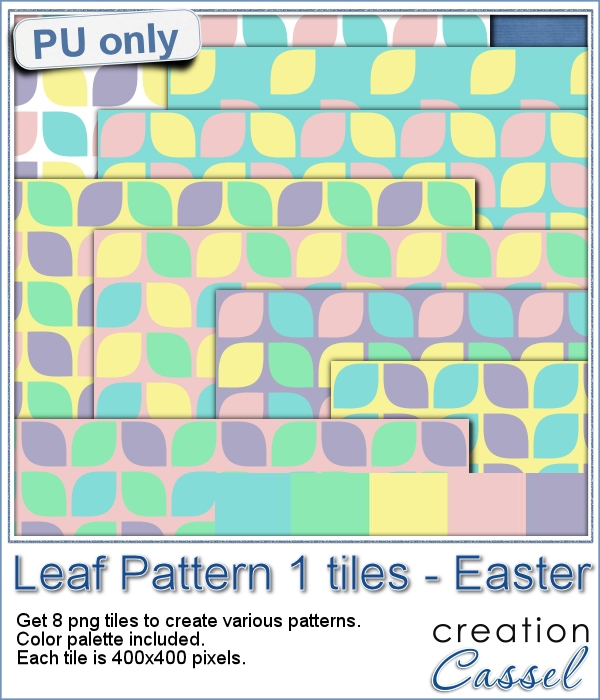 Although Easter is over for most people, the colors associated with Easter are still very appropriate for spring, so whether you want to showcase your Easter photos, or spring photos, these colors should be quite suitable.
 Did you register to our live class, tomorrow? There is still time to do so.
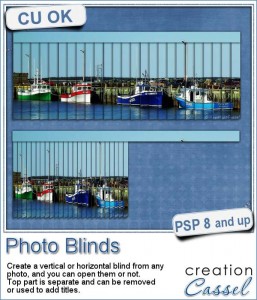 Have you ever seen those wonderful images that are transposed into various slats to create vertical or horizontal blinds?
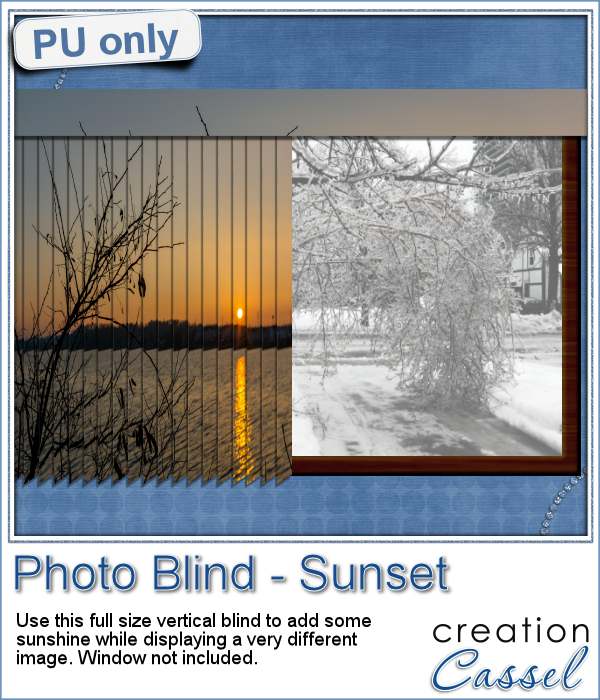 This week, i was really struggling to figure out what to create as a freebie that you might actually use. Since there was a big snow storm in the US this weekend, i thought that maybe, someone would want to have a nice, warm photo to cover the sight of all that snow. Of course, you could use this even if you don't have snow around!
 Our next live presentation will take place on February 7th (yes that is 2 weeks from now; for a change, we are quite ahead!).
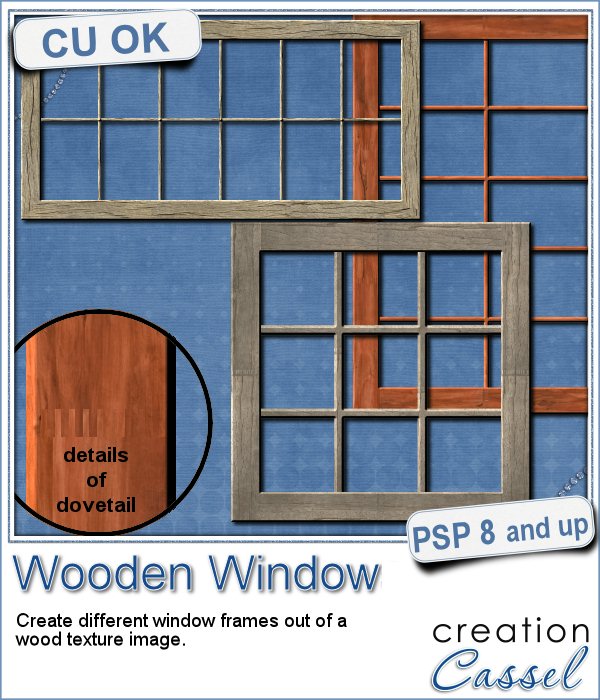 You might be able to find some ready-made wooden windows in PNG format but what if you could create your own, to perfectly match your project? Use the same wood, or adjust the size or format of the window.
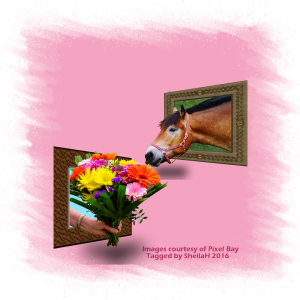
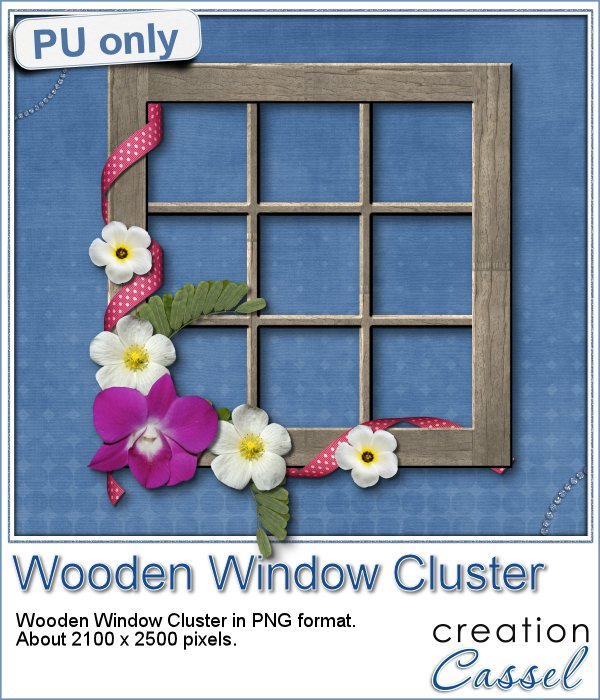 This week, i went a bit out of my comfort zone and created a cluster with a sample window. I had fun using a curly ribbon and wrapping it around the sides of the window, and then, just added some flowers and greenery.