Whether you have a birthday theme or other celebration, you might want to have a unique cake to add to your graphics project. But other than the traditional birthday cake, what do you have?
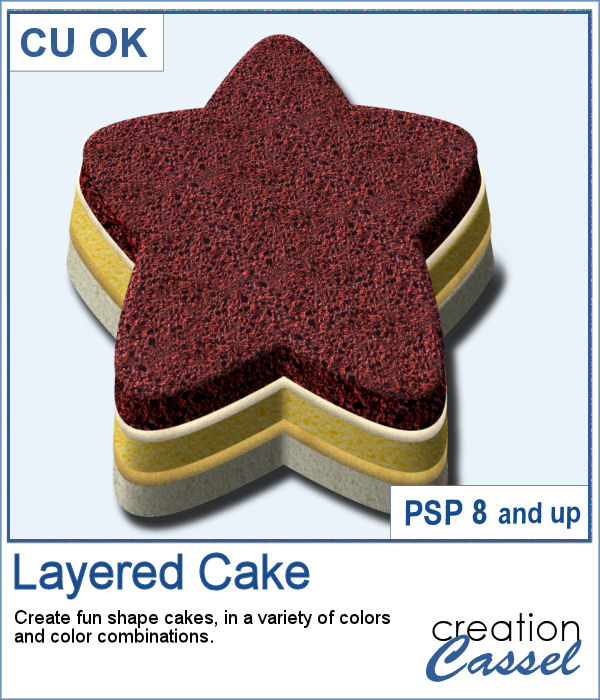
This script allows you to create a unique cake, in any shape, in any color, with infinite layering combinations.
In the end, the layers can be merged or left unmerged for you to tweak your baking even more.
Get it in the store: Layered Cake
In order to win this script, add a comment on this Facebook post telling us what is your favorite cake flavor (remember, add a comment, not just a Like!) The winner will be announced in the newsletter, next week. Not a subscriber yet? Not a problem. You can register here and it is free (and you only get one email per week).
I baked all day to give you this delicious multi-layered rainbow cake, complete with colorful icing.
Once I created the cake with the various layers and icing, I created one last layer of icing that I moved on the top. I added some shading and to make the icing between the layers a bit irregular, I ran the Warp Brush along the edges, which gives a more realistic look. Then, adding a small shadow gives the impression of that icing oozing out of the layers.
You need to be logged in to download this sample. You can either login, or register on the top of this page.

Datestamps can be used obviously to write a date but you can be creative and add something different like a location, a greeting, or a particular event.
As a sampler, I created four stamps for the seasons of 2019. They are in greyscale so you can colorize them to match your project.
Using slats on a photo is a unique way to showcase it, but it can be tedious to create manually. Furthermore, if you want to showcase a particular area of the photo without cutting it off, you can no longer use a ready-made template as it might not suit your specific image or size or preference.
For a sampler, I created this template for you. It will help you showcase an element that would be off center. You can mirror it too, if your element is on the right.
Seed beads are fun elements that can be used to add some pizzazz to a project, but adding them one by one is quite tedious if you want to have a lot of them. And if you are looking for "ready-made" sprays, they might not match the color you want, the size you want or the shape you want. But using these picture tubes, you simply have to drag your cursor where you want the beads and they will just appear.
Since it is Mother's Day (in North America) this coming Sunday, I created these two gold and silver charms for a special mother in your life. I created in two different spellings to accommodate different ways people call that special woman. The charms are about 1500 pixels, so they can be sized down as needed to fit your project.
With Easter coming, you might want to create some holiday invitations or maybe you will want to embellish the photos you will take with the kids running around, looking for eggs.
To help you out, I created a dozen eggs that you can use to build some clusters or to line them up at the bottom of your next frame. Using bold colors, those eggs should go well with just about any Easter projects.
You can now add a rainbow to any of your photos by using these picture tubes. Place those tubes along a vector circle and you can create many different rainbows, in different size and types. Use the VectorTube script to follow those paths, or draw your rainbows freehand.
As a sampler, I created a 3000 pixels double rainbow. You can use only an arc, either from the left or the right and add it to your photo. You can resize it as needed.
Here is another way to display some text or a date on your photo. You can create a variety of frames with a lot of options to pick from. Add any text in any font in any color, and place it on any corner.
As a sample, I created a series of four frames for the various seasons in the color of those seasons. Use them to create a year in review or just to showcase your favorite photos.
I have seen various masks made from apparent chaos of random frames while allowing the display of a single photo through all those frames. I knew how to create those manually, but figured it would be simpler for PSP users to have a tool to do all the work for them.
As a sample, I am giving you the same template created in the preview. It has unmerged layers so you can add shadows on the frames if you want, you can merge them all before adding shadows or add them individually. You can also change the frame colors, add a bevel, or tweak them as you wish.
Now, you can create as many heart-shaped candies as you want, in any color you want. And they will also have random saying on them. With additional random features integrated into the code, each candy will likely be slightly different from each other.
As a sample, I simply am offering those candies created for the preview. You get twelve fun candies, about 300 pixels wide to use for this coming Valentine's Day project.
Some cameras will automatically add a date on your photo and often, you might want to remove those dates to concentrate on the photo itself. However, in other situations, adding a date might be needed. If your camera took the photo while saving the EXIF information, this script will retrieve that date and add it on your photo. You get to choose whether you want the date on the left or the right of the photo and in which color.
As a sampler, I decided to play with a recent script, the Wooden Puzzle 2, to make you a Valentine theme puzzle. This is a .pspimage (so the file is fairly big) and each element is part of a group, so you can copy and paste it onto any other project, and since all the layers are unmerged, you can move the pieces around as you wish.