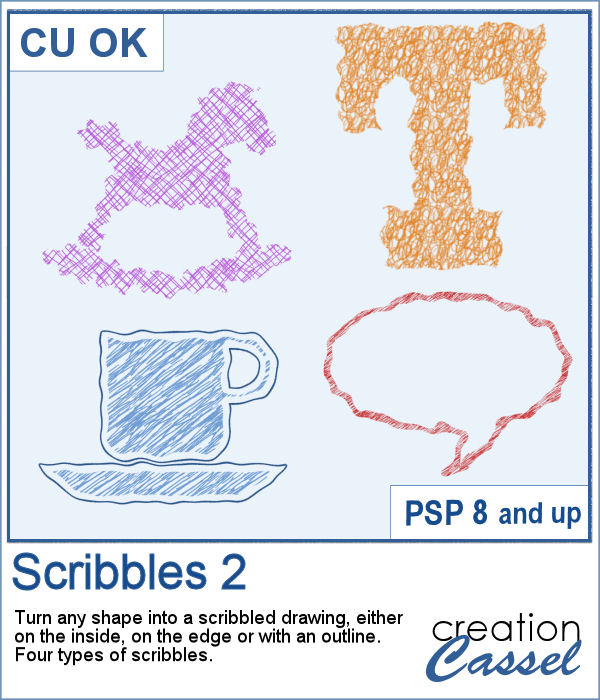
I have seen various masks made from apparent chaos of random frames while allowing the display of a single photo through all those frames. I knew how to create those manually, but figured it would be simpler for PSP users to have a tool to do all the work for them.
This script will allow you to either start with a "blank" project where all the frames will cover the center area of a full-size 3600x3600 image or use an existing photo, sized and placed in a specific location of the project and have the script create the frames over that photo. The options are numerous as you can create between 1 and 36 frames to cover that area. In the end, you get a layered template with a Mask group where you can just put your photo. No measuring, no drawing.
Get this script in the store: Framed Mask
In order to win this script, add a comment on this Facebook post telling us if you ever used or created a similar type of mask for your project (remember, add a comment, not just a Like!) The winner will be announced in the newsletter, next week. Not a subscriber yet? Not a problem. You can register here and it is free (and you only get one email per week).
As a sample, I am giving you the same template created in the preview. It has unmerged layers so you can add shadows on the frames if you want, you can merge them all before adding shadows or add them individually. You can also change the frame colors, add a bevel, or tweak them as you wish.
What will you do with that?? I hope you show off your project.
You need to be logged in to download this sample. You can either login, or register on the top of this page.

Now, you can create as many heart-shaped candies as you want, in any color you want. And they will also have random saying on them. With additional random features integrated into the code, each candy will likely be slightly different from each other.
As a sample, I simply am offering those candies created for the preview. You get twelve fun candies, about 300 pixels wide to use for this coming Valentine's Day project.
Some cameras will automatically add a date on your photo and often, you might want to remove those dates to concentrate on the photo itself. However, in other situations, adding a date might be needed. If your camera took the photo while saving the EXIF information, this script will retrieve that date and add it on your photo. You get to choose whether you want the date on the left or the right of the photo and in which color.
As a sampler, I decided to play with a recent script, the Wooden Puzzle 2, to make you a Valentine theme puzzle. This is a .pspimage (so the file is fairly big) and each element is part of a group, so you can copy and paste it onto any other project, and since all the layers are unmerged, you can move the pieces around as you wish.
Who can say they have too many bows and ribbons? Not a scrapbooker! This script will let you tie a straight ribbon into a multi-loop bow, attached with a centerpiece. Each piece is left unmerged so you can tweak them separately if needed.
For a sampler, this week, I used a starting ribbon from Janet Scott at Pixel Scrapper and modified it slightly (to make it straighter) and ran the script for the basic bow. Then, playing with the Hue map to change the colors from the base ribbon, I created 3 additional versions to run the script again. That will give you those 4 bows to use.
You can easily use a rusty texture image to add rust to your elements or shape, but rust is not always the same, right? So you would need to have many different images to have different types of rust.
It is a festive time, and sweets are everywhere. How about creating some delicious licorice to decorate your cakes, cookies or scrapbook pages? Although we are used to seeing traditional green, red or black licorice, with the magic of PaintShop Pro, you now have 12 different colors, and even more, if you want to adjust the given colors or colorize the grey one.
For the freebie, this week, I created another alphabet using 5 of the licorice tubes. This alphabet also includes 10 digits so you can include some dates.
Have you ever wanted to create candy cane shapes that are not just like a cane? With these tubes, you can create candy cane circles, squares, hearts and anything in between. Since these are tubes, you can draw them in any shape, regular or irregular, and you can even just free draw them.
As a sampler, I created a simple alphabet using one of the candy cane design. Each letter is about 500 pixels high in png format. You can resize them as needed.
Although paperclips can be common on various projects, they can also be boring. How about customizing your paperclip with a name, a date, a place or another message to make your project unique.
How about some simple clips to help date your photos?
This week, the script will let you create a puzzle from any element or design you want, whether they are letters, numbers, drawings, photos or shapes. Whatever you want on the puzzle, you can draw or paste.
This week, I created a full alphabet that you can use with any child theme project. You can even use the letters from the puzzle to spell out the name of someone (if they need more than one of the letters, add them in writing, so it is just like you would do in real life, missing one letter).
This script will allow you to create a custom-made wooden puzzle with any text you want. You can add a really unique look by choosing any font, and also any color, gradient, pattern or combination of those.
This is that time of year with the holidays coming up, and this sample puzzle will spell the word Christmas using a funky font. The whole puzzle is in .pspimage format, so you can move the individual pieces around. Furthermore, all the layers are grouped so you can copy and paste the whole puzzle onto another project. You can ungroup all the layers OR simply rearrange the pieces you want to move, above the group so they will display their thickness correctly.