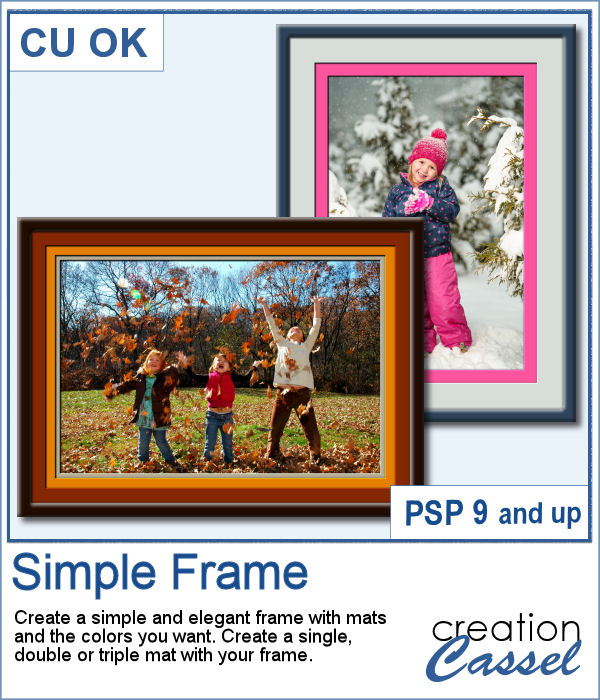
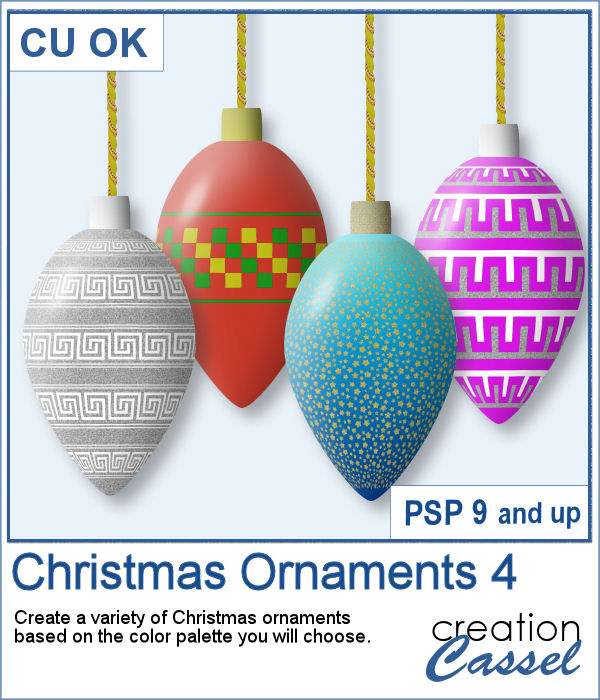
If you are doing some holiday projects, whether they are greeting cards or scrapbook pages, you might want to add some Christmas ornaments in specific colors of your choice. This script will randomly draw oblong ornaments with your color palette and 15 different designs.
You can generate up to 20 ornaments in one run of the script. Keep the ones you like and discard the others.
Get this script in the store: Christmas Ornaments 4
In order to win these tubes, add a comment on this Facebook post telling us what you use to decorate Christmas trees or if you don't do Christmas trees, what is an ornament you like to see in them (remember, add a comment, not just a Like!) The winner will be announced in the newsletter, next week. Not a subscriber yet? Not a problem. You can register here and it is free (and you only get one email per week).
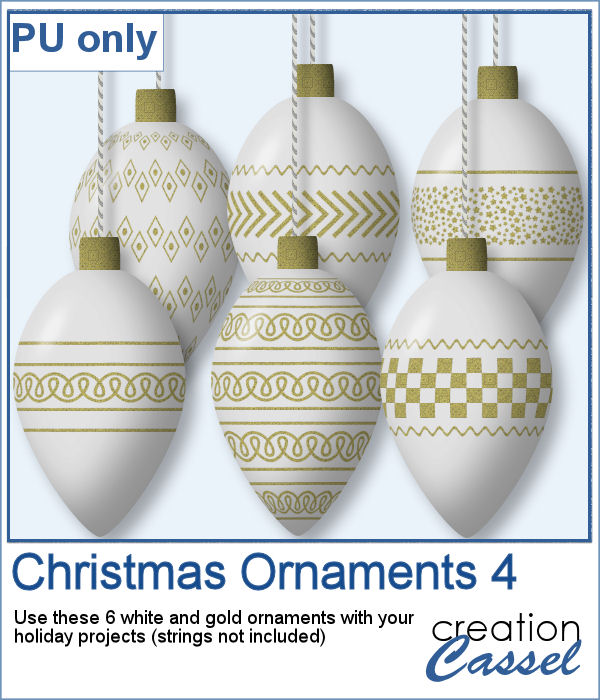
For this week, I created 6 white ornaments decorated with gold designs.
You need to be logged in to download this sample. You can either login, or register on the top of this page.

Buttons can come in many shapes and colors. And they can be so versatile when used in various projects, whether you want to pretend you are fastening photos, or you want to create a decorative element by combining several together.
As a sampler, I created a fun Christmas tree out of buttons from this script and the original Button Machine script for the round buttons.
For a sample, I created a frame using various cogwheels generated by the script. I resized them, added a texture using Filter Forge, added a bevel, and shadows. I also had fun adding chains to connect those wheels.
Sometimes, a random skyline is what you need for a background, but how do you make one without using the same one over and over again? This set of picture tubes will randomly place different elements for you and you can colorize them however you want, or leave them black.
For a sampler, I created a multi-level city skyline in greyscale. You can simply colorize it to suit your project and then, use it in the background. Adjust the opacity if you want it faint and discrete.
When I was in school, I remember one art class where we had to use straight lines of different thicknesses to replicate a simple image. I was not very good at that, but I would have loved to have this script, which does it in just a few seconds.
As a sampler, this week, I created some simple word frames for Halloween. You can colorize those frames to suit your project or your photo.
Sometimes, you just want to add a simple frame to your photo in order to show it off. This script will help you do that quickly, while still letting you choose the colors for the frame and the mats.
As a sample for this script, I created a set of four frames based on seasonal photos so you get a frame for each of the four seasons. Each frame allows a photo of about 7 inches on the longest side. They are all in PNG format, so they are useful in various graphic programs.
If you like the idea of coordinating various elements in a page or a kit, using a set color palette is an easy way to do it.
As a sampler, I am including a color palette generated from a fall photo. You get to use 10 colors from this photo. The hex code for the colors is included inside the zip file.
Tatting is a long process to create those delicate edges and designs. If you want to create them and then extract the designs for yourself, it will take you a long time.
For a sampler, I created a diamond-shaped frame, in a layered format that you can colorize to suit your project.
You can place elements along a circle or a spiral manually, but it is quite tedious.
For a sampler, I created two large circle frames and one spiral with bats coming at you. Each element is in png format and about 3000 pixels wide, so you can resize them as needed.
In order to create a paper fringe with PaintShop Pro, you will need to cut your element multiple times, and then, warp each piece one by one. But there is a problem: how do you warp one piece of paper without warping the next one? Well, there is a way to do it, but it is tedious, which is why this script will be a time saver.
As a sample, I created this square frame from four strips of paper that were run through the script, one by one, and then put together to make the frame. I added a little contrasting border to add some interest. Now, you can showcase your favorite photo.