 Do you like snow? Maybe or maybe not, but snow that is only on a project and not too cold could be fun to have.
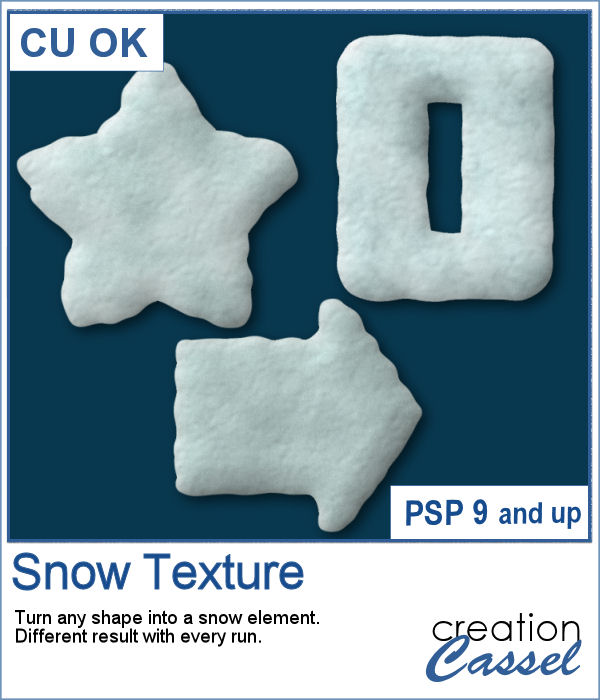
This script will create a snow sculpture out of any shape you draw. Make sure it is large enough and does not have fine details (it would be hard to sculpt!). Every run of the script will yield a slightly different result because of the random feature integrated into the code.
Get it in the store: Snow Texture
In order to win this script, add a comment on this Facebook post telling us what kind of shape you could turn into snow? (remember, add a comment, not just a Like!) The winner will be announced in the newsletter, next week. Not a subscriber yet? Not a problem. You can register here and it is free (and you only get one email per week).
 For a sample, this week, I created some Christmas themed elements that you can use for your Christmas projects, but also for your upcoming Christmas cards. Decorate them as you wish, just like you would do with real snow sculptures!
You need to be logged in to download this sample. You can either login, or register on the top of this page.