Web
Analytics

New Picture Tubes – Seed Beads 1

cass-SeedBeads1-SilverLined

Seed beads are a common supplies in many craft projects. Scrapbooking is one of those crafts where you can see those beads, but you can now do the same thing with digital scrapbooking: you can add strings of seed beads or a random spray of those tiny decorative elements.

With Paintshop Pro, you can place those picture tubes easily with the draw of a mouse. Use the directional tubes to create strings of beads in any of the 5 colors, any length you want, in any shape you want. You can place them in straight lines, curved lines or totally freehand shapes.

You also have 6 sets of tubes that will randomly place one of the 100 slightly different beads more or less along the path you will draw with the cursor. Five sets are monochrome (green, red, blue, gold and crystal) and one set includes all the colors for a truly random effect.

You can get this set of 11 picture tubes of silver lined seed beads in my store: Creation Cassel.

Do you want all those tubes too? You can enter the draw to get this set for free, by adding your name to the RAK thread here. What would you do with those randomly placed beads?

cass-SeedBeads1-SampleFor a free sample, i created a couple of simple decorations. I placed the beads along a vector path using the VectorTube script for the flowers, and added a single “bead” in the center which was part of the Chain Beads tubes set. A little touch of colorization to match them a bit better. Then, the stems were just freehand drawn using also the string version of the green seed beads.

Finally, a little bit of multicolored beads were spilled around each element.

You get two decorative flower stems and 3 individual flowers that you can use separately.


You need to be logged in to download this sample. You can either login, or register on the top of this page.

Did you notice that it says Seed Beads 1 for this product? This means i have plans for several more types of beads tubes. Do you have any suggestion for other beads you would like to see in a picture tube format like this one? Tell me by either commenting below or by sending me an email  with a specific bead name or even an image.


News in the Campus

Tomorrow is a big day for many American and Canadian football fans (and their families). Tomorrow is also the day for our next live presentation, on Photo-Graphics with PSP – Part 3.

Join us for this presentation BEFORE the Superbowl (if you are a fan of football) or just for this ordinary Groundhog day.

RegisterNow-01-200


In the mean time, remember that the video of last month’s presentation is still available to watch (free if you are logged in).


CreateMagicWithPSP

New tubes – Halloween Garlands

cass-GarlandTubes-Set2

Halloween is coming and you need some seasonal decorations but you cannot find the element in the right length, or the right color, or the right shape.

With these garlands, you simply “draw” the shape you want, or doodle to fill in an area with a special texture.

You get a total of 16 tubes, in four colors and 4 “shades” for each of them.

You can write letters with them, you can create an outline, you can use them to attach elements. Change the size and you can turn them into ropes, and more.

Grab this set of Garland tubes in my store.


cass-GarlandSet2-SamplersNow, how about a little look closer at those garlands and their texture? I created a few Halloween decorations for you using those garlands.

With the help of some drop shadows, that pumpkin has some interesting 3D effect, don’t you think?

All those elements are in png format, so you can use them in any graphic program (you don’t need to use PSP to use those).

You need to be logged in to download this sample. You can either login, or register on the top of this page.

New Script – Instant Photo Effects – 1

cass-InstantPhotoEffect-1

Do you like to apply some different effects to your photos? Do you like the idea of hiding some not-so-great photos with some “make-up”? This is what you need then.

This is a single script that provides 8 different photo effects. They are mostly just made from various adjustments to the colors, brightness and so on. Nothing fancy.

The advantage of this script over the Instagram effects is that you can apply it to any photo, any size, any shape, even if you don’t have the app (i know i dont have that app myself as i dont have a “smart” phone of any kind).

You can grab this Instant Photo Effects script in my store (and on sale until Monday night).


If you want a chance to win this script, hop over to the Happy Place thread in the DST forum and tell me which of the 8 effects you like the best. I’ll be back next week to pick a winner.


cass-LaceEdge4b-samplesThis week, i created more mats for you, using the lace font from last week.

These are much larger than the ones from last week so you can use a larger photo on them or use them to frame a series of photos.

Again, i used the Mitered Corner Frame script for the rectangular and the square mats.

As for the oval mat, it is simply a matter of adding “text on a vector path” as if it were regular text to read. This is the beauty of that being a font.

You need to be logged in to download this sample. You can either login, or register on the top of this page.

Will you show us what you do with those mats? Don’t hesitate to add a link to the comments below so we can admire your work. After all, if you download them, you probably plan on using them, right?


News from the Campus

CalendarClass-previewDid you start thinking of your holiday presents? Did you consider a calendar for family and friends?

If you are new to PSP, new to digital scrapbooking, or just interested in creating a fun project, thisCalendar Making Class will be perfect for you.

Everything is included: quick pages, instructions (video and written), alphas, even the dates.

And if you start now, you will have ample time to finish it and get it printed and shipped to whoever you want to give it to (unless you want to keep it for yourself, which is ok too!)

Get started now!

New font – Lace Edge #4

cass-LaceEdge4

Adding edges with a brush or a picture tube is kind of great for Paintshop Pro users, but then, other program users can’t take advantage of the same tool. This is a FONT, so it can be used by most graphic programs, whether it is PSP, or Photoshop, or Photoshop Element, or Gimp, or other programs that can use outside fonts.

Since these are fonts, they can be used and manipulated just like text: change color, size, kerning, follow a path, reverse a path, etc.

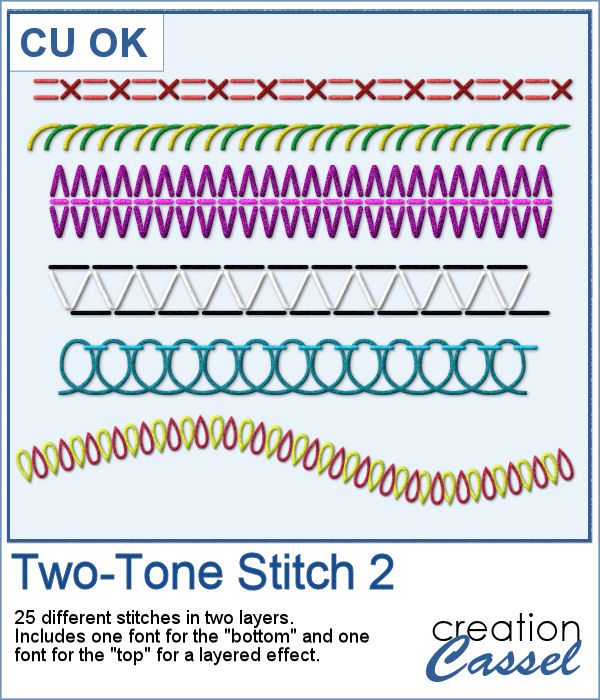
With this font, you get 25 different designs that you can use for edging, stitching, or various designs. Use them on papers, frames, mats, ribbons. Why not even trim photos as if they were laser cut. That would look awesome, wouldn’t it?

You can get this Lace Edge #4 FONT, in my store.

And if you want a chance to win this font, hop over to the DST forum HERE, and tell me what program you would use this font with (maybe you are using a program that is new to me?). I’ll be back next week with the name of a winner.

cass-LaceEdge4-samplesThis week, i created 3 decorated mat templates. You can use them to cut out your favourite paper, or simply to color. You can also layer them with other simple shapes since those are very simple to start with.

I just made the rectangle and round mats (the brown and the green) starting with a vector shape and added the font like text on path.

For the square one (the yellow), i simply created a long strip of one character (the letter b) for about 900 pixels long, then ran the Mitered Corner Frame script to get a perfect corner (and it looks great, don’t you think?). I am also including the straight row of “lace” so you can use it to create any matching element you want, whether it is a frame, a ribbon, or to make a stitching row.

Available for FREE when you register to our mailing list HERE.


News from the Campus

ScrappersDozen-250x250The Scrapper’s Dozen is now adding more ingredients to the recipe! We have more contributing designers who will bring you goodies. And the tutorials you will get are among the best in the Campus! And you’ll get it all when you join.

Registration is not yet open, but you can subscribe to the special mailing list to be first to hear about all the new stuff that will be included.

Tell me more

New script – Crayon Rubbing

cass-CrayonRubbing

Did you ever rub a crayon or a pencil on a piece of paper with an object underneath just to see the details of the texture appear? What kind of objects do you remember using?

Doing that with Paintshop Pro is now very easy as this script will do all the work for you. Use a solid shape or an image and choose your “crayon” color.

Once the script is done, you get a heavily rubbed shape or design and a lightly rubbed background. You can remove the background altogether (since it is only a separate layer) or you can erase the excess and leave only a little bit. You can also “rub” another area as the script will leave the material with the exact same setting as what it used for the background.

You can grab this Crayon Rubbing script in my store.

cass-CrayonRubbing-sample-timeDo you want a chance to win this script? Just tell me what you would use it in a scrapbook project, in this thread. I’ll be back next week with the name of a winner.

As a sample of this, i created some time-related words for you. You get the same words with and without the background paper. They are in PNG format, so they are useable in most programs. And they are very large (up to 3000 pixels) so you can use them as large title on a layout, or you can resize them down.

Each one has a different color (although you can still colorize them differently if you want) and has a different angle of crayon marks.

You need to be logged in to download this sample. You can either login, or register on the top of this page.

cass-BokehPapers-monochrome1Did you download your free Bokeh papers on myFacebook page? I said that once i reach 400 fans, i would add another set of papers. I am pleased to announce that this milestone has been reached, so, as promised, i will add another set this weekend.

Thanks so much for joining my store page!

And thanks for sharing it!

It is much appreciated.

Keep sending your PSP friends to “like” it.

Font and bundle

cass-SewingMachineFont

Last week, i released a sewing machine font and i got a request to have a matching “hole” font. I didn’t think, initially, that anyone would want the holes too but i was obviously wrong. So, thanks to Wendy’s request, i am now offering the matching “hole” font with the “stitching” font. You get two fonts in one zip.

You can use the “hole” font on its own if you want, or add it to the “stitching”. They are perfectly matching. Use black or grey holes, or use a blending mode to make them fade in the background. Do whatever you need to make it as realistic as possible.

You can get this Sewing Machine Font in the store.

(if you already purchased the Sewing Machine Font, go back and download the newer zip file which will contain the “hole” font).

cass-StitchingFonts-bundleWhile we are in a stitching mood, i bundled up the most popular fonts of my store: the Stitching fonts. Those are the first font i created and they were (and still are) extremely popular especially since they can be used by most graphic programs. There is the basic stitches font and the decorative stitches font. You can use them in so many different ways, i cannot name them all. Use them on a straight line to stitch something, or use them on a path to simulate various types of decorative stitching.

Since they are fonts, you have the opportunity to combine 2 or more characters/stitches to make fun combinations. You can choose the colors, size, kerning, and more, depending on your program.

Although you can get them separately (the Basic and the Decorative), i have bundled them together for you for a discounted price AND it is also on special this weekend. Go grab this Stitching Fonts bundle as soon as you can.

This week, you have the chance to win this bundle of 100 stitches by adding your name to this thread in the DST forum.

cass-SewingFont-sample-tagsAs a sample, this week, i created a set of simple fabric tags with the years. They are in layered PSD format so the tag, the stitching on top and the shadow are on different layers. This should allow you to colorize the tags and the stitching without affecting the shadow and you can also add your own shadow if you need to rotate the tags.

What would you do with those tags? They would be great to add a fun date to your layouts.

To create those tags, i obviously used the Sewing Machine font, but also the Clothes Tag script. Those two are a fantastic combo!

You need to be logged in to download this sample. You can either login, or register on the top of this page.

Enjoy.

New script – Eyelet #3

cass-Eyelet03

Eyelet laces are so diverse that I thought there would not be any problem in adding another eyelet script, with some different designs and combinations.

This script will use a 4 petal flower (instead of the 5 petal one, from last week), and the edge has a different shape. You can have one or two rows of flowers, which will be alternating if you choose a second row. And you can add another “edge” above the flowers, and it will be aligned perfectly, depending on whether you have a single or double row of flowers. You can even have both “edges” with no flower at all, and add your own gems or designs in the space created with them.

As for the previous eyelet script, you can add designs on the top, the bottom or both edges in the same run.

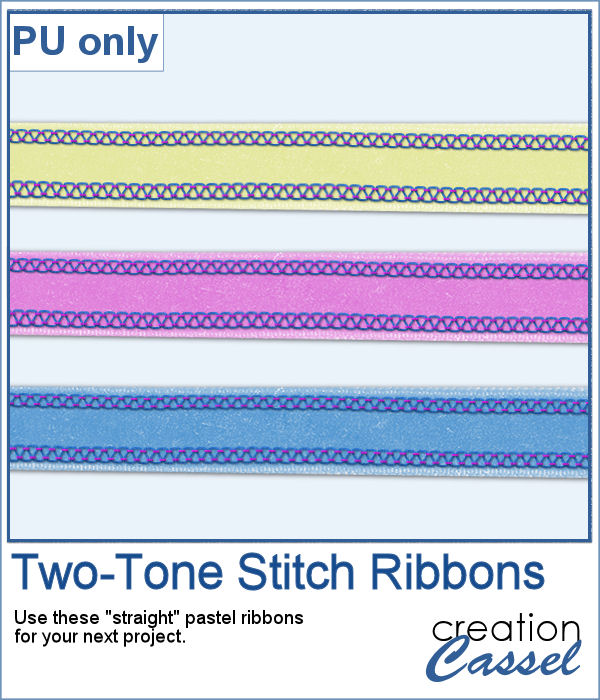
Use those designs on ribbon (you just choose the color of the embroidery, but you can use an actual ribbon to add the embroidery on it, create your own ribbon, etc.

You can grab this fun script in my store: Creation Cassel

If you want to add your name to the RAK thread in here, go for it. You have a chance to win this script and be on your way to add eyelets to all your projects.

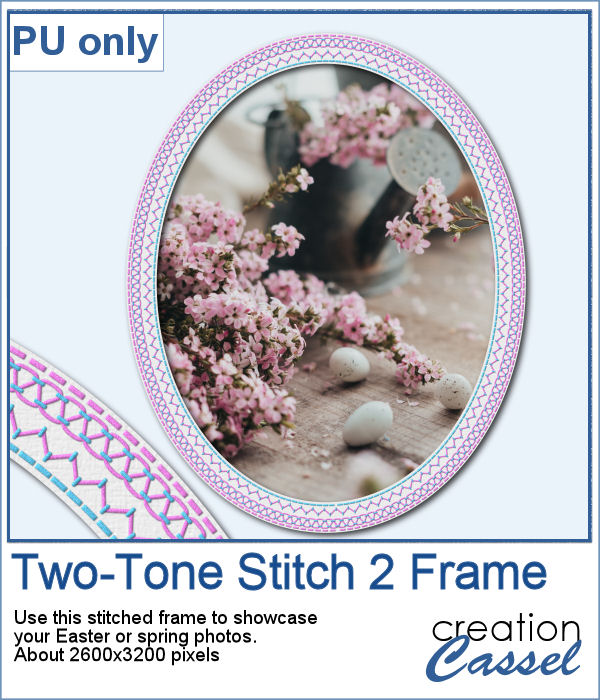
cass-Eyelet3-sample-frameHow about a little sample of what this script can do? I ran the script on a long piece of textured solid color to create a ribbon. I did the same thing twice, to get a top and a bottom edge with proper bevelling (NEVER flip or mirror an element that has been shadowed or bevelled). Then, using a copy of the ribbons, i applied a different bevel angle before merging and rotating the copies to make the vertical edges of the frame. Then, it was just a matter of applying a mitered corner technique to align and cut the corners correctly. What do you think of it?

You need to be logged in to download this sample. You can either login, or register on the top of this page.


New script – Eyelet #2

cass-Eyelet2

A long time ago, one script was added in the store to create a basic eyelet design using Paintshop Pro. This time, not only you get ribbon, but you can choose many more options and the script is also responsive to offer you choices based on the size of your starting image.

You get 3 embroidered designs: the edge, the eyelets and the flowers. Each will be on a different layer and can be combined. You can have an edge and eyelets, and edge and flower, or an edge and eyelets and flowers. You can have the design on the top, on the bottom or on both edges. If the image/ribbon is thick enough, you can have the row of flowers doubled, if not, it will be single and centered.

You can use any straight and boring ribbon, or you can create your own using a strip of paper or a solid color with a texture.

Once the “ribbon” is done, it is up to you to use it as you wish. Make it into a frame, sew it to another element, ruffle it, tie it or knot it (with another script). Since the embroidered designs are left on separate layers, you can adjust the colors. And if you ran this script on a piece of paper, you can even remove the embroidery and just pretend you punched the paper!

You can grab this fun and creative script in my store at Creation Cassel.

If you want a chance to win this script, you can add your name to this thread in the DST forum and tell me how you could use this script BESIDE making a ribbon. Let’s be creative! I’ll be back on Monday with the name of a winner.

cass-Eyelet2-sampleI know it is a bit American holiday coming up (I see that in the numerous 4th of July), but I also know that not everybody is American, so I figured I could create some basic eyelet edges for everyone, in basic colors. This sampler will give you 5 different eyelets in 4000 pixels each.

Being more than the traditional 3600 pixels in length, you can use them at an angle and still go across a standard scrapbook page. You can also make frames out of them.

Available for FREE when you register to our mailing list HERE.

New Script – Vector Separator

cass-VectorSeparator

Did you attend the live presentation on Texting Again with PSP? We looked at how easy it was to split a word into individual letters to manipulate them separately. Someone asked a great question about adding shadows to those individual letters, and at the time, i didn’t know how to do it easily. I knew there was a way to split them but it was tedious and not convenient.

In order to accomplish what was asked, i coded this script. Not only will this script convert each letter into a shape, but it will also split them into individual vector layers that can then be manipulated at will and even converted to raster to add more effects, like shadows, textures, distortion, etc.

And if you have several vector objects (text, shape, path), and want to move them, rotate them, or otherwise manipulate them, the script can also split them into individual vector layers. This is perfect to create wordart.

You can get this time saving tool in my store atCreation Cassel.

There is also a thread HERE, where you can add your name and ANSWER the question to enter into a random draw. I will be back on Monday night with the name of a winner.

cass-SubwayArt-DAD


For this week’s freebie, with Father’s Day just around the corner, I thought of making a wordart for DAD. Using the Vector Separator, i was able to add all the words and phrases to one vector layer and then split them for easier manipulation.

You can use this wordart to make a frame, to overlay on a photo, or just print it and frame it.

The whole design is about 1800 x 1800 pixels and in png format so it can be used with just about any graphic program.

You need to be logged in to download this sample. You can either login, or register on the top of this page.

New script – Textured Papers

cass-TexturedPapers

We all know how adding texture to a plain paper can make the difference between a set of boring papers and a lively realistic result. Although most scrappers and designers know the importance of adding texture, it seems so easy to rely on our few favorite overlays and use them over and over and over again, leading to less creative results.

This script will add that variety by randomly picking overlays (between 2 and 4 per paper), rotating them randomly, layering them randomly, adding a random blend mode, and adjusting the opacity, also randomly.

Will it always give a pleasing result? Maybe not, since Paintshop Pro cannot see the result and surely, does not know your own taste, but that is not a problem since everything is left unmerged, so you can tweak all the layers, deleting some if you want, changing the blend mode, varying the opacity or even adding more overlays to the stack. One thing for sure, you will be playing with some different combinations that you might not have thought of.

The script will also rename each overlay layer to the overlay file name so you can easily refer to them if you need to reuse one or credit the source.

You can get this script in my store, at Creation Cassel.

There is a thread in the DST forum (that was added late) where you can win this script simply by telling me how many overlays you tend to use on a paper when you want to texture it. And by Monday night, i will pick a winner.

cass-Card&EnvelopeTemplates


This week, as a sampler, I am offering you a simple layered template for a card and envelope. You can use these templates for our Father’s Day contest.

The template, in PSD format, will create a card, 1200x900 pixels (so 4x3 inches), with an envelope that will match.

Use your favorite kit, designs, or supplies. Add the text you want, in the language you want.

You can use the card template to create a card in either orientation: portrait or landscape.

Sorry, the download link expired. However, you can get this set for free once you join the mailing list to get our weekly newsletter.