When you want to create background papers, it is easy to create seamless tiles. However, it might be tedious to create your own design every time and you might also end up running out of ideas.
Using ready-made templates will save time but might not be as flexible as you wish.
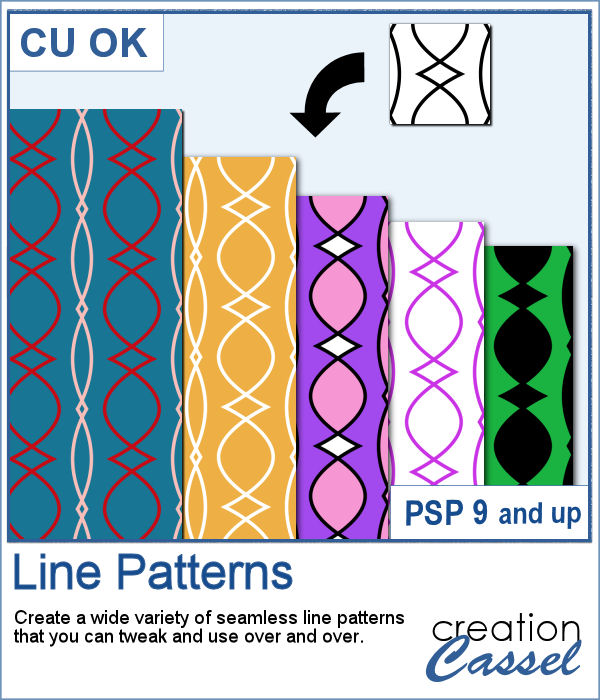
This script will create different patterns every time, and you can keep the designs you like and discard the others.
Change the color of the lines, change the scale, the angle. Color between the lines. Add extra details on the tiles. The possibilities are endless.
Get this script in the store: Line Patterns
In order to win this script, add a comment on this Facebook post telling us if you ever used line designs to create background papers (remember, add a comment, not just a Like!) We will announce the winner in the newsletter, next week. Not a subscriber yet? Not a problem. You can register here and it is free (and you only get one email per week).
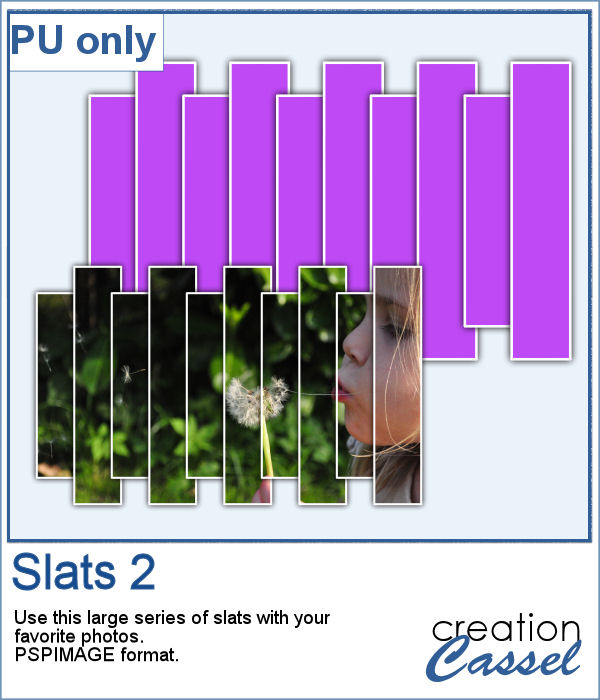
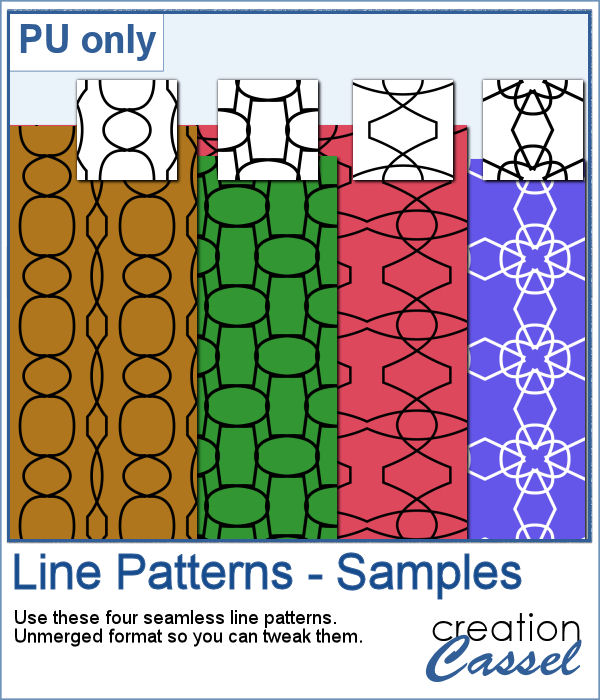
As samplers, I generated a few tiles and saved them for you in .pspimage format so you can use only one of the layers if you want, or even combine them between tiles.
You need to be logged in to download this sample. You can either log in or register on the top of this page.

More crochet laces for you to decorate your projects. Create them in any length you need, and colorize them in any color you want to match your project.
For this freebie, I used a long lace and ran the
You can convert a photo into a painting made with text patterns with this script.
As a sampler, I created some gradient digits, from white to red, and ran the Text Painting script on them. I chose to keep the original colors so you have something other than grey. Of course, you can always colorize those digits with a different color if you prefer.
If you were to work with traditional paper scrapbooking or craft, you would likely be looking for some corner punches to embellish your papers, frames or tags. These brushes can be used in the exact same way (without wasted paper). You can use them as brushes to IMPRINT corners, but you can also use them with the Eraser tool to PUNCH them and cut them out of the paper.
As a sampler, I created this fun frame. I started with a black square, and rotated it 45 degrees. Then, I used the Eraser tool to create the fun cutout, and then, trimmed the rest of the square to shape the frame.
Although you can probably create a simple shadow from any text and delete the center, doing the same thing with overlapping characters is much more convoluted.
As a sampler, I created these 7 days of the week. I created them in black so you can colorize them to match your project. As you see, they are also in a curved arrangement. I did that by moving the letters, one by one, before completing the script. Doesn't that give an interesting result?
These slats are going to be evenly distributed without the trouble of measuring them all. They will overlap also evenly.
Get this slats frame for your photos. The file is about 4000 pixels wide so you can resize it to suit your photo. Although it has vertical slats, you can rotate it if your photo is vertical. Just add your photo inside the mask layer to showcase your photo through the frame.
If you want to add your own photo, design or text to a Christmas ornament, it could look pretty flat as it would not have the expected curved distortion of a real ornament. This script, however, will do that for you, on any photo, design or text of your choice.
As a sampler, I created a set of red balls with gold digits on them. It will be perfect to add a year, a date or an anniversary. Each ball is about 1800 pixels so you can size it down to the dimensions you need.
Pompom trims might be fun to add to a project, but how do you get the right color, the right length of trim and the right direction? Finding a ready-made trim might save time if you find that perfect element, but otherwise, why not use these picture tubes and draw them with your cursor, wherever you want?
As a sampler, I used the grey trim, along a vector path (using the VectorTube script) and then colorized it with a rainbow gradient. The whole trim is 4000 pixels long so you can choose only a segment if you don't want to use it all.
You can now create a pretty custom angel for your holiday decorations.
As a sampler, I created five angels with lacy wings. That should give you variety to use them in just about any project.
Do you want to embellish your holiday cards and projects with something unique? These Christmas balls can be generated randomly but with your choice of colors. Although not all design combinations might be to your liking, you can simply keep the ones you like and discard the others. And if you want more, run the script again.
As a sampler, I ran the script using a yellow background for the balls and a single red color for the design. You get 6 different designs to use in your holiday projects.