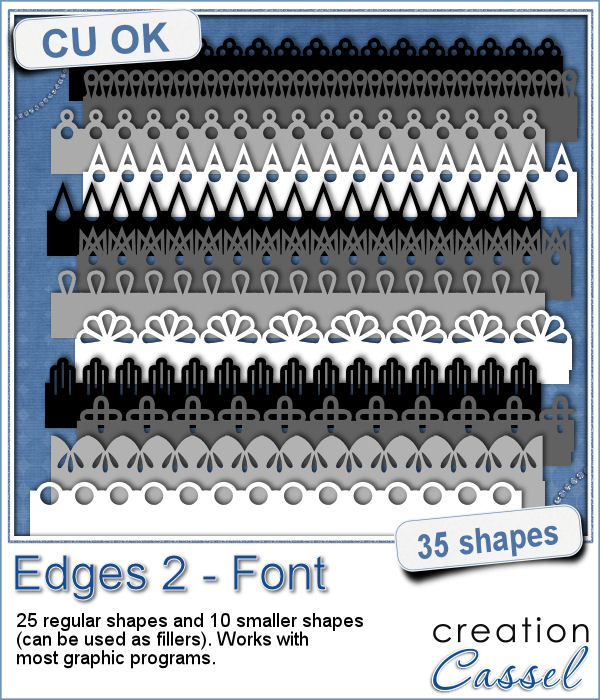
Do you want to add a fun edge around your element? Brushes might be one option but you can't combine brush strokes. However, with a font, you can alternate characters as you want to create unique designs.
If you can add text on a path, you can add a decorative edge on that path too.
Adjust the color, the size, the kerning, the offset, just like you would do with any font.
Remember that you can use this font in any graphic program that can use outside fonts.
Not all designs are visible on the preview.
Get this font in the store: Edge #2 font
In order to win this script, add a comment on this Facebook post (remember, add a comment, not just a Like!) The winner will be announced in the newsletter, next week. Not a subscriber yet? Not a problem. You can register here and it is free (and you only get one email per week).
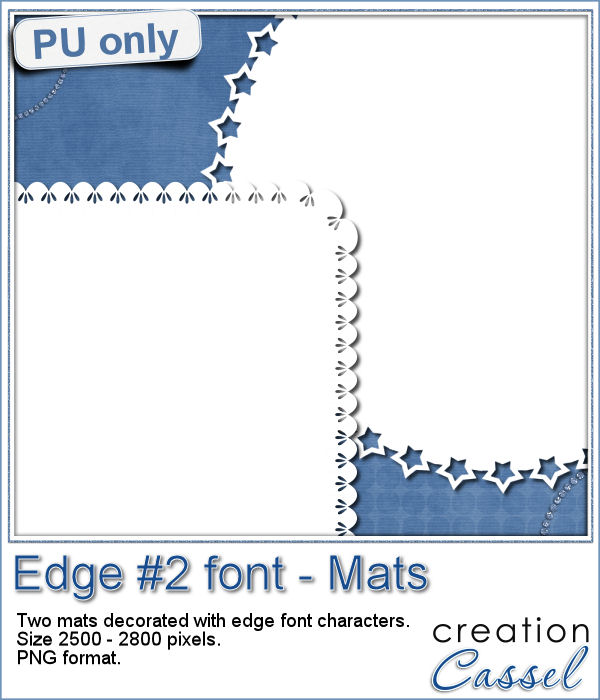
Do you want a closer look at these edges? I created 2 mats edged with some characters from this font. One is a rounded square and one is a circle. You can colorize those mats, or if you lock the transparency, you can "paint" on them, even with a paper!
You can obviously resize them as you need.
You need to be logged in to download this sample. You can either login, or register on the top of this page.

If you like jewelry, you will love this script to create gold or silver elements.
As a free sample, I created some "tags" illustrating some common life events (first day of school, first car, graduation, new baby, new house, trip/retirement) that you can use for your various projects.
Slats are a fun way to display images as if we had multiple frames, but if you want to add a word or phrase, it makes for an even more custom display.
As a free sample, i converted the slats used in the preview into a template. You can use it for your own photo. Make it sideways if you prefer. Cut the slats if you have a wider image that is not as high. Be creative!
If you have used the Word Cutout script, you know that it would only use the edge of the photo. However, sometimes, the edge holds some meaningful parts of the image and you would like to cut the words out of another location.
Using a black image, 4000x3000 pixels, i ran the script 3 times to add the individual words of "Live", "Love" and "Laugh". To make them even, i used guides before running the script, so my selections were always the same height. Neat trick!
Although it might be easy to create a simple puzzle with 20 or 30 pieces, it is a whole different story when you want to have hundreds of pieces.
Since this script is to be applied to your own photo, i thought i could create a little something using last week's script, the Painted Cardboard.
What do you like about incorporating ripped pieces of papers in a digital project? The rustic look? Maybe. But how do you go around getting those for your layout other than scanning them?
As a sample, i created 3 frames using this script. All three were made starting with a different gradient instead of a solid color. They are about 6 inches in the longest side so you should be able to get a photo in them.
Now, you can use your Paintshop Pro to add a fun line of puffy paint around an edge of a shape or a letter.
As a sampler of what you can get with this script, I created a set of digits in "white". You can easily fill them in with the color of your choice for a different look.
Sometimes, for the holidays, you need a little delicate touch. These charms are just what you need.
For the sample, this week, I created a double swag with the white snowflakes.
Adding holiday decorations is always fun, and even better when you do it digitally.
This week, for a sampler, I used several products from the store to create a decorated wooden window. I used the Wooden Window script, the Christmas lights and the Christmas strings.
How about adding some Christmas lights to your project?
As a sampler, I created several oval frames using 5 monochrome sets and one multicolored set.