 What do you want to garnish your burger? This week, I am presenting you a fun addition to your summer projects, parties and barbecues. Now, you can add as many toppings to your burgers as you want without adding any calories, so dig in!
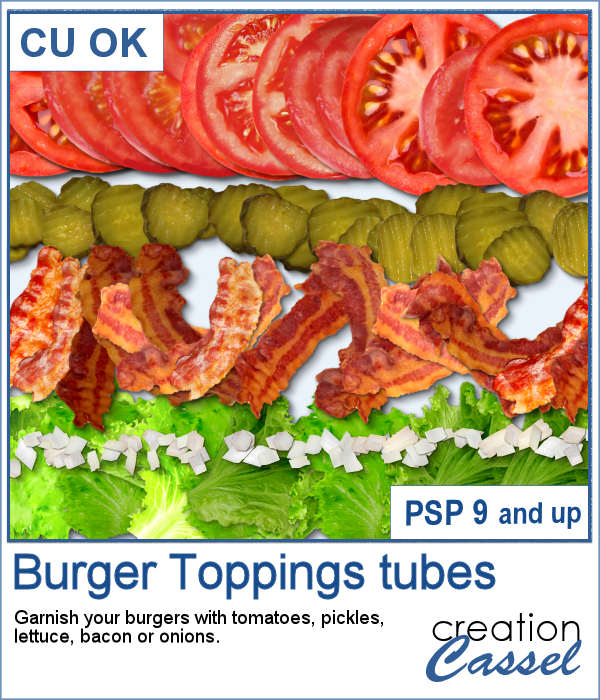
Whether you want to add some tomatoes, pickles, bacon, lettuce or chopped onions, you will have them all on hand with this set of tubes.
Get them in the store: Burger Toppings
In order to win these tubes, add a comment on this Facebook post telling us what you like to put on your burger (remember, add a comment, not just a Like!) The winner will be announced in the newsletter, next week. Not a subscriber yet? Not a problem. You can register here and it is free (and you only get one email per week).
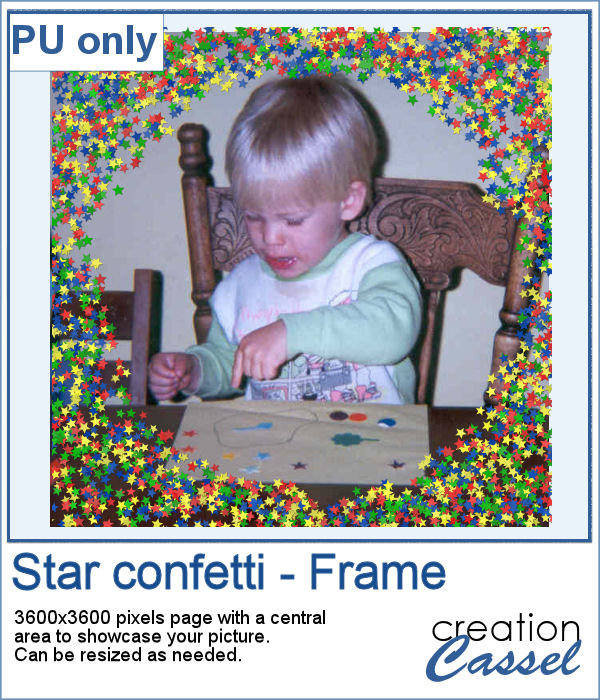
 Since I didn't know what you would like to have on your burger, I could not create a burger for your specific taste, but since I expect you will be using these tubes for some summer activities, you surely will have some photos to showcase, so why not use this template?
This is a .pspimage template and you simply have to add your layer inside of the mask group and it will be automatically "cut out" correctly. Isn't that cool?
You need to be logged in to download this sample. You can either login, or register on the top of this page.