Aside from the typical deck of cards we use to play poker, bridge, or others, do you ever play games that involve a different kind of cards, like Magics, ?
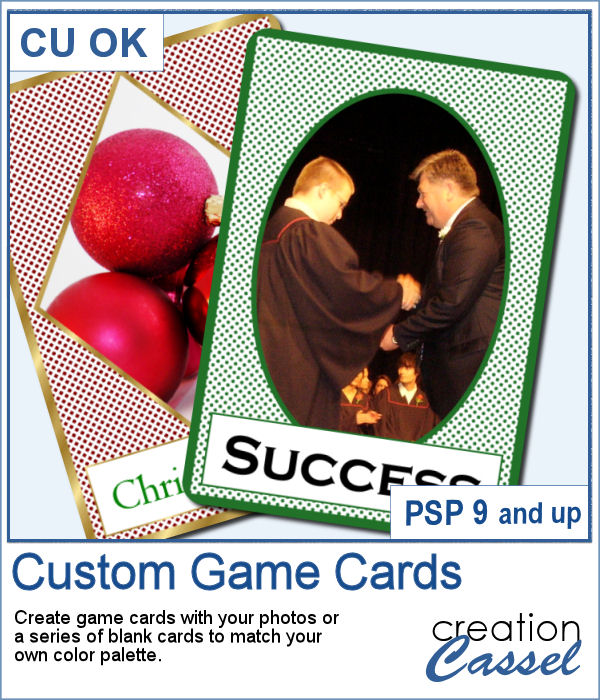
Have you ever imagined having your own photo on one of those cards? Now you can do just that. With this script, you can use any photo, and add the text you want to create a unique card that you can print if you want, or just use on a different graphics project.
Get this script : Custom Game Cards
In order to win these tubes, add a comment on this Facebook post telling us what type of games have you played that involved cards that are different than the typical deck with diamonds, hearts, spades and club (remember, add a comment, not just a Like!) The winner will be announced in the newsletter, next week. Not a subscriber yet? Not a problem. You can register here and it is free (and you only get one email per week).
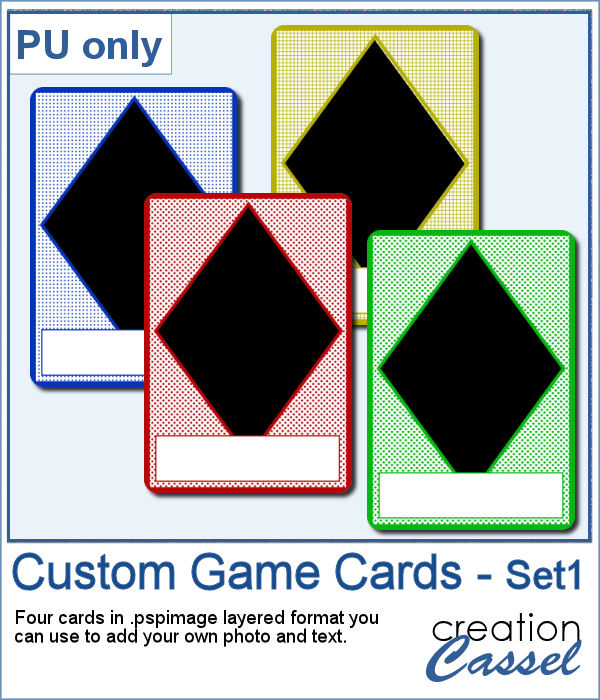
This week, I created a simple set of four cards for you. They are in .pspimage format which includes the mask to insert your photo without having to cut it or adjust it in any way. Simply put your photo above the layer named "Photo here", and adjust the placement using the Pick tool (or the Raster Deform tool if you are using an older version of PSP).
You can then add the text you want in the label below the photo, and you have some fun cards that you can either print or use in a scrapbook project.
You need to be logged in to download this sample. You can either login, or register on the top of this page.

What do you want to garnish your burger? This week, I am presenting you a fun addition to your summer projects, parties and barbecues. Now, you can add as many toppings to your burgers as you want without adding any calories, so dig in!
Since I didn't know what you would like to have on your burger, I could not create a burger for your specific taste, but since I expect you will be using these tubes for some summer activities, you surely will have some photos to showcase, so why not use this template?
Everyone likes ribbons, bows and knots. They can be very versatile, especially if they match. Finding the correct match is not always easy, but with this script, you can use any straight ribbon and get a simple knot to add to your project.
To show you what those knots look like, close up, I used three ribbons from a kit,
Every project can use ribbons and creating custom ribbons with the specific colors of a photo or a kit can be tedious. This script, which is an extension of the Ribbon Factory script, will create such ribbons using two colors of your chosen palette with a variety of patterns and other settings.
As a sampler, this week, I used the same color palette as I used last time to create those fun spring confetti and generated a dozen of ribbons, 200 pixels thick.
Adjustment layers are applied to all the layers below them, in the Layers Palette. But what if you want to adjust only one element, on one single layer? You can still do it, if you add that layer into a group that will include that specific layer you want to modify. It takes a few clicks, but with these scripts, a group will automatically be created and the adjustment layer will be inserted. Just fewer clicks than doing it manually.
As a sampler for this week, obviously, I can't give you anything done with that script, since it is a tool, but since the Plush Texture script was quite popular, I decided to create a fun plush teddy bear.
Natively, you cannot view your brushes from Paintshop Pro when you look in Windows Explorer, so if you want to see what you have on hand, you have to go through PSP itself, and pull down the list of brushes from the Brush tool settings.
As a free sample, this week, I made a fun frame using star confetti made with basic colors. The whole frame is 3600x3600 pixels so you can use a single photo on your project. If you want to use it smaller, you can add a solid color border on the edges so you would not see the cut off confetti.
Every project can use confetti, either to add a feel of freedom or to emphasize particular colors of the featured photo. But it might be hard to find the exact colors in a ready-made confetti element. This script will really create a unique set of confetti tubes, with the exact colors you want, in addition to various other settings of your choice.
Always hoping for spring to come, I chose to use some spring-y colors and create a set of rectangular confetti. Maybe it will make spring come faster?
Plush is often associated with soft toys from our childhood. Adding a plush texture to various shapes can convey that soft feeling to a project.
To give you a little glimpse of what this script can do, I created three basic elements that you can use as is or combine them with other elements. All three elements are in png format and quite large so you can size them down as needed for your particular project.
With Easter coming, you might want to create some holiday invitations or maybe you will want to embellish the photos you will take with the kids running around, looking for eggs.
To help you out, I created a dozen eggs that you can use to build some clusters or to line them up at the bottom of your next frame. Using bold colors, those eggs should go well with just about any Easter or spring projects.
Delicious donuts are always tempting, and if you have any baking projects or layouts, it could be fun to have some custom pastries. This is where this script comes into play. You can create a variety of donuts based on any shape you want, and customize them with various icing flavors and additional toppings.
For a sample, I created 3 letters that can spell the word YUMMY. Each letter (Y, U, M) are made of a different flavor. They are about 2000 pixels in height so you can easily resize them to what you need.