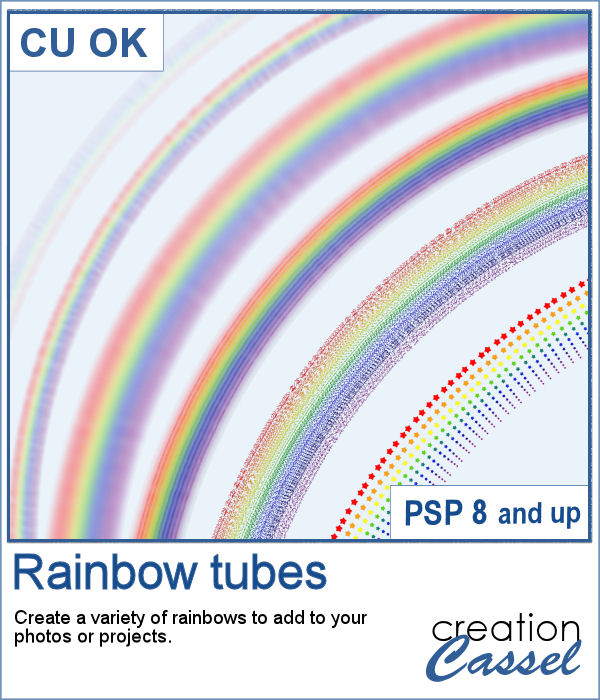
Nobody ever has too many ribbons, bows and knots in a toolbox. This script allows you to create a layered knot from any straight ribbon. Whether you have an opaque ribbon or a translucent one, or even a lacy one. Whether your design is simple or even directional, and the script will align the elements correctly. Although you need a ribbon that is 18 times its thickness to get the full effect (with directional design mostly), you can have great alignment of the design.
In the end, the layers are left linked but unmerged so you can insert elements in the loops for a custom effect.
Get it in the store: Knot #14
In order to win this script, add a comment on this Facebook post telling us what you what you tend to tie with knots (remember, add a comment, not just a Like!) The winner will be announced in the newsletter, next week. Not a subscriber yet? Not a problem. You can register here and it is free (and you only get one email per week).
As a sampler, I am offering you the same knots as in the preview. I edited the files so that the whole knot is one layer and the back loop is on a separate layer. That should allow you to insert something in that loop.
You need to be logged in to download this sample. You can either login, or register on the top of this page.

Do you sometimes want to use an accordion fold on an image or a roadmap? It is a fun way to display an image but it can be quite tedious to complete accurately. You need to measure, cut, skew, and align each piece correctly. In addition, there is also a matter of light and dark on each piece to make them consistent with the light source.
Since this script is applied directly to a photo that is yours, you likely would not care for a sample from my photos. So I decided to create a few straight ribbons in Halloween colors, and run them through the Knot #13 script. You now have 3 straight ribbons and 3 matching knots to embellish your own Halloween themed projects. What will it be?
Placing photos in a fanned display is not very difficult, but it can be tedious, especially if you have many photos. That is where this script comes in. It will automate every step, from opening the images, resizing them, copying and pasting them, rotating them correctly and aligning them precisely. In addition, the script can also add a white border and/or a drop shadow to each of the photos in the same run.
For a sampler, I was a bit unsure what to give you. Well, I used the display from the preview and I made a layered template for you. It is in .pspimage format and has mask groups so you can simply place the photos inside those groups and only the area within the frame will show through, even if your photo is larger than that "hole". That means you have no cutting or trimming to do with your photos.
If you want a custom fence, you can do it with individual posts and boards you can measure and layer. It might not be too hard, but takes a while to build. What if you can create one in just a few seconds?
Running this script with a simple wood texture image, I created this fence that is in separate layers for you to tweak it.
You can draw a fun twisted cord any length or any shape you want, using this set of picture tubes. You get 12 different colors that you can combine with any theme or color palette you have. Of course, you can also tweak the colors to get something more muted, or pastel if that is what you need.
As a sampler, you can get ahead of everyone with these fun Halloween tags, decorated with the twisted cords and cute little black cats. You get 5 tags with combinations of black and orange cords.
How about creating a fun and unique etched element in the shape and color of your choice. This script will allow you to do just that to create alphabets, titles, shapes even frames starting with a simple black and white image.
Using the script, I created a set of 13 arrows from 4 different shapes. Because of the 3D effect applied to the elements, it is not possible (or recommended) to rotate them more than just a little without messing up the light and shadows from the elements themselves. That is why, each shape has been run the script in different orientations. These arrows will be a great way to add focus to an element of your project.
There are various ways to add a date, but did you ever think of writing it on a button? Why not? They are perfect in size to add small text like a date and with this script, you can customize it with the color, gradient, pattern, text, font or even other designs.
For this week, I created a set of 13 buttons that you can use with those school pictures that you just took, or had for years, whether they are yours or your children's or grandchildren's.
If you want to create your own labels, it might not be too difficult, but how about creating it faster than if you did them manually?
As a sampler, I created a set of labels based on a simple diamond shape. The paper is a light yellow and the accents are made of gold patterns.
Whether it is for a kid project, a school-related project or just for the fun of it, you can now create scribbled drawings out of any shape or letter, whether you drew it with a brush, a preset shape or the text tool.
As school is either starting or going to start soon, I created a full alphabet using this script. I picked four basic colors for a really bright effect. Remember that if you want those to be considered scribbles, you should not add shadows. However, if you want to pretend the lines are strings or wires, then you can add some. Don't go crazy with the shadows though; you don't want your element to feel like they are floating.
Whether you want to add a date, a mention of an event or a location as if you were traveling around the world, this triangular datestamp will allow you to add a personal touch to your project.
As a sampler, I created 12 stamps with the months of 2018 and that you can personalize as there is still space to either add a date, a design, or anything else you might want to add (or you can leave it blank too).