 You can easily create solid color beads with the Balls and Bubbles effect, but in order to add a random marble texture to those solid colors, you need to add a few more steps.
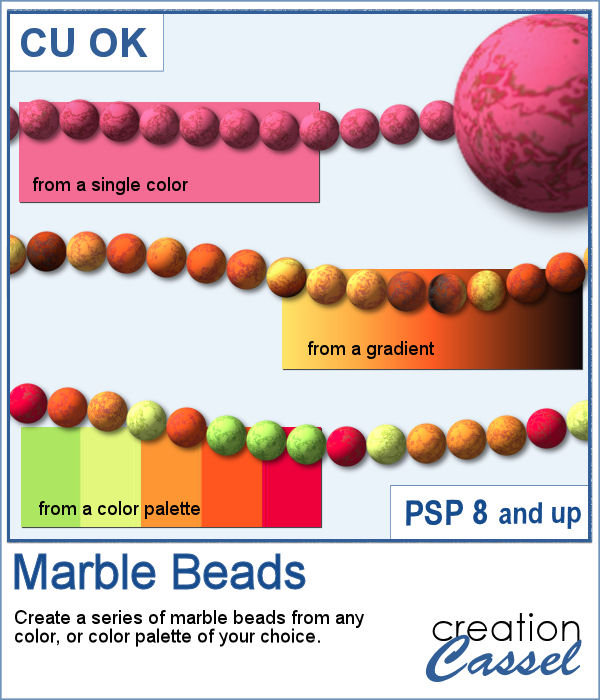
This is what this script will do with any color you want to use. You can use gradients too (and even patterns if you want) to create your beads. The script will add a new marble texture for every bead so every one of them would end up being totally unique even if you are using a single color to start with.
Get this script in the store: Marble Beads
In order to win this script, add a comment on this Facebook post telling us what color(s) you would like to use to create these beads (remember, add a comment, not just a Like!) The winner will be announced in the newsletter, next week. Not a subscriber yet? Not a problem. You can register here and it is free (and you only get one email per week).
 As a freebie, I am sharing the pink beads that I created for the preview. With Mother's Day coming in May for parts of the world (I know, in UK it is already passed), you can create something for that special woman in your life. Just save the .pspTube file in your Picture Tubes and it will show up for you.
You need to be logged in to download this sample. You can either login, or register on the top of this page.