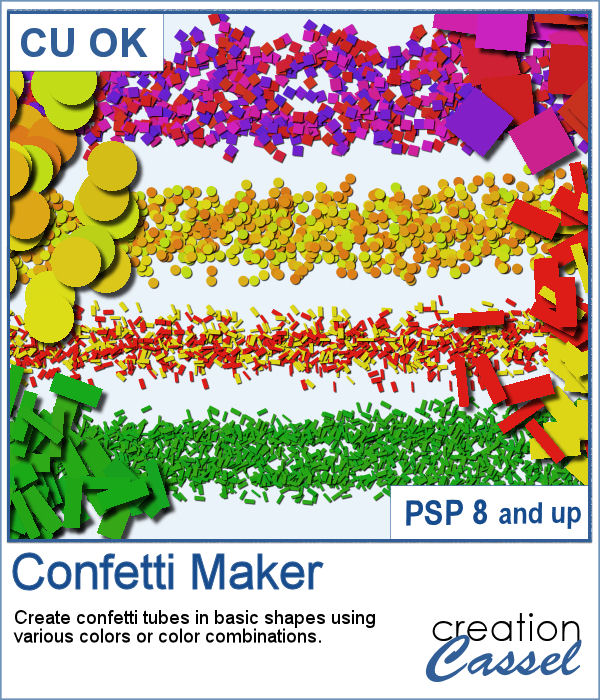
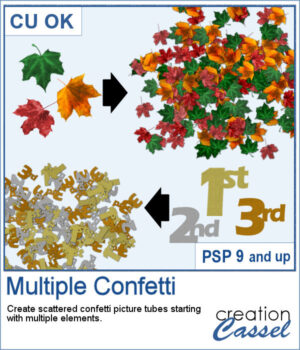
You can create scattered confetti with any image using the Custom Confetti script. But what if you want to use images in different colors, or in different shapes? Of course, you can create one for each but when you will scatter them on your project, they will not "mix" as natually since they will be layered by type.
This script will combine different images together to create a single set of picture tube. You can use completely different images, but you can also use the same image/shape in different colors.
Get this script: MultipleConfetti
To win this product, add a comment on this Facebook post telling us if you do use confetti in your projects (remember, add a comment, not just a Like!) The winner will be announced in the newsletter, next week. Not a subscriber yet? Not a problem. You can register here and it is free (and you only get one email per week).
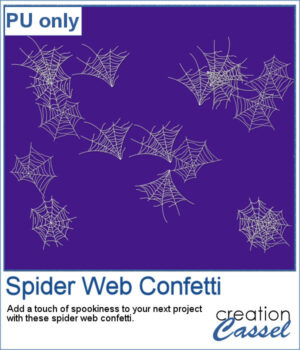
For a sample, I used three spider webs and ran the script. I didn't choose to vary the brightness because I wanted them all in white. You can change the Step value if you want the scattering to be denser or lighter.
You need to be logged in to download this sample. You can either login, or register on the top of this page.

If you like to create your own custom greeting cards, you might be limited by the size of the available envelopes you have. But now, with this script, you can choose any size up to 10x8 inches. It could be a long and thin envelope, or a large square one.
For a sampler, I am offering you the template to create a 9x4 inch envelope with a scalloped flap. You can customize each piece to make it a unique envelope to match whatever greeting card you need to use it with. The template is in psd format.
Whether you want to showcase school pictures or flowers in your garden, you might also want to feature one special photo. This script will create a template for you with all the settings you want.
As a sampler, I created a 6x6 template with small images on top and on the left only, leaving an even larger area in the bottom right.
Sometimes, you have long filenames for your supplies and for whatever reason, you would like to shorten them. Doing it manually, one file at a time is tedious to say the least.
For today's free sample, I created a series of summer-themed phrase strips. A set of 15 strips are available for you to embellish any summer project.
If you like to have a title made from a specific paper from a kit but not have everything too even, you will love this script. It will take only a few seconds to create a complete alphabet with slightly varied designs, shading, and pattern. You can choose any number of papers to create individual letters either in order or in random order.
As a sampler, I used a single paper from a kit called The Good Life, by Marisa Lerin. That paper had shadings of orange so the individual characters are all slightly different since they were selected from different sections of that single paper.
If you like to use templates to speed your scrapbooking process, using ready-made templates have some draw-backs and could require additional steps to make them as flexible as you need. And to manipulate them one by one, manually, although it is easy, can be tedious.
This week, since the product added in the store is a tool, I chose to create another template like last week, with slats, but this time, you can showcase your little ghosts or goblins from last Halloween.
If you want to view your gradients, looking at the little thumbnails in the Materials Palette is not the best way. But if you want, you can now make a larger image that you can even print, to display all the gradients in a specific folder. Make sure you read the instructions because you will have to edit your script before running it.
As a sample, with summer coming, with the warmer weather, I thought you might like a set of fresh popsicles. This is made from the Wooden Puzzle 2 script, and all the pieces are grouped together, allowing you to move the whole set onto your next project. Once that is done, you can ungroup the pieces and move them around, individually.
Some cameras will automatically add a date on your photo and often, you might want to remove those dates to concentrate on the photo itself. However, in other situations, adding a date might be needed. If your camera took the photo while saving the EXIF information, this script will retrieve that date and add it on your photo. You get to choose whether you want the date on the left or the right of the photo and in which color.
As a sampler, I decided to play with a recent script, the Wooden Puzzle 2, to make you a Valentine theme puzzle. This is a .pspimage (so the file is fairly big) and each element is part of a group, so you can copy and paste it onto any other project, and since all the layers are unmerged, you can move the pieces around as you wish.
Adjustment layers are applied to all the layers below them, in the Layers Palette. But what if you want to adjust only one element, on one single layer? You can still do it, if you add that layer into a group that will include that specific layer you want to modify. It takes a few clicks, but with these scripts, a group will automatically be created and the adjustment layer will be inserted. Just fewer clicks than doing it manually.
As a sampler for this week, obviously, I can't give you anything done with that script, since it is a tool, but since the Plush Texture script was quite popular, I decided to create a fun plush teddy bear.
Every project can use confetti, either to add a feel of freedom or to emphasize particular colors of the featured photo. But it might be hard to find the exact colors in a ready-made confetti element. This script will really create a unique set of confetti tubes, with the exact colors you want, in addition to various other settings of your choice.
Always hoping for spring to come, I chose to use some spring-y colors and create a set of rectangular confetti. Maybe it will make spring come faster?