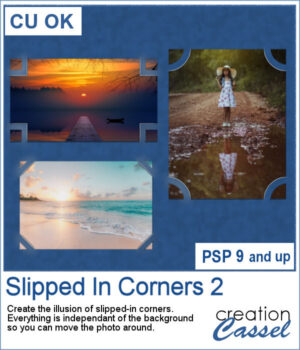
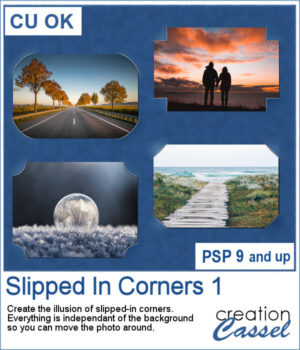
 Here is another script to hold your photos onto paper. Although this is similar to the first slipped in corners script, this one offers a cutout design for each corner instead of a simple slit.
You get three options for the cutouts and the end result will be a series of layers all linked together so you can actually move your photo anywhere on the project. If you group those layers, you can even copy and paste the whole group on a separate layout.
Get this in the store: Slipped In Corners 2
To win this product, add a comment on this Facebook post telling us if you ever created that effect, manually or with a script, on your photos (remember, add a comment, not just a Like!) The winner will be announced in the newsletter, next week. Not a subscriber yet? Not a problem. You can register here and it is free (and you only get one email per week).
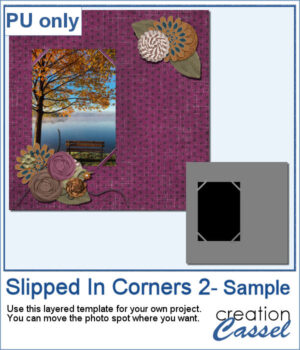
 For a sample of this script, I created a template for a 5x7 photo. You can move the photo anywhere on the canvas (make sure you don't rotate it). You can convert the template into a mask if you want.
You need to be logged in to download this sample. You can either login, or register on the top of this page.

 You can simulate the old method of fastening photos in albums but without actually cutting the background.
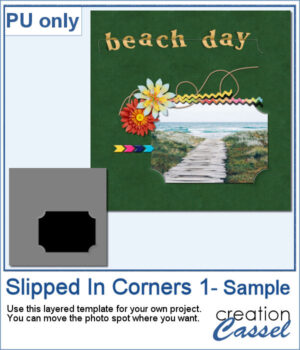
 As a sampler, I used the dimensions of a standard 7x5 photo, and ran the script on a black rectangle. The script treated the rectangle as a photo, and now, you can replace the rectangle by your own photo. Convert it to a mask if you want, but you can also just trim it. More interesting for you, you can move the linked layers to place the photo somewhere else on the page. Build the rest of the page as you wish with papers under it and elements on top.