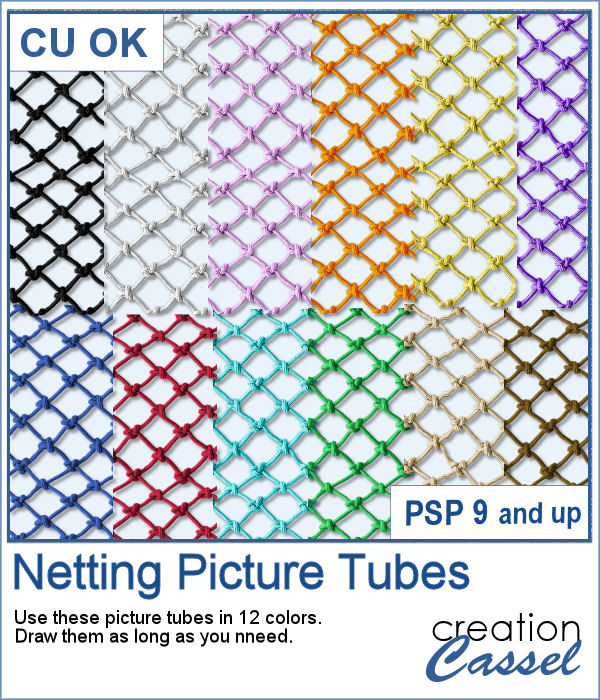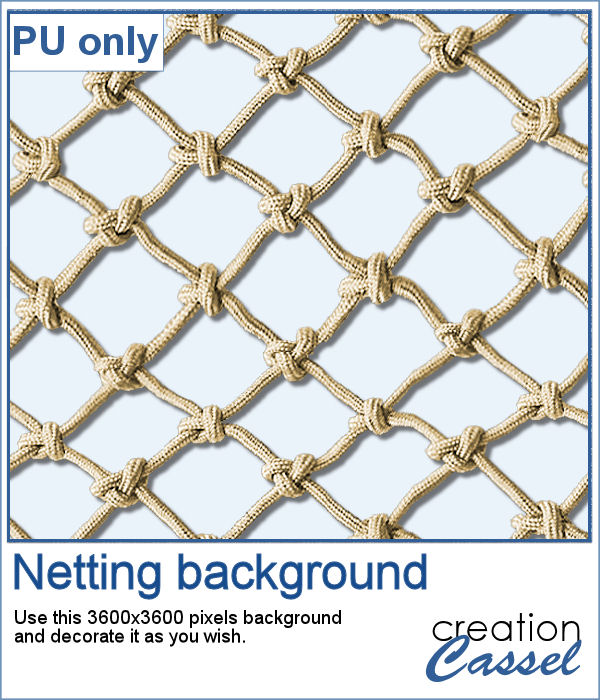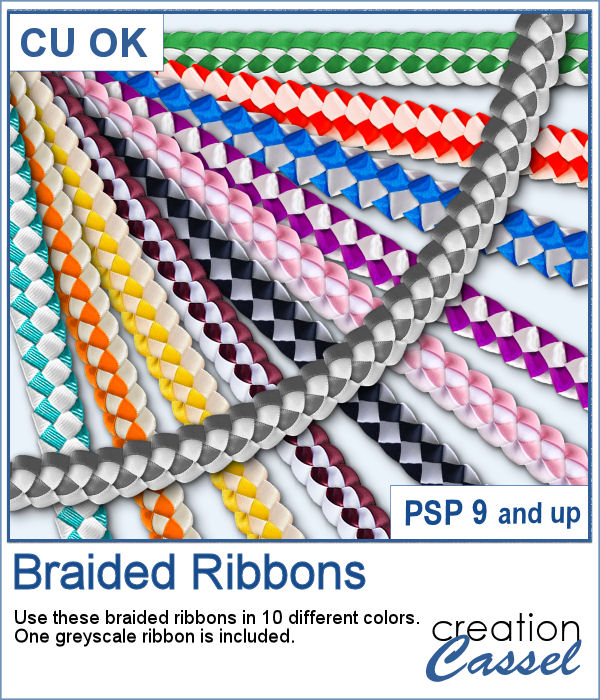
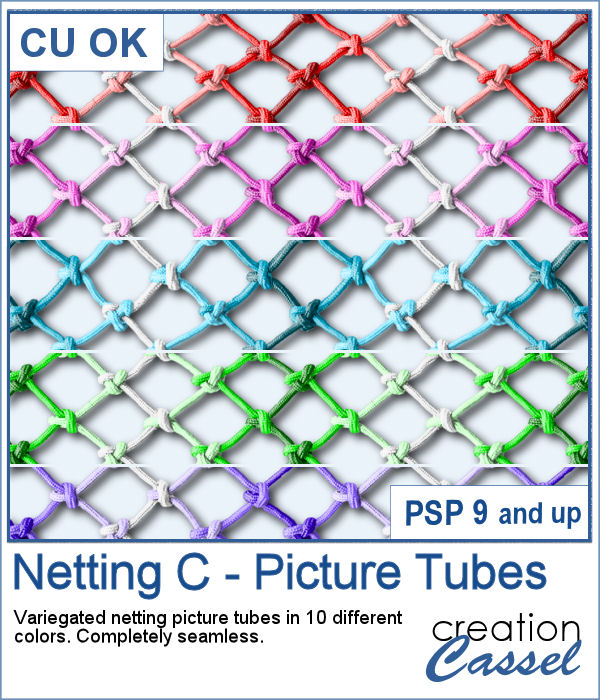
 To create a nautical project, using netting is a common element. Recently, we had some netting picture tubes that you could use to embellish your project. This time around, the netting is variegated, giving the whole project a different look.
You get 10 different colors of picture tubes and they are seamless so if you need a net that is taller than 700 pixels, simply duplicate your layer and move it to align it up or down.
Get them in the store: Netting C
(and yes, the Netting B is missing; I was working on another set, but chose to change to a variegated set for now. Don't worry, the Netting B will be released, in the future)
In order to win this script, add a comment on this Facebook post telling us what projects could you make with these tubes (remember, add a comment, not just a Like!) The winner will be announced in the newsletter, next week. Not a subscriber yet? Not a problem. You can register here and it is free (and you only get one email per week).
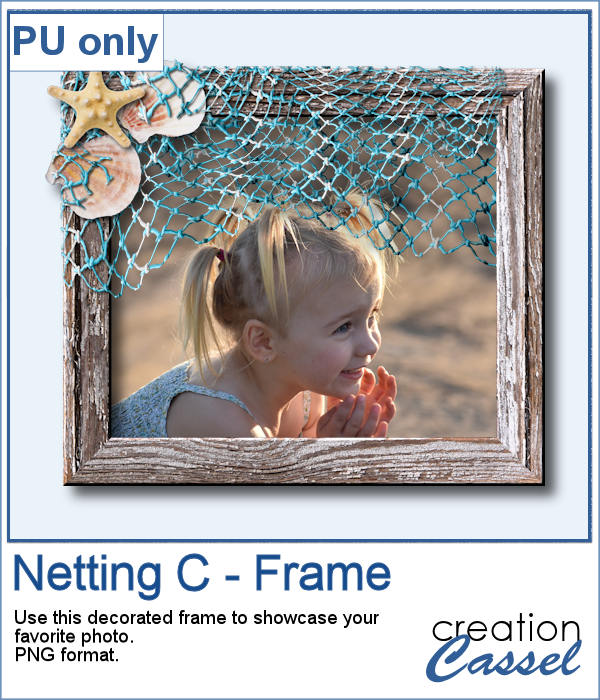 As a sampler, I created a wood frame (using a script) and added three layers of netting. I distorted them irregularly, and deleted what was extending outside of the frame. I then added some seashells from the 2019 picture tubes.
You need to be logged in to download this sample. You can either login, or register on the top of this page.