Creating paper trees might be a simple task but it still takes a bit of time when you have to open a paper, make a selection, copy it, paste it to another image and then, create another piece, slightly smaller and repeating the process piece by piece.
This script will speed up the process and while you can generate up to 10 trees at the time and you can choose to keep whichever you want.
In order to win this script, add a comment on this Facebook post telling us what color OTHER than green, you would like to use to create a paper tree (remember, add a comment, not just a Like!) The winner will be announced in the newsletter, next week. Not a subscriber yet? Not a problem. You can register here and it is free (and you only get one email per week).
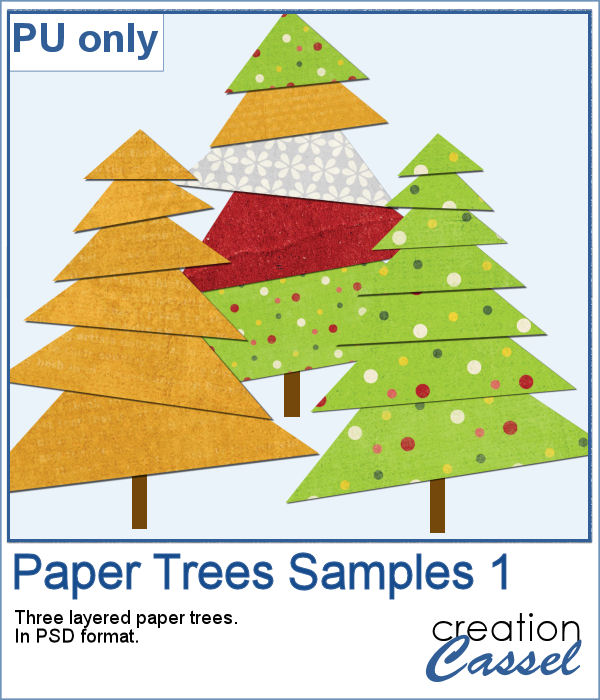
To offer you a sample of what can be done with this script, I created 3 layered paper trees made from the kit Apple Crisp.
Each one is left with unmerged layers so you can tweak the placement of the pieces, rotate them, insert elements in-between, and more.
You need to be logged in to download this sample. You can either login, or register on the top of this page.
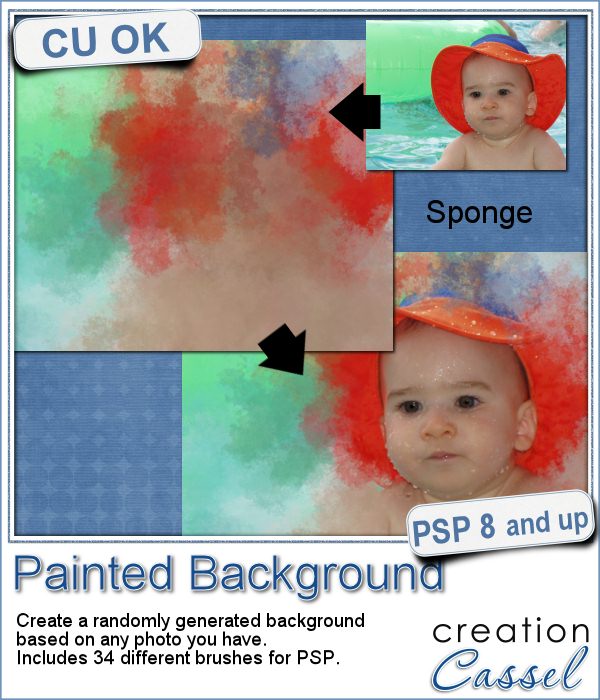
Linda asked me recently if i could create a script that would generate a painted background from an image. Of course, one can always use the Brush Strokes effect in Paintshop Pro, but sometimes, we only want an abstract background based on the colors of a particular image we like. It can obviously be hard to find a perfect match unless we create it ourselves.
That is where this script comes from. Using a variety of brushes, the script will use the colors of the image and add colors on a separate layer, all randomly, for a different result every time.
You can choose what kind of "brush stroke" you want (whether it is a sponge effect, a dry or wet brush effect, a palette knife or an airbrush effect).
And you can also use that new background to showcase an element of the photo that you have extracted, by using blend modes, or other type of techniques.
Since this script can create a full size paper (if you want), you would also have the option to use that paper for other purposes than just a background (even though those backgrounds will be stunning). What other use can you think for those papers? Give me a suggestion in the comments below. Not a subscriber yet? Not a problem. You can register here and it is free (and you only get one email per week).
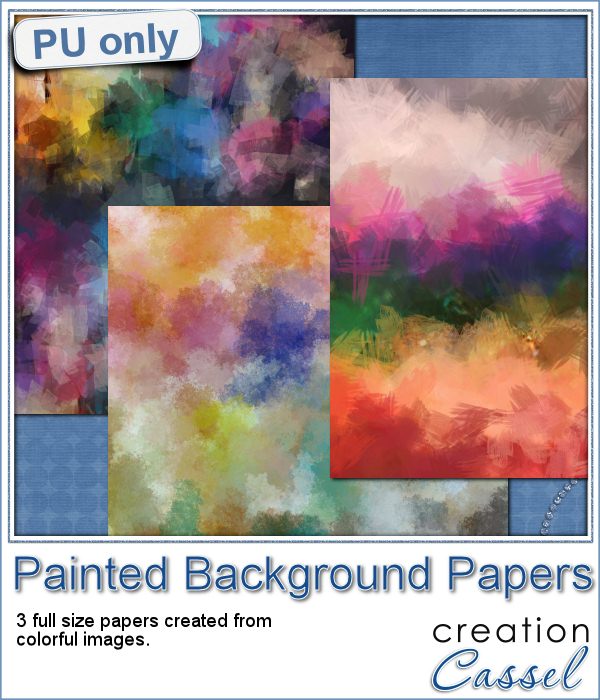
This week, i picked a few very colorful images on Morguefiles and turned 3 of them into full size papers. Do you have a fun, happy project you want to showcase? You can use those background papers as a base for showcasing your photos. You can also use those papers in other ways (or use them with other scripts!).
You can add some blur, add texture, play with the adjustment layers, even blend them with something else. You can surely find more creative ways to use those colorful papers.
You need to be logged in to download this sample. You can either login, or register on the top of this page.
News from the Campus
Can you create your own sticker out of any image you have? Sure you can. Use any png image (even if you extracted Uncle Jim from a photo) to turn them into custom stickers. And also, have a peek how you can make that sticker look like it is curling up a bit.
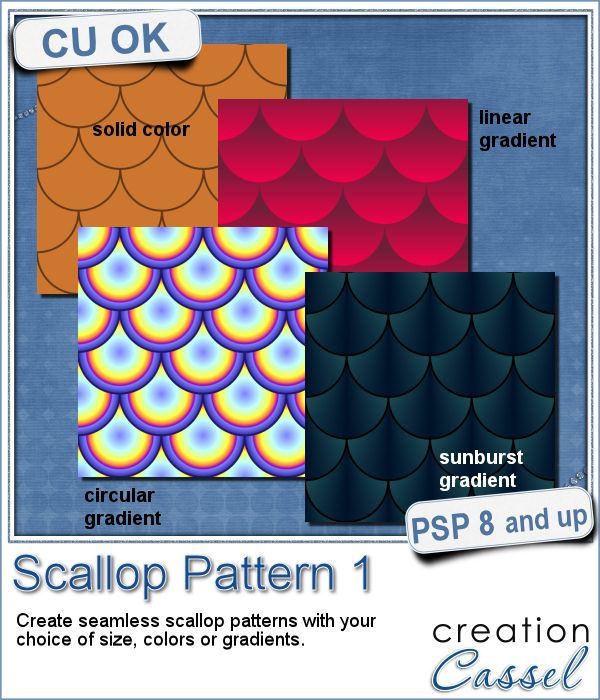
You can probably create scallop patterns the loooooooong way and add individual circles, one by one, using a guide to align them perfectly, but that is so tedious.
This Paintshop Pro script will do all the calculations needed to align all the circles and create a seamless tile.
You can choose a solid color with an outline (obviously, without an outline, a solid color scallop won't show much!), or use a gradient. And furthermore, you can use linear, radial or sunburst gradients for very unique effects.
Do you want a chance to win this script? Tell me, in the comments below, how you would have made a scallop pattern before using this script (template? manually? other?) I'll pick a winner next week and it will be announced in the newsletter. Not a subscriber yet? Not a problem. You can register here and it is free (and you only get one email per week).
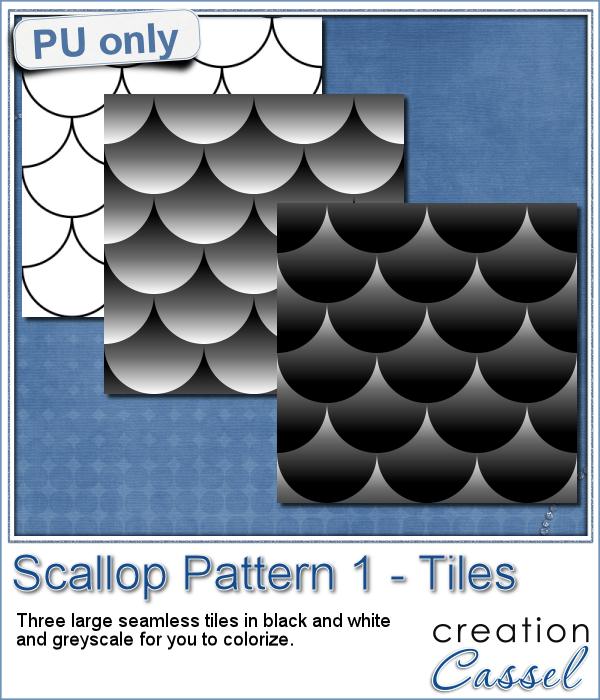
For a sample, this week, i made 3 different tiles using the script.
For the first tile, i simply used a solid white and a black outline. The script did the rest.
For the second tile, i just used a linear gradient, going from black to white and no outline.
For the third tile, i used the exact same gradient as for the second tile, but i inverted the colors (so it went from black to white instead of white to black)
Isn't that simple?
You need to be logged in to download this sample. You can either login, or register on the top of this page.
News from the Campus
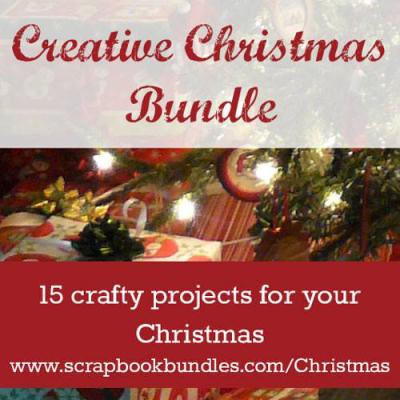
Remember to have a peek at the Creative Christmas Bundle. It is full of supplies, classes and ideas to create something unique this holiday season. It is still on sale for just a couple of days. You get to enjoy all those goodies at 90% off the individual price. That is worth a Black Friday or a Cyber Monday special, isn’t it?
Check out who are the 15 designers who contributed and what they can offer you.
Finally, here is a FREE event you can register into.
The 12 Days of Christmas is a series of daily email giving you 12 different templates for cards and matching envelope, along with inspiration and tutorials from various designers. And yes, it is 100% FREE.
We all know how adding texture to a plain paper can make the difference between a set of boring papers and a lively realistic result. Although most scrappers and designers know the importance of adding texture, it seems so easy to rely on our few favorite overlays and use them over and over and over again, leading to less creative results.
This script will add that variety by randomly picking overlays (between 2 and 4 per paper), rotating them randomly, layering them randomly, adding a random blend mode, and adjusting the opacity, also randomly.
Will it always give a pleasing result? Maybe not, since Paintshop Pro cannot see the result and surely, does not know your own taste, but that is not a problem since everything is left unmerged, so you can tweak all the layers, deleting some if you want, changing the blend mode, varying the opacity or even adding more overlays to the stack. One thing for sure, you will be playing with some different combinations that you might not have thought of.
The script will also rename each overlay layer to the overlay file name so you can easily refer to them if you need to reuse one or credit the source.
There is a thread in the DST forum (that was added late) where you can win this script simply by telling me how many overlays you tend to use on a paper when you want to texture it. And by Monday night, i will pick a winner.
This week, as a sampler, I am offering you a simple layered template for a card and envelope. You can use these templates for our Father’s Day contest.
The template, in PSD format, will create a card, 1200x900 pixels (so 4x3 inches), with an envelope that will match.
Use your favorite kit, designs, or supplies. Add the text you want, in the language you want.
You can use the card template to create a card in either orientation: portrait or landscape.
Sorry, the download link expired. However, you can get this set for free once you join the mailing list to get our weekly newsletter.
Do you see those Photoshop styles everywhere and wish you could use them in Paintshop Pro? This time, I created a set of 9 lined paper seamless tiles that you can use as you wish from the Material palette, but it also has 9 sculpture presets that you can use to apply to a solid color shape (any shape) with predetermined settings (that is why they are preset, right?)
Since the tiles are seamless, you can use them to floodfill any shape of any size. Of course, you can manipulate them further by adding some writing, doodling, stains, creases, tears, and more. You can colorize them to tint them in a color to match your photo, your layout or your kit.
The patterns and the presets are inside folders and if you save the whole folders (instead of the individual files), you will have them all neatly sorted and available inside a Category you can pick in the Presets or the Material. No more need to scroll endlessly, especially if you have lots of those in your resources.
Although they are not in .asl format, Photoshop users can easily convert the patterns which are simply in jpg format.
You can get this set of 9 patterns and presets in my store: Creation Cassel.
If you want a chance to get this set for free, hop over to the Happy Place in this thread and tell me what else than writing on, would you use lined papers in a layout. I will pick a winner on Monday night.
This week, as a sample for this product, i am offering you one tile with one preset (for PSP) and one full size page for everyone else (of course, PSP users can still use it). Do you remember that time when dark papers were popular and kids would use gel pens in neon colors to write on them? Now you can do the same. The tile and the presets work exactly as the lined paper tiles above.
Jennifer had fun playing with this paper sample and added some doodling.
If you are curious to know how the ripped edge was made, i can tell you my secret: it is a font. I used the RippedEdge font that you can use to create any paper edge that will look ripped from a spiral binding, whether it is from the top or the side. You can find that font in my store HERE.
Do you want to do the same? Simply click on the preview to start downloading the tile, the preset and the full page.
You need to be logged in to download this sample. You can either login, or register on the top of this page.
Did you miss my post last week? Probably, because i skipped last week. Why? Because i felt bad not to have a freebie for you to download. Last week, i released a tool-script that will open, duplicate, save the duplicate with a new name (adding –copy to its name) and closing the original. All that, so that the Auto-save function can actually save your work and spare your original from accidental auto-save. It is still available in the store and it is FREE.
Of course, you can do the same steps manually, but you want to do something else than those tedious technical tasks, don’t you? In addition, if you bind the script and add the icon on your menu bar, you can get the whole process in ONE click. That beats doing it manually doesn’t it?
Sometimes, you might have a collection of overlays and want to use them but you dont want all your papers to look exactly the same. One solution? You grunge them a bit. However, it is long to randomly delete areas, change the angle of the eraser tip, change the size, or even change the eraser tip altogether. This script for Paintshop Pro will do all the work for you. What do you have to do? Open the overlay, run the script, pick the eraser tip and decide if you want to erase a little or a lot. That’s it. The script will erase dozens or hundreds of times, randomly, while you just watch.
You can continue running the script as long as you want to remove as much as you want. This is the perfect tool if you want to use a consistent texture across a set of papers without having the exact same look on each of them. Since there is a random feature coded in the script, you will ALWAYS get a different end result even if you start with the same overlay and eraser tip.
See what other results you can get with multiple runs of the script using the same settings and eraser tip (you can then play with the opacity and the blending to get yet, a different result):
As usual, this script is also available to win. Check out this thread in the Happy Place forum and add your name to the thread (remember to answer the question from the first post!). A winner will be announced on Monday night.
As a free sample, i created these three holiday themed papers using a texture image i scanned and ran that texture layer through the script to get 3 different results. Since i lowered the opacity a lot, the end result is a subtle texture.
They are all 3600 x 3600 pixels so you can use them as background papers for a layout, for a Christmas card, or you can cut them to create holiday gift tags, name tags, frames, etc.
You need to be logged in to download this sample. You can either login, or register on the top of this page.
Last week, i promised to have a new script that would be a perfect companion to the Quick Tiles script. Well, this is it. This time, the script will create tone-on-tone seamless tiles from your image. Just like the other script, this one offers you options. The tiles you will get will have only subtle patterns that might not even show if you only look at the tile, but floodfill any larger surface and you will see that design appear. You can run both scripts on the same image and get perfectly matching papers. How neat is that? Again, this script is only for Paintshop Pro users (sorry Photoshop gals!)
You can get this script in either one of my stores: Creation Cassel and DigiScrapWarehouse.
Do you want a chance to win it? I started a thread in the Happy Place of the DST forum where you can go and add your name. Just answer the question “how do you create tone-on-tone papers?”
Last week, i let you have 10 seamless patterned tiles created when i was making the preview. This week, i will do the same. Since i am starting with the same image, this week’s tiles will match last week’s. They are all 400x400 jpg tiles. Use them with various scale and angle settings for very different results. I would LOVE to see how you would use all those tiles in a layout. Can you do that? Show it to me.
You need to be logged in to download this sample. You can either login, or register on the top of this page.
You can now create any size paper with any brushtip that you have. You choose any color palette (from 2 to 6 colors), the size, and the settings. You can opt to have all the “prints” in the same angle (like for text) or various random rotations. You can have all the “prints” using exactly the same settings that you set, or let the script vary the size, the saturation, etc. Try using this script with a texture brush to create your own textured overlay. Since the script uses a random feature, you will never get the same result twice. Run the script once, or continue to add more layers. In the end, use any layer you want, and delete the others. Apply effects to individual layers if you want. Change the blend mode for more possibilities.
The “stamped” layers will be added on a separate layer, so your initial image will be untouched. That means you can even run the script directly on your layout as you work!
You can get it in my stores: Creation Cassel and DigiScrapWarehouse.
And if you want a chance to win this script, hop over the DST forum and add your name to the RAK thread there.
And how about a few papers made with this script? I got a little pack of 3 papers for you, that were made with this script. You can see the end result of one run using the brushtip always at the same angle, and two with varied settings, including the angle of rotation.
You need to be logged in to download this sample. You can either login, or register on the top of this page.
 Creating paper trees might be a simple task but it still takes a bit of time when you have to open a paper, make a selection, copy it, paste it to another image and then, create another piece, slightly smaller and repeating the process piece by piece.