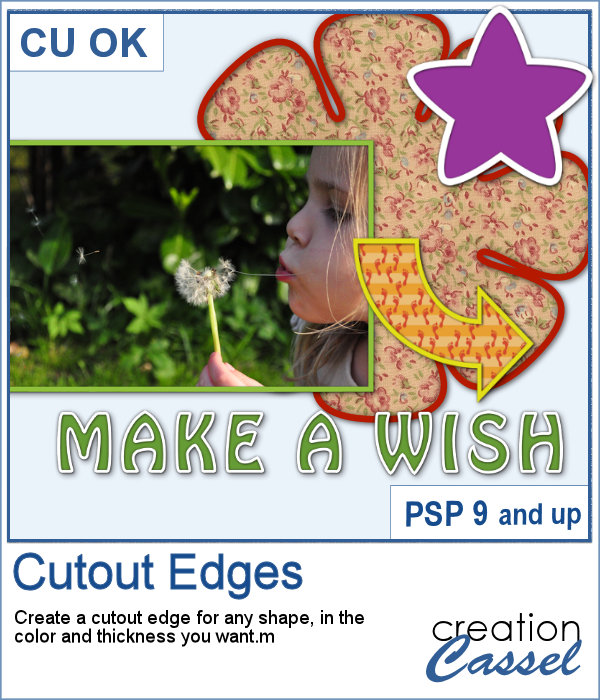
In paper scrapbooking, we often see some fancy outlines, likely made using a cutting machine. The designs can be simple or intricates and with contrasting backing, it gives a great look.
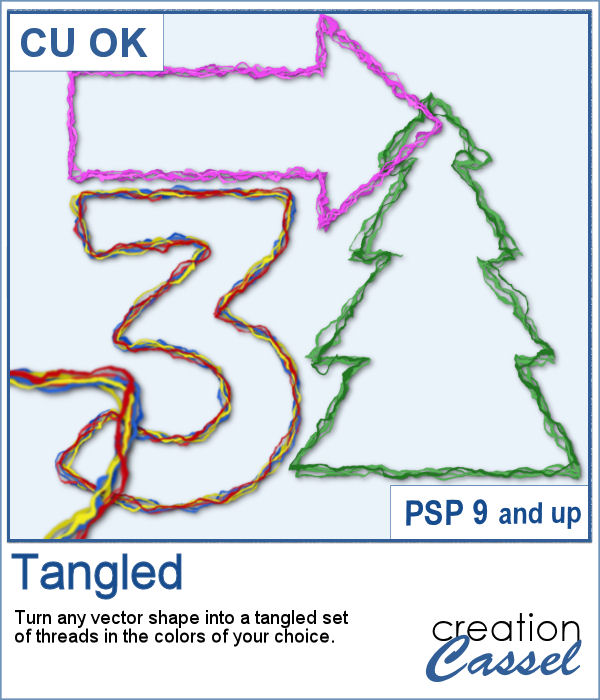
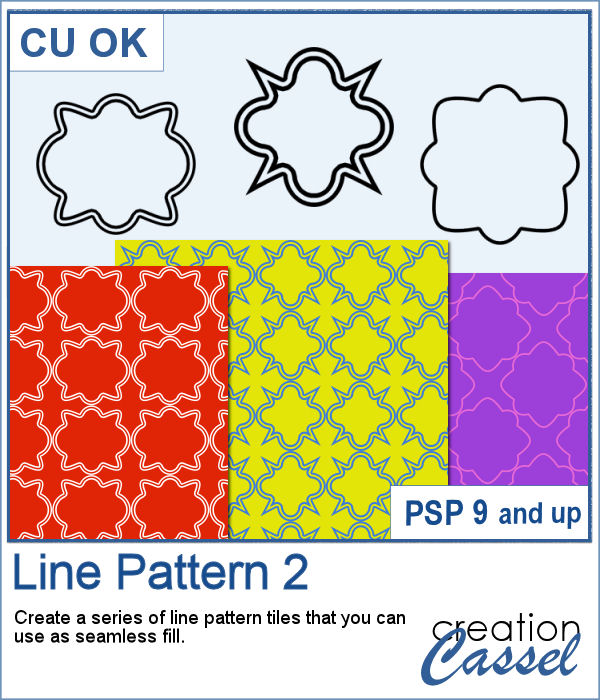
Now, you can do the same thing with PSP and your digital project using this script. You can choose the thickness or the color (or both) of the outline and it will be based on any element on the active layer, whether it is a raster or a vector. Furthermore, the base and the outline will be on separate layers leaving you more options to tweak them. And even better, some shadows will be added, also on a separate layer. Everything will be linked but unmerged so you can move things around or change them as needed.
Get this script in the store: Cutout Edges
In order to win this script, add a comment on this Facebook post telling whether you ever tried to replicate this paper cutout effect with PSP (remember, add a comment, not just a Like!) The winner will be announced in the newsletter, next week. Not a subscriber yet? Not a problem. You can register here and it is free (and you only get one email per week).
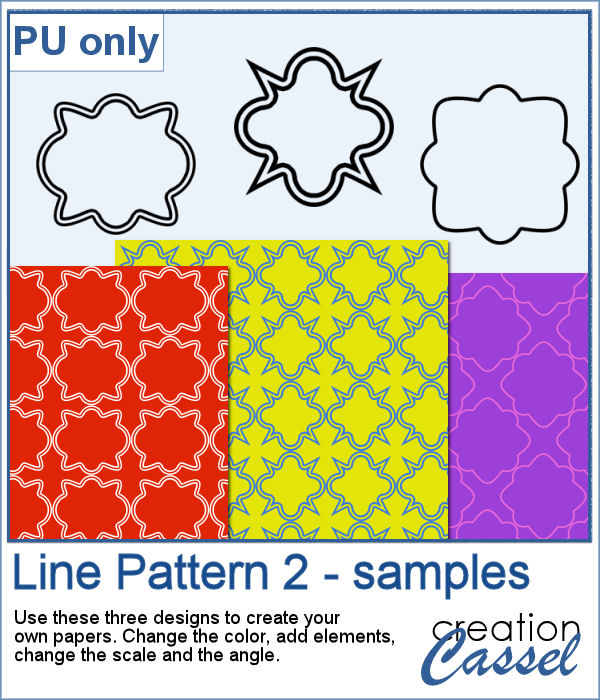
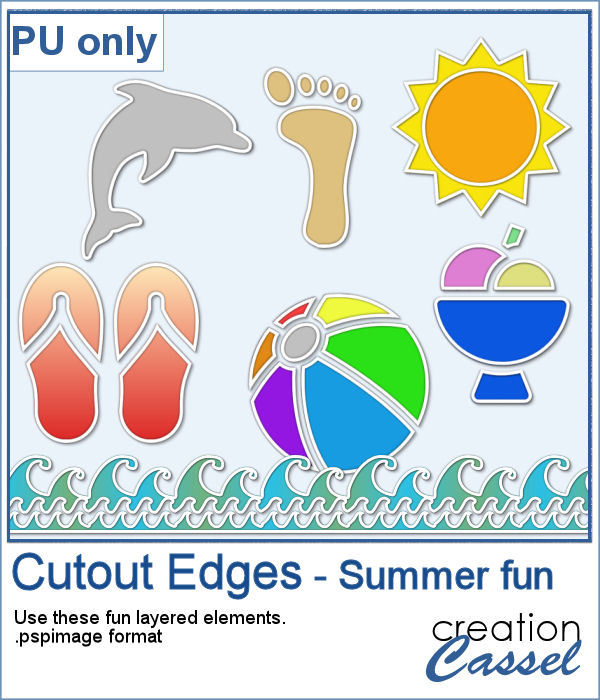
For a sampler, I am including some summer-themed elements all in layers. You can change the colors of the cutout or the background if you want to match them to your own project.
You need to be logged in to download this sample. You can either login, or register on the top of this page.

A nice and even design might be what you are looking for, but maybe you need something messier for some projects, or to accompany some "messy" subjects.
As a sampler, I envisioned children playing with threads and gluing them around the various letters of the alphabet. I guess it would be a good element to use for back-to-school layouts. You get this full alphabet using primary colors.
Have you ever tried to align several photos on a straight line, with each photo evenly spaced? It is a little tedious. Now, imagine that you have multiple rows to create. That definitely adds to the work.
For a free sample, I created a gallery template that you can use to add 7 photos of your choice. You can change the background color and even the canvas size if you want to add some text at the bottom. Embellish as you wish, or leave it minimalist. It is your choice.
Creating new paper designs can often be a tedious task. You can either hand draw them, or use a template. Either one has its drawbacks.
For a sampler, I simply share the PNG version of three tiles created with the script. You can use them with any background, change the color, adjust the scale or the angle. Once merged with a background paper, you can add some grungy edges or textures.
Datestamps come in many shapes and colors, and although they are traditionally meant to identify a country you travelled to, you can definitely be creative and use them to add other details to your projects whether it is a date, a location, or a name.
As a sampler, I created some datestamps with the various months. No year or date is included so it would be easier for you to customize them, and use them for any year.
You can display your photos in regular square or rectangular shapes, but you can also use a starburst shape to make it a little different.
As a sampler, I created a template, just for you, with spots for 8 photos. Replace any of those photo spots by images but you can also replace them by patterned paper. Or you can play around with it as a template is just a starting point anyways.
A dispersion effect can be added to any photo to give a unique impression of power or explosion.
Since this script would likely be applied to your own photo, I simply ran it on greyscale digits. Since they are in greyscale, you can colorize them any way you want to use it in your own project.
You can now create a pretty custom angel for your holiday decorations.
As a sampler, I created five angels with lacy wings. That should give you variety to use them in just about any project.
Do you want to embellish your holiday cards and projects with something unique? These Christmas balls can be generated randomly but with your choice of colors. Although not all design combinations might be to your liking, you can simply keep the ones you like and discard the others. And if you want more, run the script again.
As a sampler, I ran the script using a yellow background for the balls and a single red color for the design. You get 6 different designs to use in your holiday projects.
You might want to wrap your own ribbon around your own frame or picture, but how do you do that? This is when you need this script. It will use any straight ribbon you want (opaque, patterned, lace, directional) and the script will arrange the pieces in a way that will look like it is wrapping around something.
As a sampler, I am offering you this lace ribbon. I didn't include the shadows so you can add your own, as needed. The whole arrangement is a little bit wider than 2600 pixels so you can resize it to what you need and trim the edges if necessary.