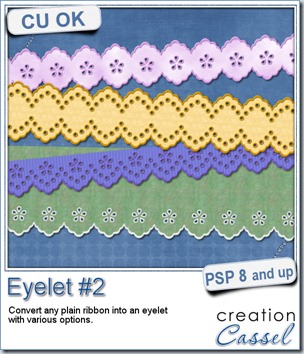
Eyelet laces are so diverse that I thought there would not be any problem in adding another eyelet script, with some different designs and combinations.
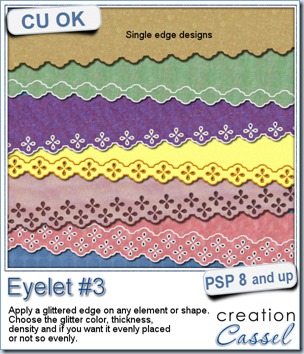
This script will use a 4 petal flower (instead of the 5 petal one, from last week), and the edge has a different shape. You can have one or two rows of flowers, which will be alternating if you choose a second row. And you can add another “edge” above the flowers, and it will be aligned perfectly, depending on whether you have a single or double row of flowers. You can even have both “edges” with no flower at all, and add your own gems or designs in the space created with them.
As for the previous eyelet script, you can add designs on the top, the bottom or both edges in the same run.
Use those designs on ribbon (you just choose the color of the embroidery, but you can use an actual ribbon to add the embroidery on it, create your own ribbon, etc.
You can grab this fun script in my store: Creation Cassel
If you want to add your name to the RAK thread in here, go for it. You have a chance to win this script and be on your way to add eyelets to all your projects.
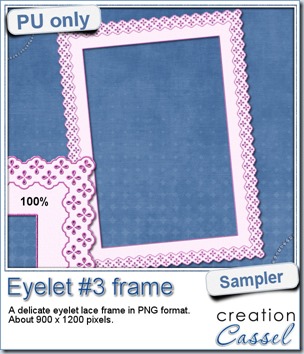
 How about a little sample of what this script can do? I ran the script on a long piece of textured solid color to create a ribbon. I did the same thing twice, to get a top and a bottom edge with proper bevelling (NEVER flip or mirror an element that has been shadowed or bevelled). Then, using a copy of the ribbons, i applied a different bevel angle before merging and rotating the copies to make the vertical edges of the frame. Then, it was just a matter of applying a mitered corner technique to align and cut the corners correctly. What do you think of it?
You need to be logged in to download this sample. You can either login, or register on the top of this page.


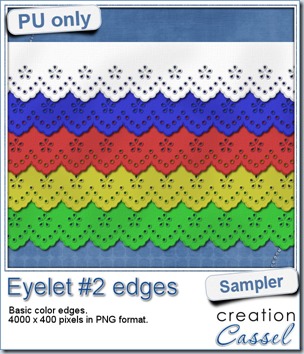
 I know it is a bit American holiday coming up (I see that in the numerous 4th of July), but I also know that not everybody is American, so I figured I could create some basic eyelet edges for everyone, in basic colors. This sampler will give you 5 different eyelets in 4000 pixels each.