If you have the first set of fringe picture tubes, they are even and regular. But sometimes, you need something rougher and less regular. That is why this particular set of fringes.
Draw those fringes along any edge, whether it is freehand, or along a curved path. Remember however, that the fringe will always hand downward!
In order to win this script, add a comment on this Facebook post telling us what project could you use these fringes on (remember, add a comment, not just a Like!) The winner will be announced in the newsletter, next week. Not a subscriber yet? Not a problem. You can register an account on this blog and you will get our weekly newsletter. In addition, you will be able to download our weekly freebies too.
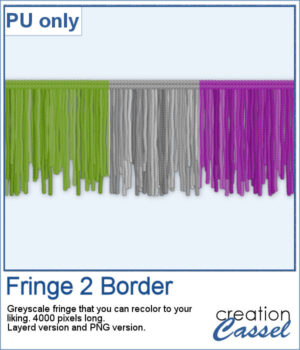
To get some samples of these fringes, I created a 4000 pixels long fringe, with a wool edge. They are in greyscale so you can colorize them to match your project. I also included one layered version (in .pspimage format) and a "flat" one (in PNG format) for use in any program.
You need to be logged in to download this sample. Please log in or register using the links at the top of this page.
A lined border around the edge or slightly inside the edge of an element can add a touch of definition or elegance. It is fairly easy to do manually if you have only one or two to do, but if you are in love with borders, or if you want to create an outline on several elements of your layout or kit, you will want to get this script to speed up the process and let you play around more.
This script for Paintshop Pro allows you to add a variety of outlines, with different thickness, with different spacing from the edge, with sharp or rounded corners, in single and double too.
Each line is added based on the size of the element, so you dont have to calculate anything. But of course, if you need a precise measure, you can always use the custom value.
Even better, if you plan on using this script on a series of elements, like an alpha, or a set of tags, cards, strips, and more, you can edit the script itself and run it while skipping most of the dialogue windows. That makes the whole process so much faster.
Each line is left on a separate layer, so you can play with the end result even more. Add a bevel and shadow and you can turn that outline into icing on a cookie. Change the blend mode and you get a subtle outline on an element. Run the script several times on the same shape with different settings and move the outlines slightly off center for a dynamic look. The sky is the limit.
As usual, there is a random draw in the DST forum where you can add your name, tell me what elements you could use this script with and i will pick a winner on Monday night. Check out this thread now and post. Even if you already bought the script, you can still win! And if you already bought it, tell us how you like it and even better, show us something you did. We always love to see how creatively different people can use the same script.
This script was a suggestion from Kimeric Kreations. Kim often uses borders on her elements. It adds a great finishing touch and sometimes, that border is barely visible, yet it is there! Since she was the one who suggested this script idea, she also was the first one to “play” with it. She ended up creating several fun elements using various options of the script and customized the end result for a great look.
This set of samples includes various elements and trust me, they ALL have a lined border (even the hearts!). All the elements are in PNG format and range in size from 400 pixels (for the heart) to a 3600 pixels wide border.
You need to be logged in to download this sample. You can either login, or register on the top of this page.
Thanks Kim for this great freebie.
(shh… this freebie will match a future kit from Kimeric Kreations. Keep an eye on her store in the next weeks).
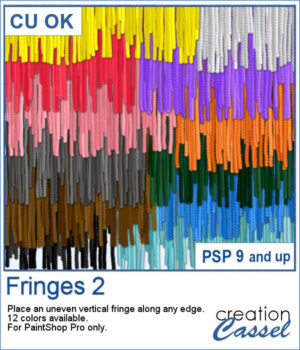 If you have the first set of fringe picture tubes, they are even and regular. But sometimes, you need something rougher and less regular. That is why this particular set of fringes.