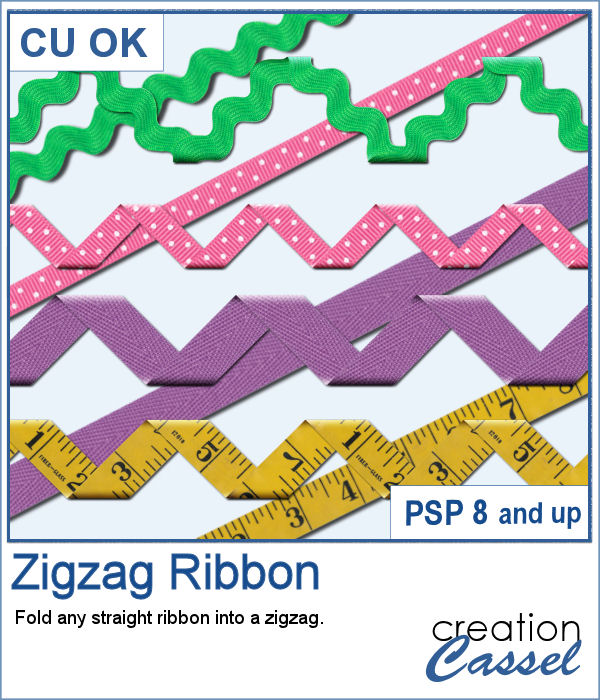
Using a straight ribbon and turning it into a zigzag with multiple folds can be a fun way to use the same ribbon in different ways on the same layout or to create consistency between several layouts in a project.
This script will take care of all the tedious tasks of measuring, cutting, rotating and aligning all the pieces to create a continuous zigzag ribbon element.
Get it in the store: Zigzag Ribbon
In order to win this script, add a comment on this Facebook post telling us how you would use a zigzag ribbon (remember, add a comment, not just a Like!) The winner will be announced in the newsletter, next week. Not a subscriber yet? Not a problem. You can register here and it is free (and you only get one email per week).
As a sampler, I started with a very long ribbon (5000 pixels) that I painted with a gradient. I thought it would be fun to see the gradient through the various folds. I repeated the effect with a different gradient, so you end up with two zigzag, but also the matching straight ribbons so you can use them elsewhere on your project.
You need to be logged in to download this sample. You can either login, or register on the top of this page.

"When the moon hits your eye like a big pizza pie, that's amore"
As a sampler, I am sharing that heart shape pizza, all dressed. This is to show you how I appreciate your continuous support.
Who can say they have too many bows in their stash? Nobody! And these tiny bows are delicate and can be incorporated into just any project, cluster, or even on a photo itself.
As a sample, I generated a ton of little bows from papers from an old kit I had (Splashes of Sunshine from Bernadette Hunt). I liked the colors on the 4 papers. Since they were full size, I resized them to 2000x2000 to keep some of the brushes imprint visible on some of the bows. I generated many more but kept a dozen for you among those that had some interesting patterns to them.
Creating random shapes for one's project might be easy but the randomness, sometimes, is not as random as one would want simply because we tend to do things in similar ways over and over again. That is why this script can become a time saver as it will REALLY create random shapes for zigzags on separate layers and then, you pick and choose which ones you want to use and discard the rest. Easy!
As a sampler, I used one of those shapes and overlayed it on a white layer. Once they were merged, I added a gaussian blur and now, that shape can be used as a mask.
If you want to view your gradients, looking at the little thumbnails in the Materials Palette is not the best way. But if you want, you can now make a larger image that you can even print, to display all the gradients in a specific folder. Make sure you read the instructions because you will have to edit your script before running it.
As a sample, with summer coming, with the warmer weather, I thought you might like a set of fresh popsicles. This is made from the Wooden Puzzle 2 script, and all the pieces are grouped together, allowing you to move the whole set onto your next project. Once that is done, you can ungroup the pieces and move them around, individually.
You can create slats at an angle, but it is tedious to measure all those pieces one by one.
Since this script allows you to create a mask out of the settings you chose, I did just that. I started with a large, 3000x3000 black image, and created a layered mask file. You just have to add your photo and that's it. If you find that the mask is way too large, resize it before adding the photo. You can even resize it without keeping the proportions if your photo is rectangular and you don't want it square.
Whether you have a birthday theme or other celebration, you might want to have a unique cake to add to your graphics project. But other than the traditional birthday cake, what do you have?
I baked all day to give you this delicious multi-layered rainbow cake, complete with colorful icing.
Datestamps can be used obviously to write a date but you can be creative and add something different like a location, a greeting, or a particular event.
As a sampler, I created four stamps for the seasons of 2019. They are in greyscale so you can colorize them to match your project.
Using slats on a photo is a unique way to showcase it, but it can be tedious to create manually. Furthermore, if you want to showcase a particular area of the photo without cutting it off, you can no longer use a ready-made template as it might not suit your specific image or size or preference.
For a sampler, I created this template for you. It will help you showcase an element that would be off center. You can mirror it too, if your element is on the right.
Seed beads are fun elements that can be used to add some pizzazz to a project, but adding them one by one is quite tedious if you want to have a lot of them. And if you are looking for "ready-made" sprays, they might not match the color you want, the size you want or the shape you want. But using these picture tubes, you simply have to drag your cursor where you want the beads and they will just appear.
Since it is Mother's Day (in North America) this coming Sunday, I created these two gold and silver charms for a special mother in your life. I created in two different spellings to accommodate different ways people call that special woman. The charms are about 1500 pixels, so they can be sized down as needed to fit your project.