Did you get some pictures of your last Valentine Day with your valentine?
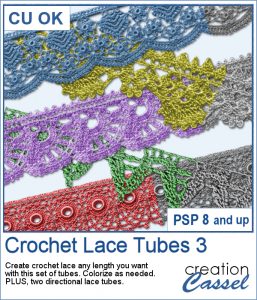
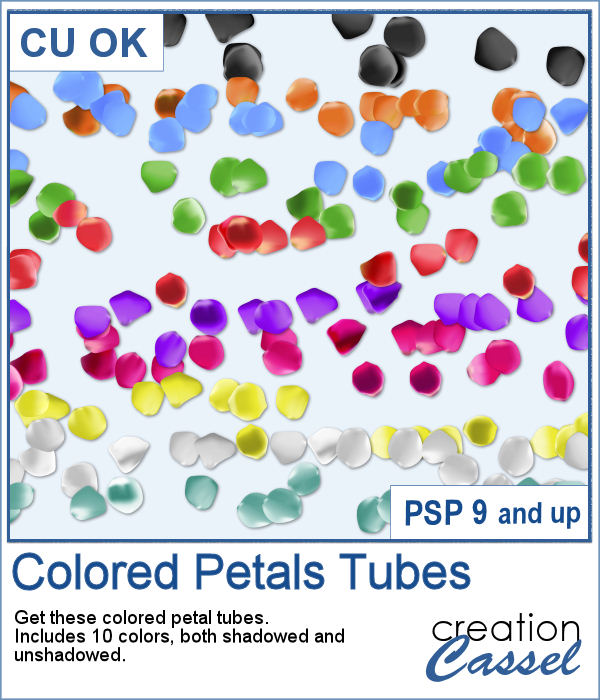
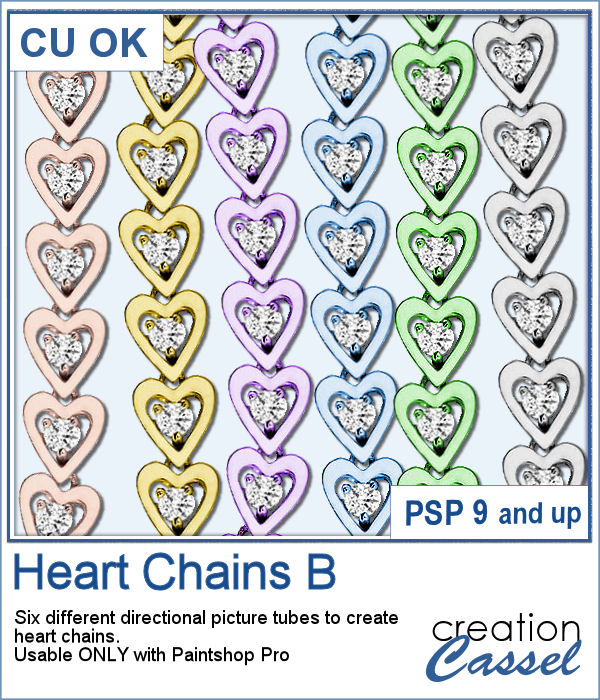
You will love to add these colored chains to your projects featuring a loved one. Each tube is directional so it will be placing individual links in the correct angle to follow the path of your cursor movement.
You can create frames, loose chains, bracelets, necklaces and more.
Get these tubes in the store: Heart Chains B
In order to win these tubes, add a comment on this Facebook post telling us what color you prefer (remember, add a comment, not just a Like!) The winner will be announced in the newsletter, next week. Not a subscriber yet? Not a problem. You can register here and it is free (and you only get one email per week).
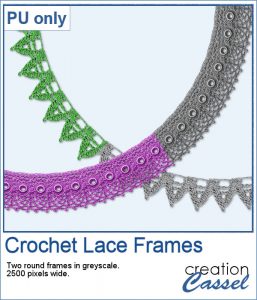
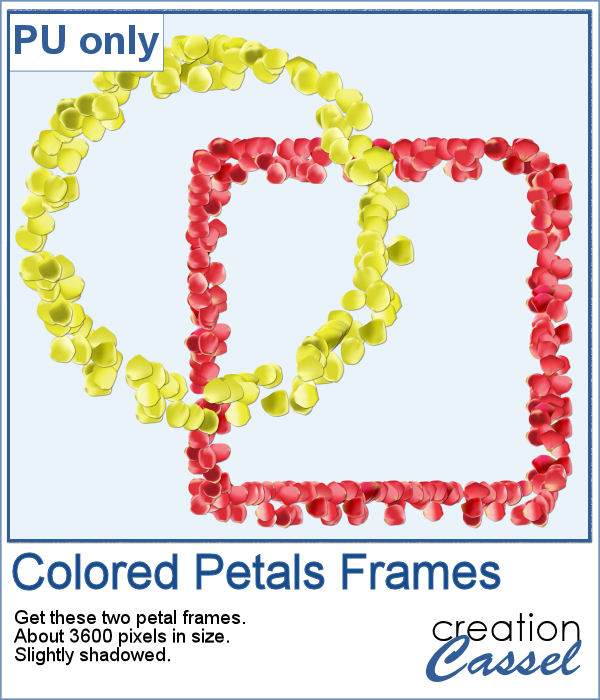
For a sample, I created a heart shape frame using a preset shape, and ran the VectorTube script to place the little hearts all along the shape. With a little shadow added, you have a fun frame. The shadow is only added to the chain, so you can add your own shadow to the whole frame if you want.
The frame is in png format and is 2000x2000 pixels so it is large enough for most photos.
You need to be logged in to download this sample. You can either login, or register on the top of this page.

Threading your favorite ribbon manually around a frame is very tedious and hard to do precisely, but this script will allow you to do it using any straight ribbon you already have.
For a sampler, I simply am offering one layered template made with the lace ribbon in the preview. Everything is left on unmerged layers so you can use the template and modify it as you want. You can punch a whole in the center, or clip some fancy papers on it, or replace it by your favorite photo, like in the preview.
You can never have too many bows to embellish your projects. And since you can now create them from your own ribbons, you will have a perfectly matching element to attach to the ribbons.
For a sampler, I created 3 basic ribbons with a Valentine Day theme and ran the script. So you will get 3 straight ribbons (that you can run other scripts on) and 3 matching bows.
The Crochet Lace edges have been so popular in the past that I am back again with another set. These are extracted photos that needed to be edited to make them really seamless.
As a sample, I wanted to show you how the two directional lace tubes can be used to create circular elements.
You might have those lights, at home, to decorate your windows or your tree, but now, you can do the same with your digital projects (and no electric cost).
As a sample, I create another swag for the Holidays, made exclusively of tubes from PSP or from the store. You might recognize the light strings from last year (none of the light is burnt!).
In traditional paper scrapbooking, there are tools that allow the user to punch the corners into intricate shapes. They are great if you want to use the same size for all the projects you do. In digital scrapbooking (or card making), you now can use similar "punches" simply by using the eraser tool and those fancy "corner punches" shapes. This is the fourth set of those brushes.
As a sample, this week, I created this fun frame (and matching template so you can use it with other colors/papers/effects).
Although it is easy enough to purchase extracted flower petals, it is tedious to place them where you want, and even more if you want to scatter them randomly.
For a sample of these tubes, I created two frames made of petals. Each frame is almost 3600 pixels wide, so you can resize it as you need it.
If you need to have some butterflies on a project, you might be able to extract photos of realistic ones, but maybe you would prefer to have some that perfectly match your kit, or your project.
For a sample, I ran the script using the Birthday kit from Marisa Lerin, and tweaked the resulting butterflies to give them some 3D looks, in addition to changing the color of the body and adding an inner bevel.
Did you have a peek at the Layered Flowers script from last week? You could create a set of layered circles, but this week, you can create a set of layered papers cut into various shapes with points. Although you can decide how many points each shape will have, the script will randomly create those shapes to give you a unique result every time.
For a sample of this script, I used papers from the bundle
If you had some traditional papers, you might want to cut out some circles and layer them to create a "flower" in the color of your kit or project. Doing that is tedious with paper, but also very tedious with digital ones.
For a sampler, I ran the script with a few papers from a kit, Happy Birthday, from Marisa Lerin. You can get the whole kit for free, HERE.