If you want to add a corroded look to an element, how would you do it? If you are using a premade texture, it will likely be always the same one, but is corrosion really the same all the time?
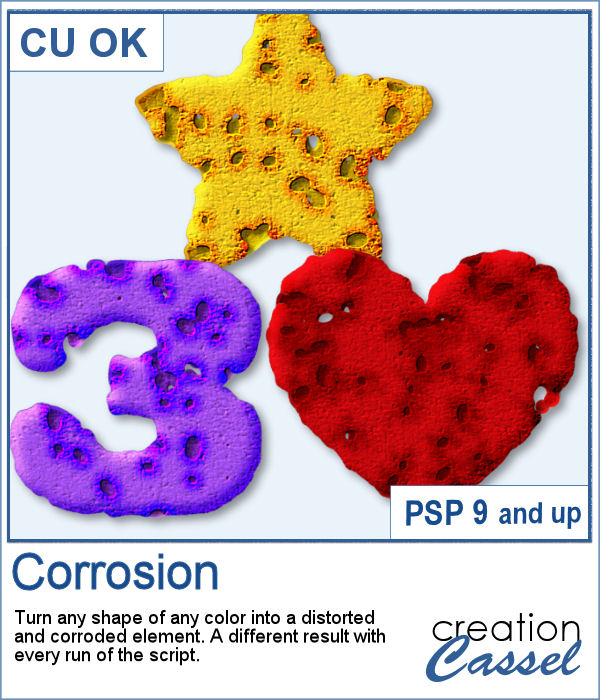
This script will randomly assign a texture, and punch holes throughout the design, so it will always give a different result, just like real corrosion.
Get it in the store: Corrosion
In order to win this script, add a comment on this Facebook post telling us how you would create a corroded texture if you didn't have a script (remember, add a comment, not just a Like!) The winner will be announced in the newsletter, next week. Not a subscriber yet? Not a problem. You can register here and it is free (and you only get one email per week).
As a sample, I created a simple set of digits that ended up corroded. You can use those digits to add a date of something that is old or something that seems to be bad.
You need to be logged in to download this sample. You can either log in or register on the top of this page.

Some photos don't convey all the energy that you know happened when they were taken, so how can you remedy that lack of effect? Add some sparkles.
As a free sample, I created this large 3600x3600 pixels frame and yellow and gold sparkles.
Some photos can use a lot of punch and adding fire is a sure way to add that spectacular effect. Add those flames to an energetic musician, to a hot car, a fast running cheetah. Or you can just draw frames and words manually to get a firey message in the sky.
As a free sample, I created a firey frame using a simple heart preset shape. I ran the script choosing the option for small flames. If I had selected the larger ones, there would be a smaller area left for the photo.
Cracked paint can be used on many drawings, paintings, or writings to give a worn look. You can surely use an overlay, but it is also nice to get a different result.
For a sample, I found some fun summer cards that are now worn out, after the summer. Use them as cards, or posters.
You can create some unique titles and tags using uneven pieces of papers with a cut out letter or digit.
For a free sample, this week, I used one of the newspapers that was used to create the freebie in the Campus (you can get matching pieces
Have you ever tried to create a montage of pop art images inspired by Andy Warhol? It uses bold colors and simplistic lines and offers multiple variations on the same colors.
As a freebie, obviously, there was no way to give you a sample that would suit your own project, so I figured that everyone was quite enthusiastic about the balloon twists frame from a couple of weeks ago so I created another one, in different shape and using a different color. Those balloons would be quite suitable for summer theme projects.
You can create a sprayed effect on individual letters very quickly.
With this time for back to school in many areas, I created this set of digital using primary colors, in order. Use them to add a year, an anniversary or even to make a border for a back-to-school theme project.
Little bugs and critters can be a fun addition to a project, especially when they are cute and made of ribbons and beads.
As a sampler, I created 5 basic color dragonflies. Using only one color per dragonfly, they will be more versatile and easier to match with your project.
Balloon twists are often used as decorations in different festive events, whether it is a wedding, a birthday, an anniversary, graduation, a welcome back event, etc. We can see them as tall columns, but also as arches or like hanging banners.
As a sample, I used the Red/White balloons and placed them along the path of a heart using the VectorTube script. You can use this heart to frame a photo or a poem. Remember to add some faint shadows!
If you have a sweet tooth, you will love these tubes that will allow you to get these marshmallow twists in any shape of length you want. Make some bite-size treats, or long strings for sharing with friends.
For a sample of this product, I created a fun oval frame using the four-color twist along with the VectorTube script to place them along the edges. Of course, I had to tweak a bit to "hide" the end of the twist as it was not seamless but I think the result is pretty good, don't you think?