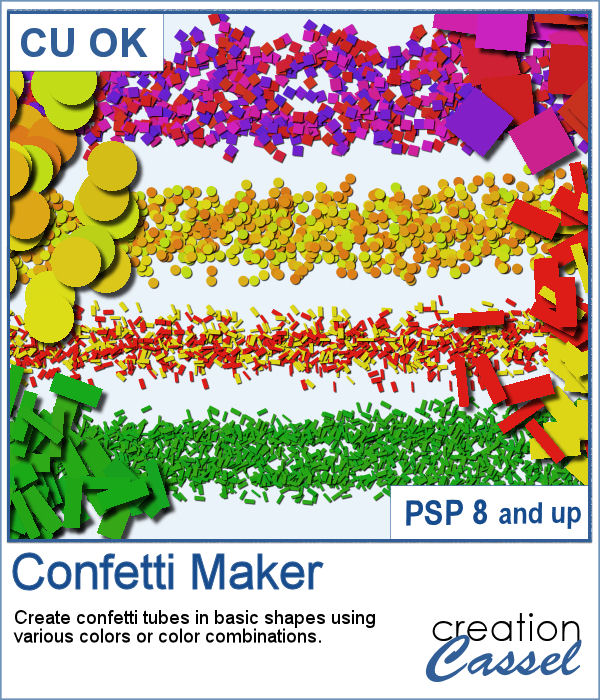
Creating paper trees might be a simple task but it still takes a bit of time when you have to open a paper, make a selection, copy it, paste it to another image and then, create another piece, slightly smaller and repeating the process piece by piece.
This script will speed up the process and while you can generate up to 10 trees at the time and you can choose to keep whichever you want.
Get this script in the store: Paper Trees
In order to win this script, add a comment on this Facebook post telling us what color OTHER than green, you would like to use to create a paper tree (remember, add a comment, not just a Like!) The winner will be announced in the newsletter, next week. Not a subscriber yet? Not a problem. You can register here and it is free (and you only get one email per week).
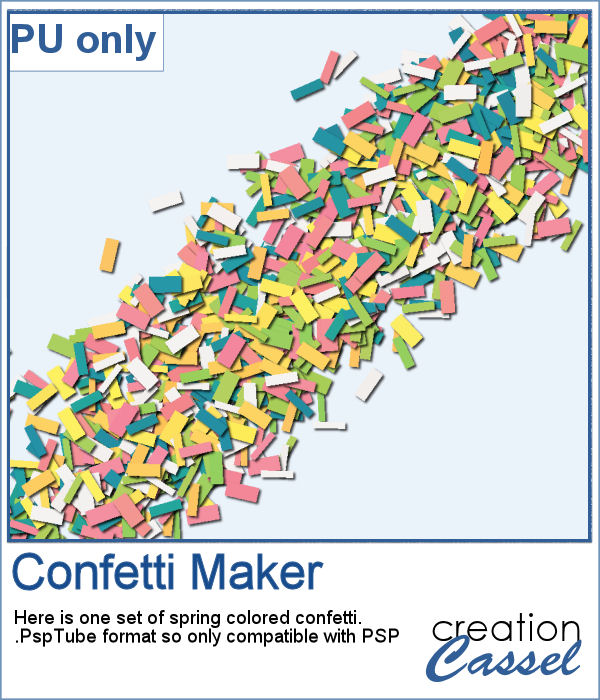
To offer you a sample of what can be done with this script, I created 3 layered paper trees made from the kit Apple Crisp.
Each one is left with unmerged layers so you can tweak the placement of the pieces, rotate them, insert elements in-between, and more.
You need to be logged in to download this sample. You can either login, or register on the top of this page.

If you need to have some butterflies on a project, you might be able to extract photos of realistic ones, but maybe you would prefer to have some that perfectly match your kit, or your project.
For a sample, I ran the script using the Birthday kit from Marisa Lerin, and tweaked the resulting butterflies to give them some 3D looks, in addition to changing the color of the body and adding an inner bevel.
Do you need the look of burnt edges around a particular element but other than doing it yourself, it seems really hard to find the right shape, or the right font or the right size for your own element?
As a sample, this week, I created a few paper pieces that were run through the script. I created those shapes simply with the freehand selection tool to give them a random shape right from the start. Of course, the script would burn the edges but I wanted something a little different.
How would you like to get a fun, unique label to use as a title or tag on your project? If you are looking for some ready-made ones, it might be hard to find the perfect one, with the text you want, or the size you want.
As a sample of what can be done with this script, I created 4 labels with the seasons for you to use. They are 600 pixels in height so you can size them down if needed. If you have a cutting machine, you can also use it to embellish your paper projects.
Do you like lace edging? Can you find some that suits your project? Something that is the right color, the right length?
As a sample, this week, I created a long strip of lace and turned it into two frames using the Mitered Corner Frame script. In order to make nice corners, i trimmed the strip exactly between "loops" then measured the length of a loop in order to set a size, in the script, that would use complete loops. I think it turned out great.
Now, you can create a series of frames of different sizes using several papers you have on hand. This is perfect if you want to create frames to go along with your kit, but it can also be an interesting tool to give you some frames that you can use on your own layout using the colors of your project.
This week, I am offering you 10 frames I made for the preview. It uses papers from the kit Fine Print from Marisa Lerin. This kit is free to download, so if you want some matching frames, papers and elements, check it out
If you have a project about game night or bingo winners, you might want to add some bingo cards to your layout, but usually, you will find some pretty ordinary cards that won't necessarily match the colors or style you are using.
As a freebie for this week, I created 5 matching cards so you can actually print them out and use them to play. Laminate them so you can keep them for later.
If you like chocolate, here is your chance to get a sweet treat for your next graphic project. Whether you like white chocolate, milk chocolate or dark chocolate, you are in luck!
For a sample of this script, I used a few summer themed elements and ran the script with a milk chocolate flavor.
If you want to create a rustic design, either as a background or an element, chicken wires might give you just that look.
As a sampler, i created this frame (using the Wooden Frame script) and added some wires behind it. I thought that you could possibly add some clothespins and attach various photos or objects, but you could also have a photo placed behind, or even cut the wires and make it even more "rustic".
Do you like to use ribbons in your projects? Straight ribbons are easy to find, right? Not always. In fact, it is possible to get some greyscale ribbons and colorize them to match your project, but some colors are quite hard to get right (like the yellows). In addition, the ribbons you get would always be the exact same kind, with the same size, same shape, same light/dark areas, etc.
I went a little crazy with the freebie, this week. I found a fun color palette that seemed nice for a spring theme (sorry for our Aussie friends who are heading toward winter, but spring will be back in 6 months!).