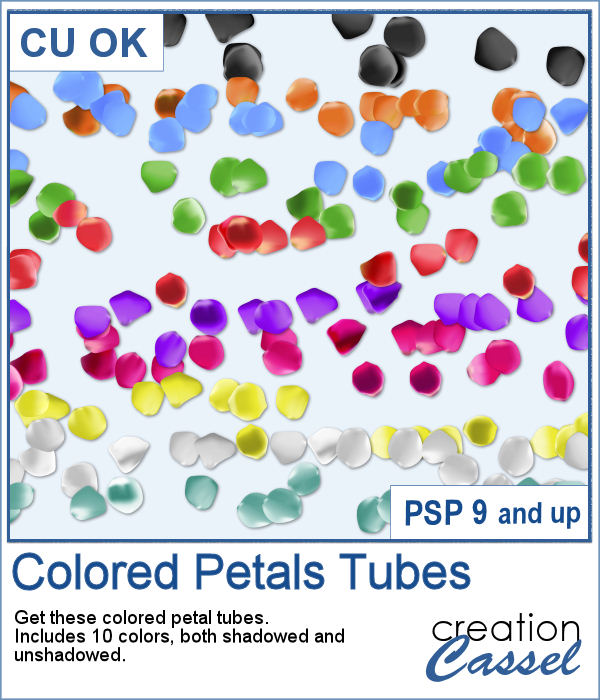
You might want some rough twine rope to tie some elements or to create a loose bunch of ropes, but you can't seem to find the right one, of the right color, or the right length or the right shape? These picture tubes allow you to draw your twine as long as you want, in any shape you want and with 10 different colors (and you can also colorize them).
What will you do with them? Adjust the size to get thicker or thinner twine, for all sorts of projects.
Get them in the store: Twine Rope
In order to win these tubes, add a comment on this Facebook post telling us where you would use these twine ropes on your next project (remember, add a comment, not just a Like!) The winner will be announced in the newsletter, next week. Not a subscriber yet? Not a problem. You can register here and it is free (and you only get one email per week).
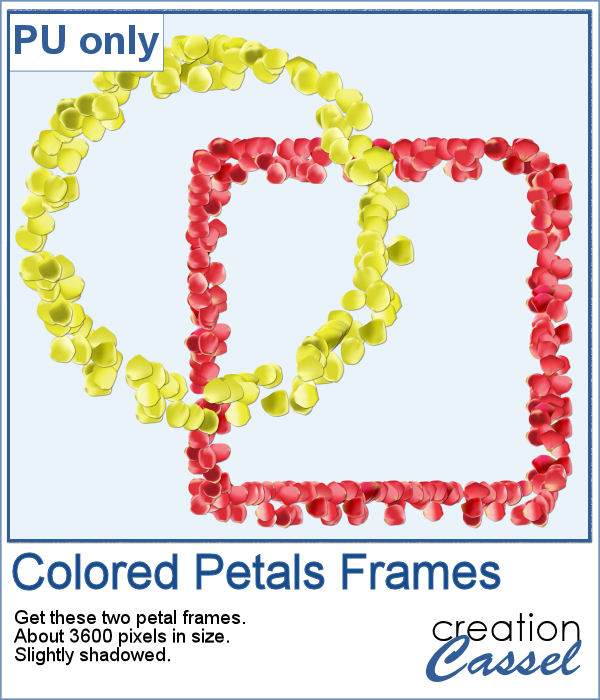
As a sampler, I embellished a wood frame with the yellow twine tube, to match an old bouquet of flowers. The frame is in png format and about 2000 pixels wide. You just have to slide a photo on a layer under the frame and erase whatever exceeds on the outside. The frame already has the shadows included so you don't have to add anything!
You need to be logged in to download this sample. You can either login, or register on the top of this page.

Last week, I released some new corner punches and they were a hit! But not only that, I got some inspiration from Sue, who suggested some more punches for Christmas next year. But I didn't wait until next year! I started working on those immediately.

As a sample, I created a fun frame for you using one of the corner brushes. Since the brush was not making an exact circle, I added some parts to make it into a real circle. Then, using the locked transparency, I painted all the elements separately. It is not hard, but a bit tedious. Then, I simply added some colored edges inside the frame. The whole frame is about 3200 pixels wide so you can size it down as needed.
In traditional paper scrapbooking, there are tools that allow the user to punch the corners into intricate shapes. They are great if you want to use the same size for all the projects you do. In digital scrapbooking (or card making), you now can use similar "punches" simply by using the eraser tool and those fancy "corner punches" shapes. This is the fourth set of those brushes.
As a sample, this week, I created this fun frame (and matching template so you can use it with other colors/papers/effects).
Although it is easy enough to purchase extracted flower petals, it is tedious to place them where you want, and even more if you want to scatter them randomly.
For a sample of these tubes, I created two frames made of petals. Each frame is almost 3600 pixels wide, so you can resize it as you need it.
Sometimes, you might want to showcase a word or a phrase in a unique way. Using a cutout is one of those original ways to add a title, a phrase, a greeting, etc.
As a sample of what can be done with this script, I wrote two common phrases that you might want to use in the next few weeks. The strips are black (the colors are for the preview only) and about 300 pixels high and 4800 pixels long so you can place them in various ways on your project.
Creating paper trees might be a simple task but it still takes a bit of time when you have to open a paper, make a selection, copy it, paste it to another image and then, create another piece, slightly smaller and repeating the process piece by piece.
To offer you a sample of what can be done with this script, I created 3 layered paper trees made from the kit
If you need to have some butterflies on a project, you might be able to extract photos of realistic ones, but maybe you would prefer to have some that perfectly match your kit, or your project.
For a sample, I ran the script using the Birthday kit from Marisa Lerin, and tweaked the resulting butterflies to give them some 3D looks, in addition to changing the color of the body and adding an inner bevel.
Do you need the look of burnt edges around a particular element but other than doing it yourself, it seems really hard to find the right shape, or the right font or the right size for your own element?
As a sample, this week, I created a few paper pieces that were run through the script. I created those shapes simply with the freehand selection tool to give them a random shape right from the start. Of course, the script would burn the edges but I wanted something a little different.
How would you like to get a fun, unique label to use as a title or tag on your project? If you are looking for some ready-made ones, it might be hard to find the perfect one, with the text you want, or the size you want.
As a sample of what can be done with this script, I created 4 labels with the seasons for you to use. They are 600 pixels in height so you can size them down if needed. If you have a cutting machine, you can also use it to embellish your paper projects.
Do you like lace edging? Can you find some that suits your project? Something that is the right color, the right length?
As a sample, this week, I created a long strip of lace and turned it into two frames using the Mitered Corner Frame script. In order to make nice corners, i trimmed the strip exactly between "loops" then measured the length of a loop in order to set a size, in the script, that would use complete loops. I think it turned out great.