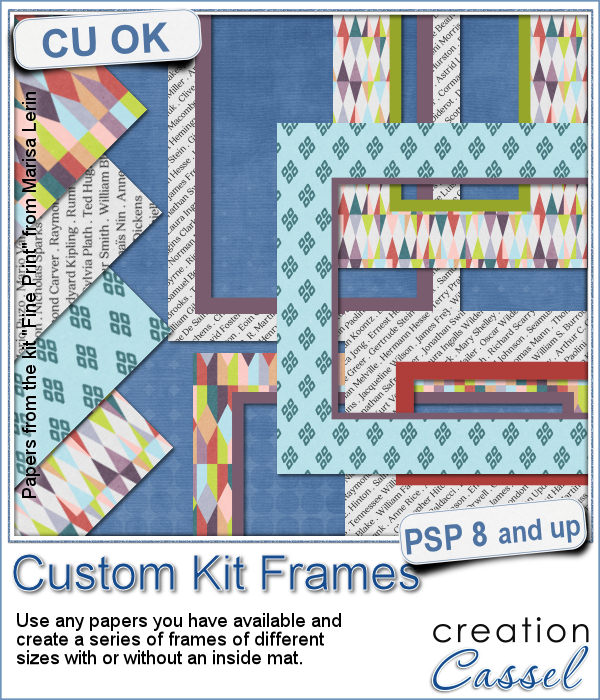
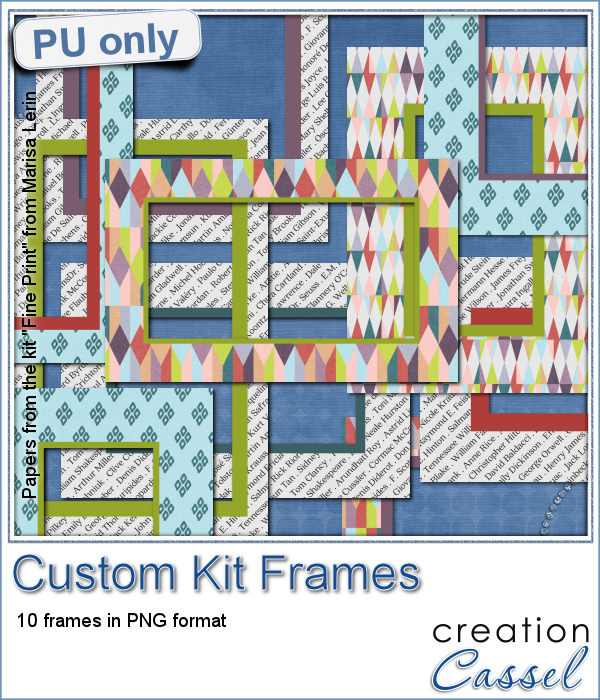
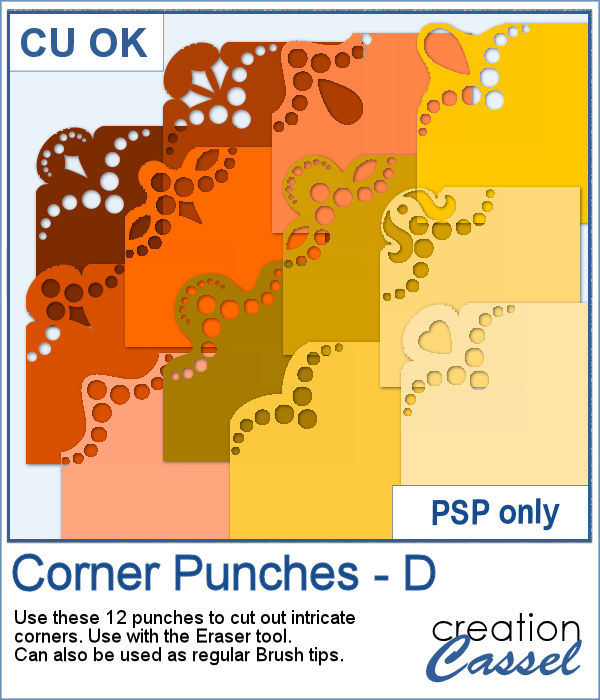
In traditional paper scrapbooking, there are tools that allow the user to punch the corners into intricate shapes. They are great if you want to use the same size for all the projects you do. In digital scrapbooking (or card making), you now can use similar "punches" simply by using the eraser tool and those fancy "corner punches" shapes. This is the fourth set of those brushes.
Although they are meant to be used with the Eraser tool to cut out the shapes, you can also use them with the Brush tool to add a design instead of cutting it out, adding more versatility to these tools.
Get them in the store: Corner Punches D
In order to win these punches, add a comment on this Facebook post telling us what project/element you would create with those punches (remember, add a comment, not just a Like!) The winner will be announced in the newsletter, next week. Not a subscriber yet? Not a problem. You can register here and it is free (and you only get one email per week).
As a sample, this week, I created this fun frame (and matching template so you can use it with other colors/papers/effects).
I started with a square image filled with black. I punched the four corners but slightly inside of the edge to leave that "frame" corner. Then, I duplicated that layer and rotated it by 45 degrees, which gave the 8 "corners". Since the two layers overlapped some of the holes of the other layer, I erased the area on each layer that was covering the holes of the other one. Once merged, I cut out the circle shape in the center to make the template. After that, it was just a matter of playing with the color and bevelling.
You can do the same with different punches.
You need to be logged in to download this sample. You can either login, or register on the top of this page.

Although it is easy enough to purchase extracted flower petals, it is tedious to place them where you want, and even more if you want to scatter them randomly.
For a sample of these tubes, I created two frames made of petals. Each frame is almost 3600 pixels wide, so you can resize it as you need it.
Sometimes, you might want to showcase a word or a phrase in a unique way. Using a cutout is one of those original ways to add a title, a phrase, a greeting, etc.
As a sample of what can be done with this script, I wrote two common phrases that you might want to use in the next few weeks. The strips are black (the colors are for the preview only) and about 300 pixels high and 4800 pixels long so you can place them in various ways on your project.
Creating paper trees might be a simple task but it still takes a bit of time when you have to open a paper, make a selection, copy it, paste it to another image and then, create another piece, slightly smaller and repeating the process piece by piece.
To offer you a sample of what can be done with this script, I created 3 layered paper trees made from the kit
If you need to have some butterflies on a project, you might be able to extract photos of realistic ones, but maybe you would prefer to have some that perfectly match your kit, or your project.
For a sample, I ran the script using the Birthday kit from Marisa Lerin, and tweaked the resulting butterflies to give them some 3D looks, in addition to changing the color of the body and adding an inner bevel.
Do you need the look of burnt edges around a particular element but other than doing it yourself, it seems really hard to find the right shape, or the right font or the right size for your own element?
As a sample, this week, I created a few paper pieces that were run through the script. I created those shapes simply with the freehand selection tool to give them a random shape right from the start. Of course, the script would burn the edges but I wanted something a little different.
How would you like to get a fun, unique label to use as a title or tag on your project? If you are looking for some ready-made ones, it might be hard to find the perfect one, with the text you want, or the size you want.
As a sample of what can be done with this script, I created 4 labels with the seasons for you to use. They are 600 pixels in height so you can size them down if needed. If you have a cutting machine, you can also use it to embellish your paper projects.
Do you like lace edging? Can you find some that suits your project? Something that is the right color, the right length?
As a sample, this week, I created a long strip of lace and turned it into two frames using the Mitered Corner Frame script. In order to make nice corners, i trimmed the strip exactly between "loops" then measured the length of a loop in order to set a size, in the script, that would use complete loops. I think it turned out great.
Now, you can create a series of frames of different sizes using several papers you have on hand. This is perfect if you want to create frames to go along with your kit, but it can also be an interesting tool to give you some frames that you can use on your own layout using the colors of your project.
This week, I am offering you 10 frames I made for the preview. It uses papers from the kit Fine Print from Marisa Lerin. This kit is free to download, so if you want some matching frames, papers and elements, check it out
If you have a project about game night or bingo winners, you might want to add some bingo cards to your layout, but usually, you will find some pretty ordinary cards that won't necessarily match the colors or style you are using.
As a freebie for this week, I created 5 matching cards so you can actually print them out and use them to play. Laminate them so you can keep them for later.