 "When the moon hits your eye like a big pizza pie, that's amore"
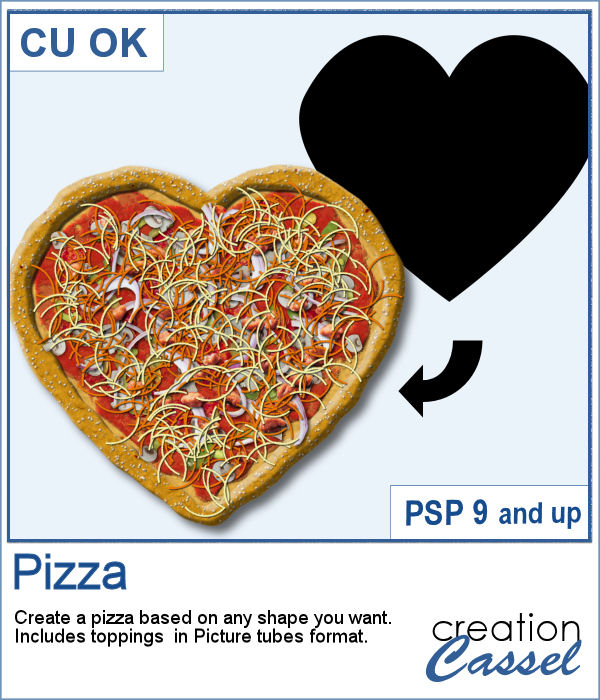
Now, it is your turn to have a pizza in the shape you want, whether it is a crescent moon, a heart, a star or any other shape.
With a choice of 4 crusts (parmesan, poppy seed, sesame seed and cheese) you can have a delicious pizza for your party related projects. In addition, various toppings are included in the zip file in Picture Tubes format so you can pick and choose which ones you want and how much you want too.
Get it in the store: Pizza
In order to win this script, add a comment on this Facebook post telling us what you would want on your pizza (remember, add a comment, not just a Like!) The winner will be announced in the newsletter, next week. Not a subscriber yet? Not a problem. You can register here and it is free (and you only get one email per week).
 As a sampler, I am sharing that heart shape pizza, all dressed. This is to show you how I appreciate your continuous support.
You need to be logged in to download this sample. You can either login, or register on the top of this page.
And those toppings could also be added to your Hamburger.