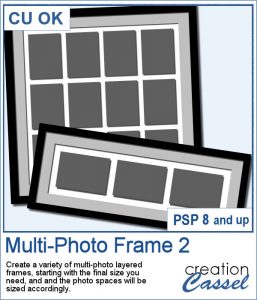
 Instead of starting with a fixed photo shape and ending up with an odd sized frame, how about starting with the final frame size and working your way back to the size of the individual images.
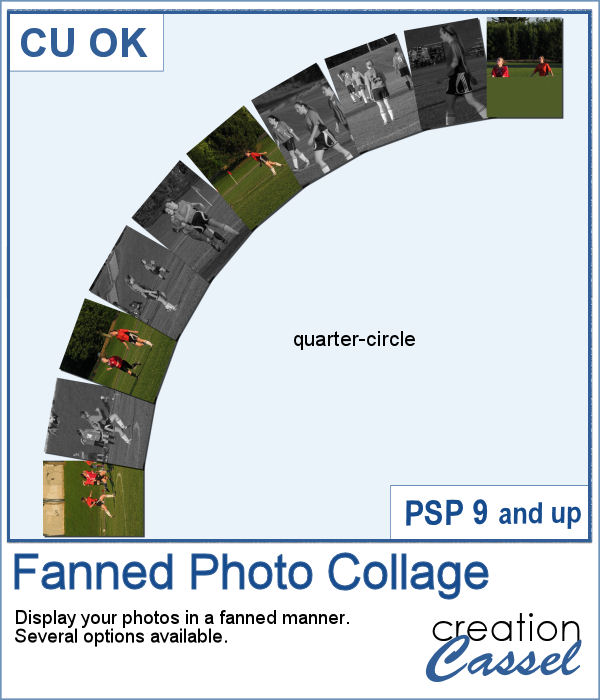
With this script, there is no calculating, no aligning. Everything is done for you, in a very short time. And everything is perfectly aligned and ready for you to add your photos.
You can create a frame up to 24 x 24 inches with up to 100 photos. And if you want to, you can even tweak the photo spots and remove some to allow you for a title or quote on top, on the bottom, on the side or even in the center. A very versatile layered frame for you to customize to your liking.
Get it in the store: Multi-Photo Frame 2
In order to win this script, add a comment on this Facebook post telling us what size you would likely print a frame (remember, add a comment, not just a Like!) The winner will be announced in the newsletter, next week. Not a subscriber yet? Not a problem. You can register here and it is free (and you only get one email per week).
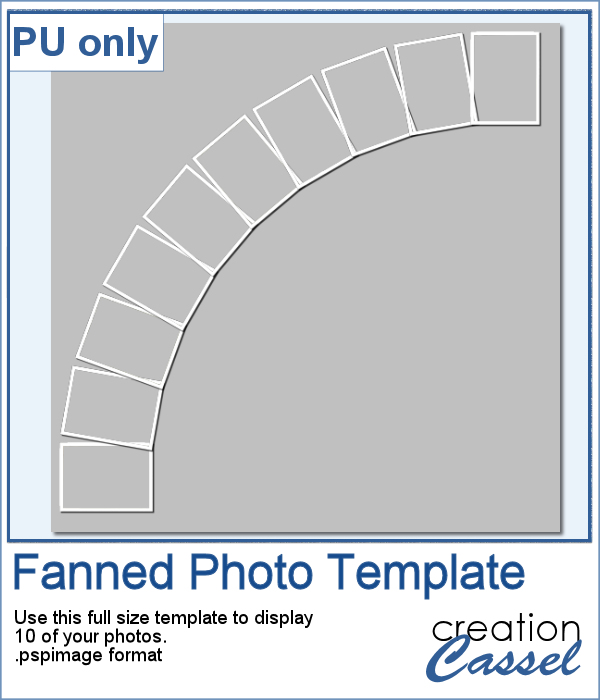
 Since everyone loves to display their own photos, I am offering you the layered template in .pspimage version of the frame showcased in the preview. Each photo spot is part of a mask group so that you just have to copy and paste your photo inside that group for it to show through. No need to select, or delete anything.
You need to be logged in to download this sample. You can either login, or register on the top of this page.